Looking for the best chicken recipes for any occasion? You've got options like a classic roast chicken that fills your kitchen with enticing aromas, or creamy garlic chicken that transforms simple ingredients into a restaurant-quality delight. How about sweet and sour chicken for a vibrant twist, or lemon herb grilled chicken for a fresh, zesty flavor? Each recipe is designed to impress and satisfy. Keep exploring for more mouthwatering chicken dishes that will elevate your culinary repertoire!
Classic Roast Chicken
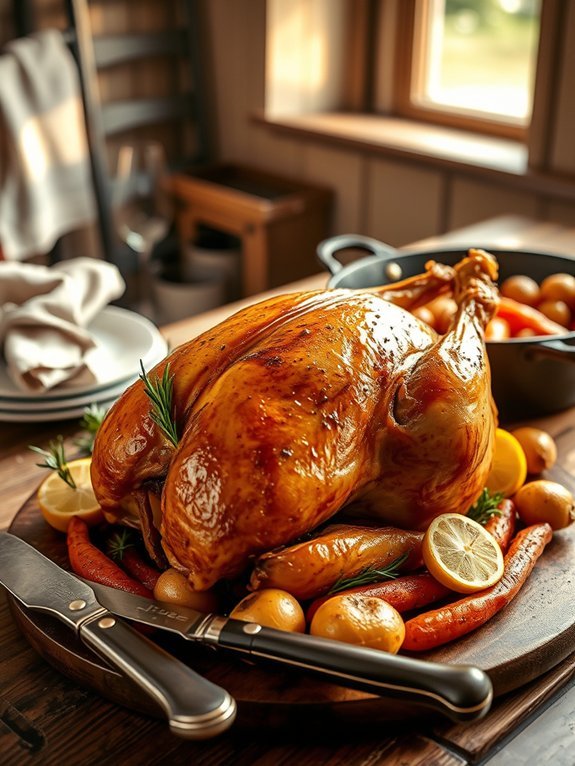
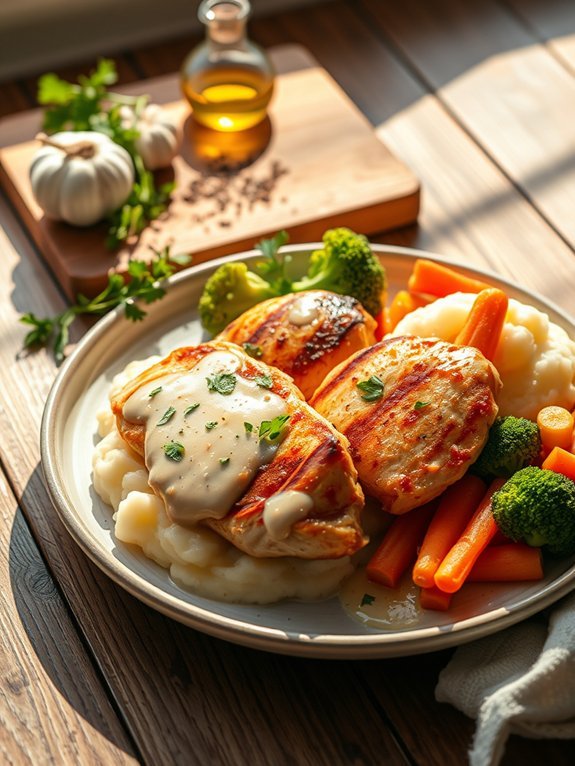
There's something incredibly comforting about a classic roast chicken. This dish not only fills the kitchen with an irresistible aroma but also brings family and friends together around the dining table. Roasting a chicken allows for the flavors to meld beautifully, creating a succulent masterpiece with crispy skin that contrasts perfectly with tender, juicy meat. It's both simple and rewarding, making it an excellent choice for weeknight dinners or special occasions.
To achieve the best results, selecting a high-quality chicken is crucial. A free-range or organic chicken tends to be more flavorful and has a better texture than conventional options. Additionally, letting the chicken rest after roasting will guarantee that the juices settle, resulting in a moist and delicious meal. Pair your roast chicken with seasonal vegetables or a fresh salad to complete your culinary experience.
Ingredients:
- 1 whole chicken (about 4-5 lbs)
- 2 tablespoons olive oil
- Salt (to taste)
- Freshly ground black pepper (to taste)
- 1 lemon, halved
- 4 cloves of garlic, crushed
- Fresh herbs (like rosemary, thyme, or parsley)
- 1 onion, quartered
- 1 cup chicken broth
Roast the chicken at 425°F (220°C). Begin by patting the chicken dry with paper towels, then rub the olive oil all over the skin and season generously with salt and pepper. Stuff the cavity with the halved lemon, crushed garlic, fresh herbs, and quartered onion.
Place the chicken on a roasting rack in a roasting pan, pour the chicken broth into the bottom of the pan, and roast for about 1.5 hours, or until the internal temperature reaches 165°F (75°C). Let it rest for 10-15 minutes before carving.
To elevate the dish, consider using a meat thermometer to confirm you've reached the perfect doneness without overcooking. Basting the chicken with the juices from the bottom of the pan halfway through roasting can enhance flavor and moisture.
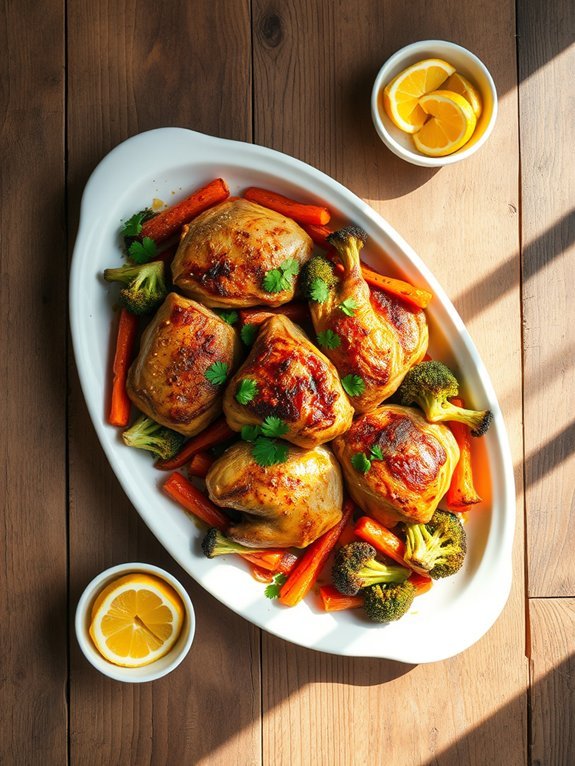
Additionally, you can add root vegetables like carrots and potatoes around the chicken during roasting for a wholesome one-pan meal, soaking up all the delicious flavors.
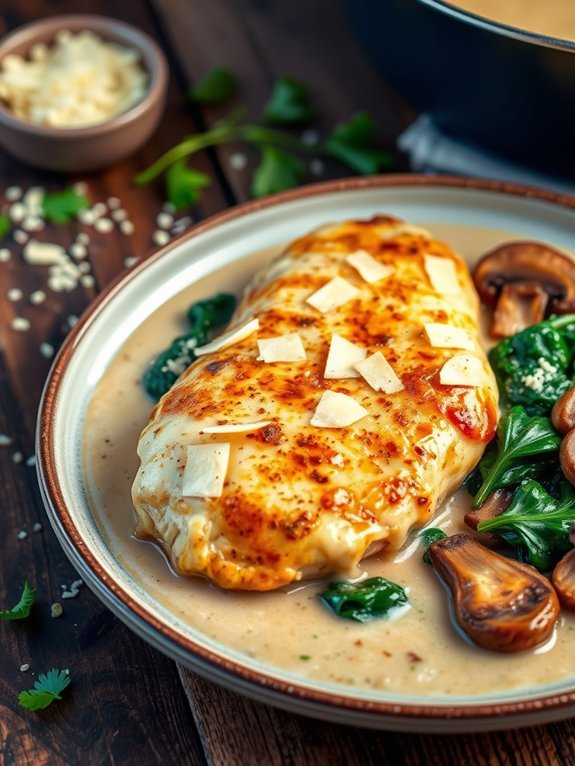
Creamy Garlic Chicken
Creamy Garlic Chicken is a delightful dish that brings together tender chicken breasts, rich cream, and aromatic garlic, creating a symphony of flavors that's certain to please. This recipe isn't only quick to prepare but also transforms simple ingredients into a restaurant-quality meal that you can enjoy any night of the week. The creamy sauce complements the chicken beautifully, making it a comforting and satisfying choice for dinner.
To enhance the dish further, you can pair it with a variety of sides like mashed potatoes, steamed vegetables, or pasta, which will soak up the luscious garlic cream sauce. Whether you're serving your family or hosting friends, Creamy Garlic Chicken is an impressive option that requires minimal effort for maximum flavor.
Get ready to indulge in this creamy, dreamy dish that's packed with savory goodness.
- 4 boneless, skinless chicken breasts
- 1 tablespoon olive oil
- 4 cloves garlic, minced
- 1 cup heavy cream
- 1 cup chicken broth
- 1 teaspoon Italian seasoning
- Salt and pepper to taste
- Fresh parsley, chopped (for garnish)
In a large skillet, heat the olive oil over medium heat. Season the chicken breasts with salt and pepper, then add them to the skillet, cooking for about 6-7 minutes on each side until golden brown and cooked through. Remove the chicken from the skillet and set aside.
In the same skillet, add minced garlic and sauté until fragrant, then pour in the chicken broth and heavy cream, adding Italian seasoning. Bring to a simmer and allow the sauce to thicken slightly before returning the chicken to the skillet, confirming it's well coated with the creamy sauce.
One important tip to keep in mind when preparing Creamy Garlic Chicken is to keep an eye on the temperature and cooking time of the chicken to prevent it from becoming dry and overcooked. Using a meat thermometer can help assure that the internal temperature reaches 165°F (74°C) for perfectly juicy chicken.
Additionally, don't hesitate to adjust the garlic and cream levels to suit your taste; this dish is versatile and can be tailored to individual preferences!
Chicken Alfredo Pasta
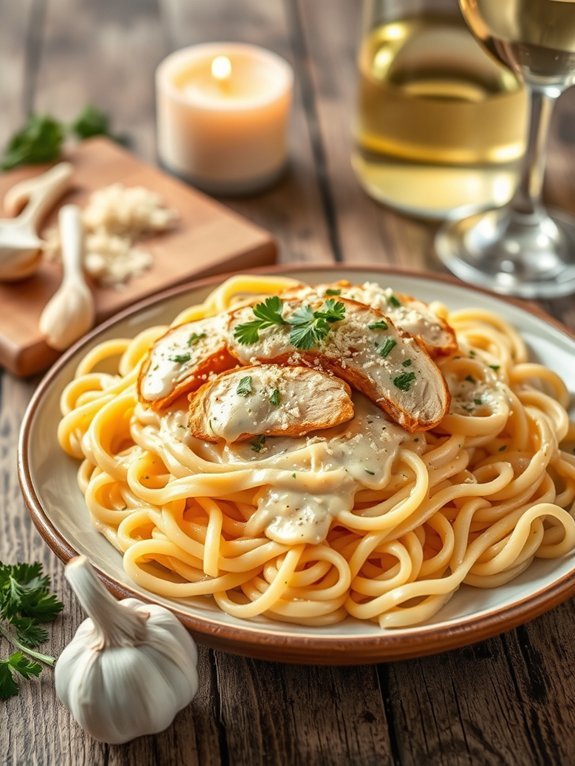
Chicken Alfredo Pasta is a creamy and indulgent dish that combines tender chicken, fettuccine pasta, and a rich Alfredo sauce. Perfect for a cozy family dinner or an impressive meal for guests, this dish is both satisfying and easy to prepare. The combination of the flavors and textures creates a scrumptious experience that's certain to please any palate. By following this recipe, you can create a restaurant-quality meal right in your own kitchen.
The key to a delicious Chicken Alfredo Pasta lies in using high-quality ingredients and cooking the chicken to perfection. By searing the chicken until golden brown and allowing it to rest before slicing, you guarantee every bite is juicy and full of flavor. The creamy Alfredo sauce made from butter, heavy cream, and Parmesan cheese will envelop the pasta in a luscious coating, making this dish truly unforgettable.
- 2 boneless, skinless chicken breasts
- Salt and pepper, to taste
- 1 tablespoon olive oil
- 8 ounces fettuccine pasta
- 4 tablespoons butter
- 1 cup heavy cream
- 1 cup grated Parmesan cheese
- 1 clove garlic, minced
- Fresh parsley, chopped (for garnish)
Begin by seasoning the chicken breasts with salt and pepper on both sides. Heat the olive oil in a large skillet over medium heat and add the chicken breasts. Cook for about 6-8 minutes on each side, or until the chicken is cooked through and has a golden-brown crust. Remove the chicken from the skillet and allow it to rest for 5 minutes before slicing.
In the same skillet, melt the butter, add the minced garlic, and sauté briefly. Pour in the heavy cream and bring to a simmer. Stir in the Parmesan cheese until melted and combine with the cooked fettuccine pasta. Add the sliced chicken on top and garnish with fresh parsley.
When making Chicken Alfredo Pasta, consider using freshly grated Parmesan cheese for the best flavor, as pre-packaged cheese can often contain anti-caking agents that affect the melting process. Be sure not to overcook the pasta; it should be al dente since it will continue to cook slightly once mixed with the sauce.
Adjust the thickness of the sauce by adding a splash of pasta water if necessary, and feel free to add vegetables like broccoli or peas for extra nutrition and color.
Sweet and Sour Chicken
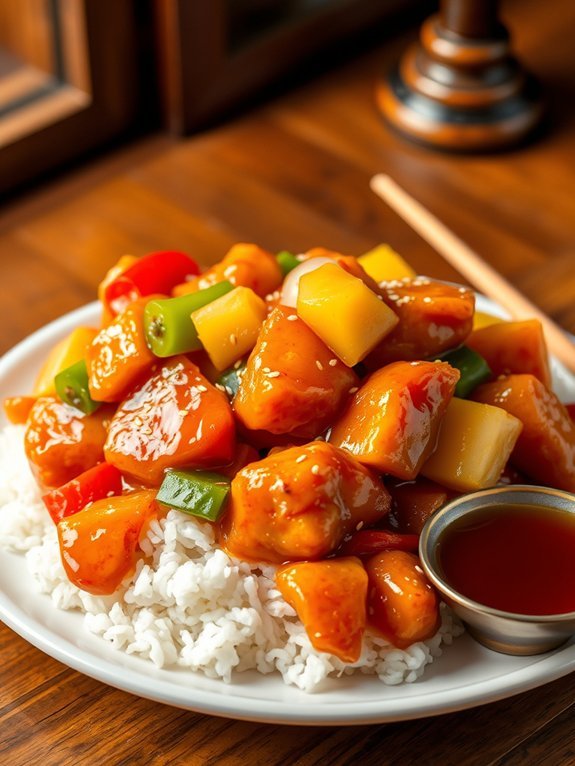
Sweet and Sour Chicken is a delightful dish that brings a perfect balance of flavors and textures to your dinner table. The combination of tender chicken pieces, crisp vegetables, and a vibrant sweet and sour sauce creates a dish that isn't only satisfying but visually appealing as well. This recipe is easy to make and can be served over rice or noodles, making it a versatile meal option for busy weeknights or family gatherings.
The origins of Sweet and Sour Chicken can be traced back to Chinese cuisine, where the sweet and tangy flavor profile has been enjoyed for centuries. Over time, this dish has evolved and made its way into various international kitchens, with each culture adding its own twist. The following recipe will guide you through creating a classic version of this tasty dish that will surely impress your family and friends.
Ingredients:
- 1 lb chicken breast, cut into bite-sized pieces
- 1/2 cup cornstarch
- 2 tablespoons vegetable oil
- 1 bell pepper, sliced
- 1 onion, sliced
- 1 carrot, sliced
- 1 cup pineapple chunks
- 1/2 cup sugar
- 1/2 cup vinegar
- 1/4 cup ketchup
- 1 tablespoon soy sauce
- Salt and pepper to taste
Coat the chicken pieces in cornstarch, ensuring each piece is thoroughly covered. In a large skillet or wok, heat the vegetable oil over medium-high heat. Add the chicken and cook until it's golden and cooked through, about 5-7 minutes. Remove the chicken and set aside.
In the same skillet, stir-fry the bell pepper, onion, and carrot until they're tender but still crisp. Add the pineapple chunks, then return the chicken to the skillet.
In a small bowl, mix the sugar, vinegar, ketchup, and soy sauce, then pour the sauce over the chicken and vegetables. Stir well, letting the sauce thicken for a few minutes before serving.
For the best results, make sure to adjust the acidity and sweetness of the sauce according to your own preference. If you like a bit more tang, consider adding additional vinegar, or for those who prefer a sweeter dish, add more sugar or pineapple juice.
Also, serve the Sweet and Sour Chicken immediately for peak flavor, and pair it with freshly cooked white rice or noodles for a complete meal experience. Enjoy this classic dish that's sure to become a favorite in your home!
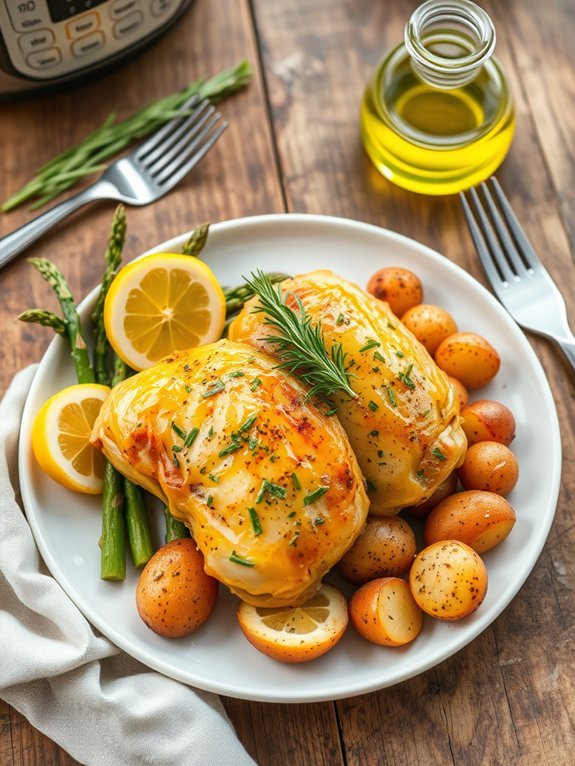
Lemon Herb Grilled Chicken
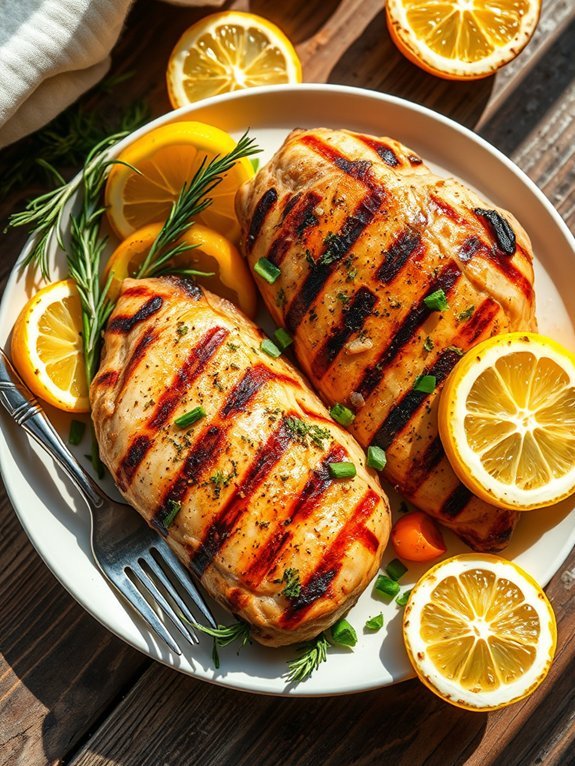
Lemon Herb Grilled Chicken is a tantalizing dish that perfectly balances the zestiness of lemon with the aromatic flavors of fresh herbs. This recipe isn't only simple to prepare but also provides a vibrant flavor that will delight any palate.
When grilled to perfection, the chicken remains juicy and tender, making it an ideal centerpiece for a summer barbecue or a quick weeknight dinner.
To elevate the dish, the marinade combines fresh garlic, olive oil, and a variety of herbs that infuse the chicken with an irresistible flavor. Whether served with a side of seasonal vegetables, over a bed of mixed greens, or with your favorite grain, this Lemon Herb Grilled Chicken can turn ordinary meals into extraordinary culinary experiences.
Ingredients:
- 4 boneless, skinless chicken breasts
- 1/4 cup fresh lemon juice
- 1/4 cup olive oil
- 3 cloves garlic, minced
- 2 tablespoons fresh rosemary, chopped
- 2 tablespoons fresh thyme, chopped
- 1 teaspoon salt
- 1/2 teaspoon black pepper
- Lemon slices, for garnish
Marinate the chicken breasts in a mixture of lemon juice, olive oil, minced garlic, chopped rosemary, chopped thyme, salt, and black pepper for at least 30 minutes, or up to 2 hours in the refrigerator.
Preheat your grill to medium-high heat. Remove the chicken from the marinade and discard the marinade. Grill the chicken for about 6-7 minutes on each side, or until the internal temperature reaches 165°F, and the chicken has nice grill marks.
Add lemon slices to the grill in the last 2 minutes of cooking for extra flavor.
To enhance the flavor and tenderness of the chicken, be sure to let it rest for a few minutes after grilling before slicing. This allows the juices to redistribute throughout the meat, ensuring each bite is moist and full of flavor.
You can also experiment with different herbs or add a pinch of chili flakes if you prefer a bit of heat. Enjoy your delicious Lemon Herb Grilled Chicken!
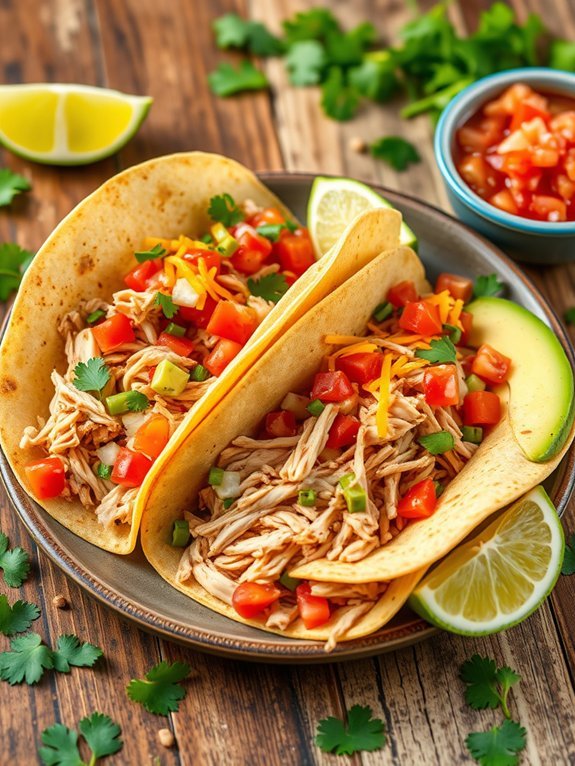
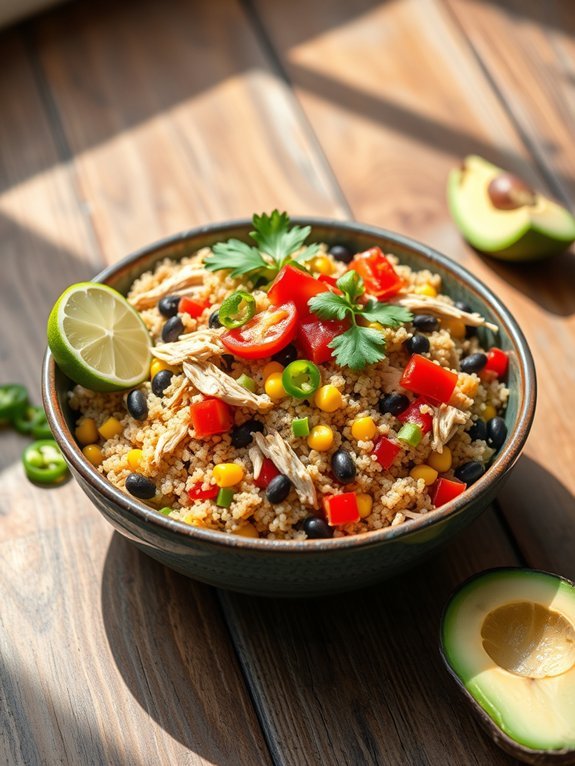
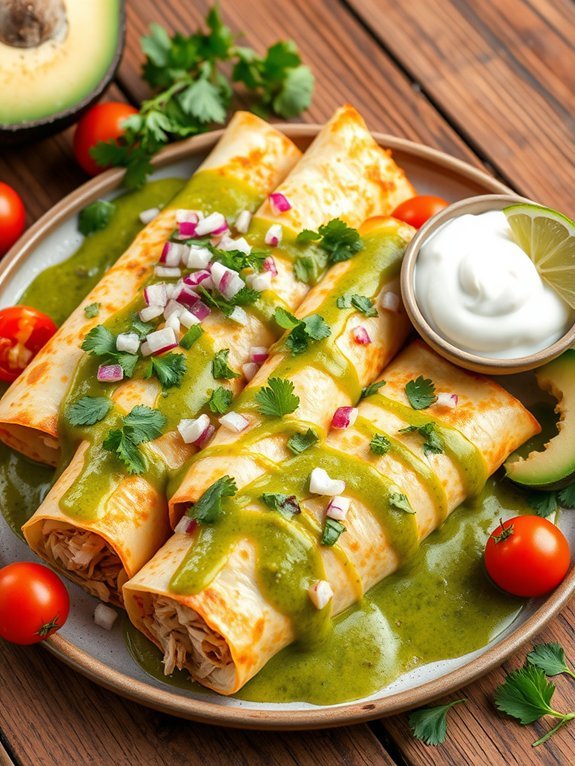
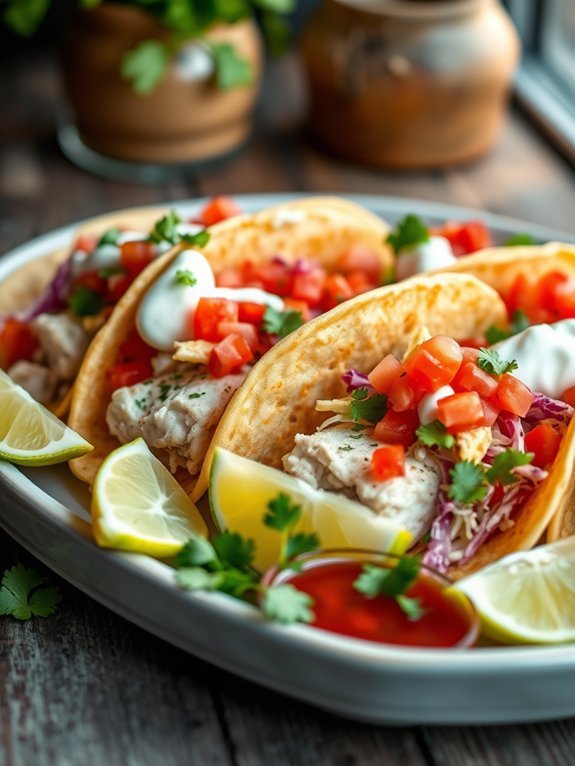
Chicken Tacos With Fresh Salsa

Chicken Tacos with Fresh Salsa is a delightful dish that combines the savory flavors of seasoned chicken with the crisp freshness of homemade salsa, all wrapped in warm tortillas. Perfect for a casual dinner or entertaining guests, these tacos are customizable and quick to prepare. Using simple ingredients, you can elevate your taco night and bring a burst of flavor to your table.
The key to making these tacos delicious is in the marination of the chicken and the freshness of the salsa. By allowing the chicken to soak up the spices and flavors, you guarantee every bite is juicy and satisfying. Pair the chicken with vibrant toppings like diced tomatoes, onions, cilantro, and zesty lime juice, and you've got a dish that will impress any taco lover.
Ingredients:
- 2 boneless, skinless chicken breasts
- 1 tablespoon olive oil
- 1 teaspoon chili powder
- 1 teaspoon cumin
- 1/2 teaspoon garlic powder
- 1/2 teaspoon onion powder
- Salt and pepper, to taste
- 8 small corn or flour tortillas
- 1 cup diced tomatoes
- 1/2 cup diced red onion
- 1/4 cup chopped cilantro
- Juice of 1 lime
- 1 jalapeño, minced (optional)
- Sour cream and avocado for serving (optional)
To prepare the chicken, start by marinating the breasts with olive oil, chili powder, cumin, garlic powder, onion powder, salt, and pepper for at least 30 minutes or up to overnight. Once marinated, grill or sauté the chicken on medium heat for about 6-7 minutes on each side, or until fully cooked.
While the chicken is cooking, mix together the diced tomatoes, red onion, cilantro, lime juice, and jalapeño in a bowl to make the fresh salsa. Once the chicken is cooked, let it rest for a few minutes before slicing it into thin strips. Warm the tortillas in a pan or microwave, then assemble the tacos by placing chicken strips on each tortilla and topping with fresh salsa. Add sour cream and avocado if desired.
For the best flavor, allow your chicken to marinate for a longer period, as this enhances its taste and tenderness. You can also experiment with various toppings such as shredded lettuce, cheese, or hot sauce for additional flavor.
If you're hosting a taco night, consider providing a selection of salsas or multiple protein options for guests to enjoy. Enjoy your delicious chicken tacos!
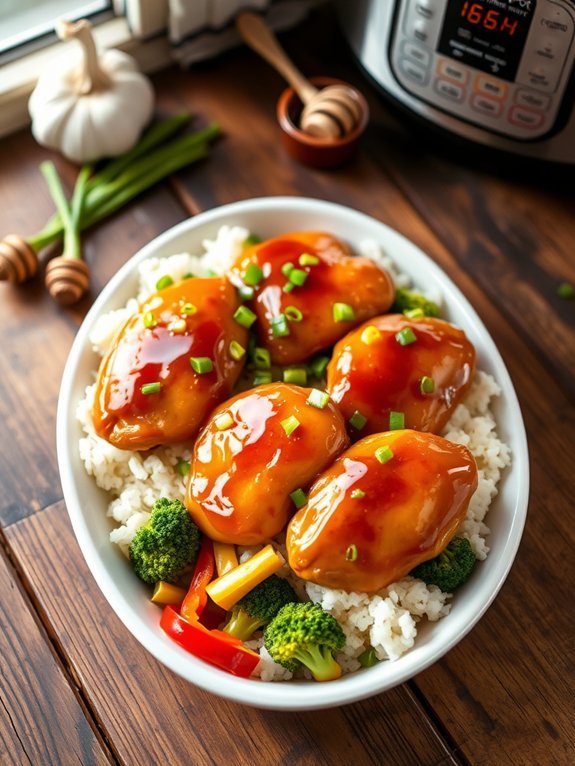
Honey Mustard Glazed Chicken
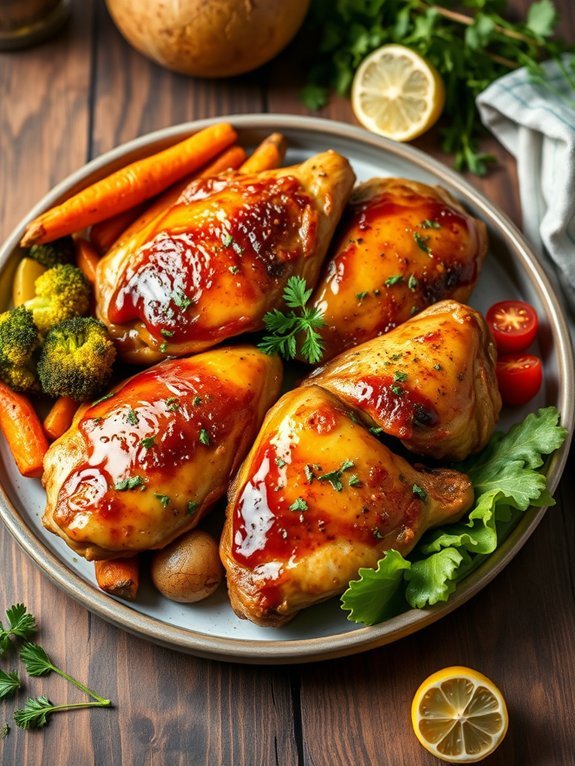
Honey mustard glazed chicken is a delightful dish that combines the sweetness of honey with the tangy flavor of mustard, creating an irresistible coating for juicy chicken pieces. This dish is perfect for family dinners, gatherings, or even meal prepping for the week ahead. The glaze not only enhances the chicken's flavor but also adds a beautiful caramelized finish when cooked, making it a feast for both the eyes and the palate.
To achieve the best results, it's important to marinate the chicken in the honey mustard mixture. Allowing the chicken to soak in the flavors boosts its tenderness and infuses the meat with the sweet and tangy profile. Whether you're using chicken breasts, thighs, or drumsticks, this recipe offers versatility and can be tailored to suit your preferences.
Pair the glazed chicken with your favorite sides like roasted vegetables or a fresh salad for a complete meal.
- 4 chicken thighs (bone-in, skin-on)
- 1/4 cup honey
- 1/4 cup Dijon mustard
- 2 tablespoons olive oil
- 2 tablespoons apple cider vinegar
- 1 teaspoon garlic powder
- 1 teaspoon onion powder
- Salt and pepper to taste
- Fresh parsley for garnish (optional)
In a medium bowl, whisk together the honey, Dijon mustard, olive oil, apple cider vinegar, garlic powder, onion powder, and a pinch of salt and pepper.
Place the chicken thighs in a resealable plastic bag or a shallow dish and pour the marinade over the chicken, assuring every piece is well coated. Seal the bag or cover the dish and refrigerate for at least 30 minutes, but ideally for 2-4 hours.
Preheat the oven to 400°F (200°C). Remove the chicken from the marinade, reserving the remaining marinade, and place it on a baking sheet lined with parchment paper. Bake the chicken for 25-30 minutes, basting it with the reserved glaze halfway through, until the chicken is cooked through, and the juices run clear.
For the best results, use a meat thermometer to verify your chicken reaches an internal temperature of 165°F (74°C). Keep in mind that marinating the chicken longer will intensify the flavors; however, avoid exceeding 24 hours to prevent the meat from becoming too mushy.
You can also add a splash of lemon juice or a dash of cayenne pepper to the marinade for an extra kick. If you prefer grilling, you can cook the marinated chicken on a preheated grill over medium heat, turning occasionally and basting with the glaze, for a deliciously charred flavor.
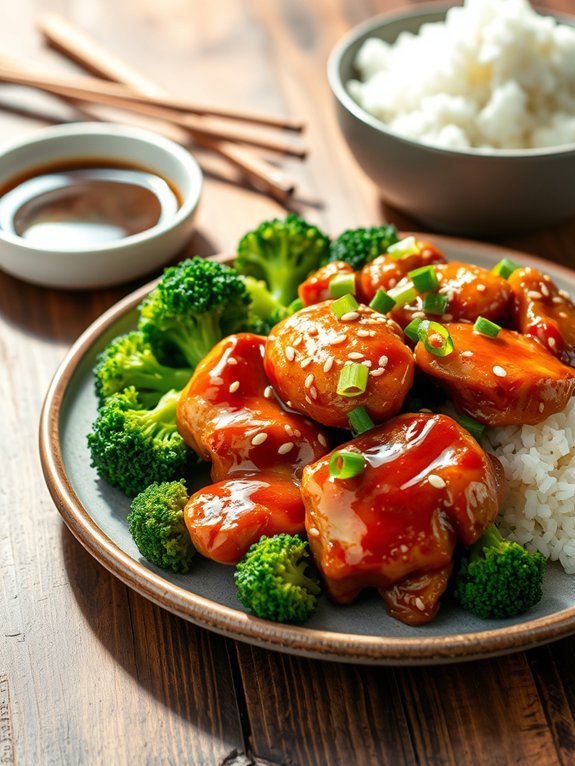
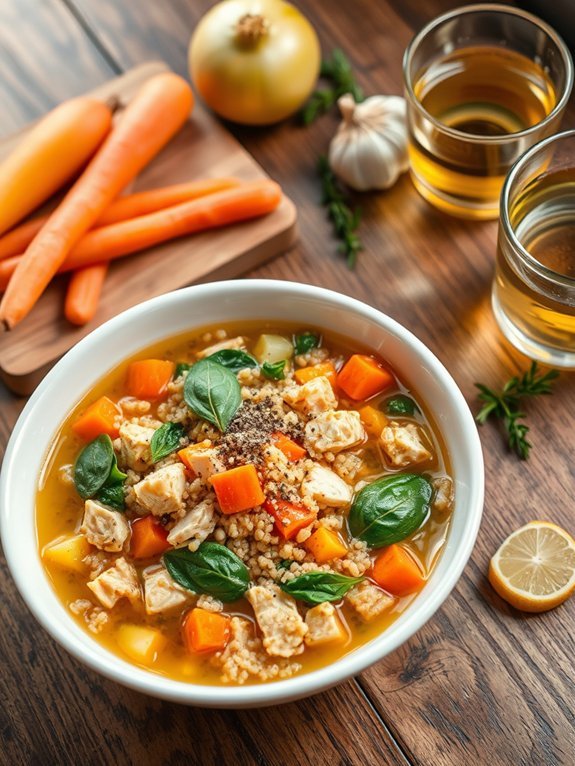
Spicy Chicken Stir-Fry
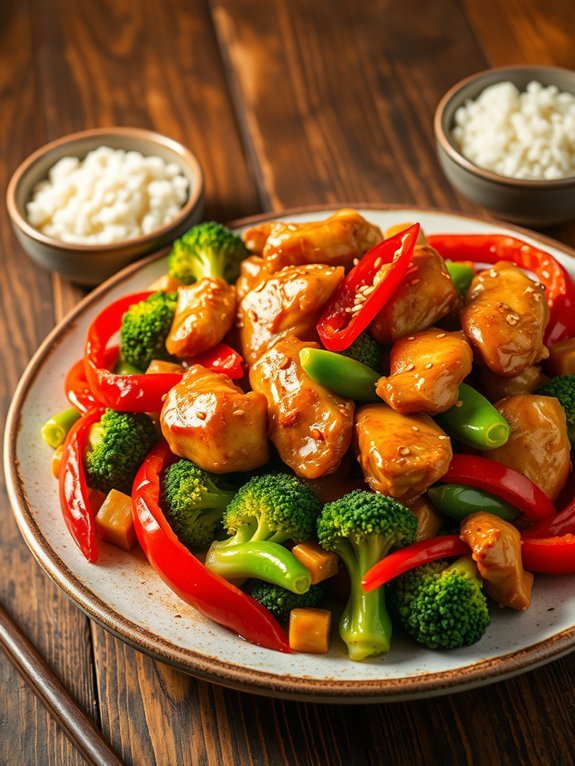
Spicy Chicken Stir-Fry is a vibrant and flavorful dish that brings a midweek dinner to life with its fiery taste and colorful presentation. This meal isn't only easy to prepare but also packed with healthy vegetables, making it a well-rounded choice for those seeking both flavor and nutrition. The combination of tender chicken, crisp vegetables, and a spicy sauce creates a delightful harmony that's sure to please everyone at the table.
To elevate the dish, you can customize the spice level to suit your palate, opting for more or fewer fresh chilies as you see fit. With its quick cooking time, Spicy Chicken Stir-Fry is perfect for busy weeknights when you want a satisfying meal without spending hours in the kitchen.
Pair it with rice or noodles for a complete and delicious experience that will satisfy your cravings for Asian-inspired cuisine.
Ingredients:
- 1 lb boneless, skinless chicken breasts, sliced thin
- 2 tablespoons vegetable oil
- 1 bell pepper, sliced
- 1 cup broccoli florets
- 1 cup snap peas
- 3 cloves garlic, minced
- 1 tablespoon fresh ginger, minced
- 2-3 fresh red chilies, sliced (adjust based on spice preference)
- 3 tablespoons soy sauce
- 1 tablespoon oyster sauce
- 1 tablespoon rice vinegar
- 1 tablespoon sesame oil
- Salt and pepper to taste
- Cooked rice or noodles, for serving
In a large wok or skillet, heat the vegetable oil over medium-high heat. Add the sliced chicken and cook until browned and cooked through, about 5-7 minutes. Remove the chicken from the pan and set aside.
In the same pan, add the bell pepper, broccoli, snap peas, garlic, ginger, and chilies. Stir-fry the vegetables for about 3-4 minutes until they're tender-crisp. Return the chicken to the pan and add the soy sauce, oyster sauce, rice vinegar, and sesame oil. Toss everything together and cook for an additional 2-3 minutes until well combined. Season with salt and pepper to taste.
For a more complex flavor, consider marinating the chicken in the soy sauce and garlic for an hour before cooking. You can also add some crushed red pepper flakes for extra heat or toss in some toasted sesame seeds right before serving for added crunch.
Feel free to experiment with the vegetables based on what you have on hand as Stir-Fry is versatile and can incorporate a variety of seasonal produce. Enjoy your meal!
Chicken Parmesan Bake
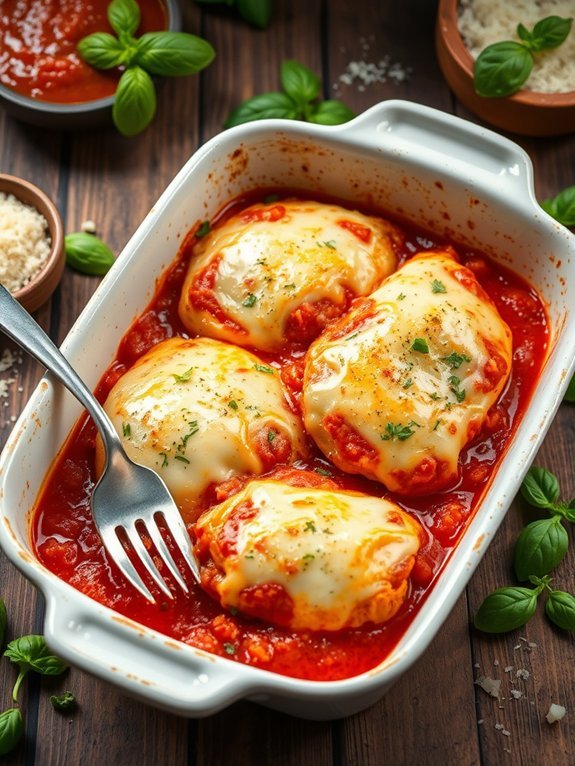
Chicken Parmesan Bake is a delightful twist on the classic Chicken Parmesan, bringing all the rich flavors of the original dish into a convenient casserole format. It's perfect for busy weeknights and can easily be prepared ahead of time, allowing for a simple meal that the whole family will love.
The combination of crispy breaded chicken, savory marinara sauce, and gooey melted cheese creates a comforting and satisfying dish that pairs well with pasta or a simple side salad.
This dish isn't only delicious but also versatile, allowing you to customize it with your favorite ingredients. You might choose to add vegetables like spinach or zucchini for an extra nutritional boost, or switch up the type of cheese for a unique flavor. Regardless of how you decide to make it, Chicken Parmesan Bake is sure to become a family favorite.
- 4 boneless, skinless chicken breasts
- 1 cup breadcrumbs
- 1/2 cup grated Parmesan cheese
- 2 cups marinara sauce
- 1 1/2 cups shredded mozzarella cheese
- 1 teaspoon dried oregano
- 1 teaspoon garlic powder
- Salt and pepper, to taste
- Fresh basil leaves, for garnish (optional)
Preheat your oven to 375°F (190°C). Season the chicken breasts with salt, pepper, oregano, and garlic powder. Dredge each piece in breadcrumbs mixed with Parmesan cheese until evenly coated.
In a greased baking dish, place the breaded chicken breasts, and cover them with marinara sauce. Top with shredded mozzarella cheese, then bake for about 25-30 minutes, or until the chicken is cooked through and the cheese is bubbly and golden.
For the best results, ascertain that the chicken breasts are of uniform size to promote even cooking. If you prefer a crunchier topping, you can place the dish under the broiler for an additional 1-2 minutes at the end of cooking.
Finally, let the bake sit for a few minutes before serving; this allows the flavors to meld together and makes for easier slicing. Don't forget to garnish with fresh basil for that extra touch of flavor!
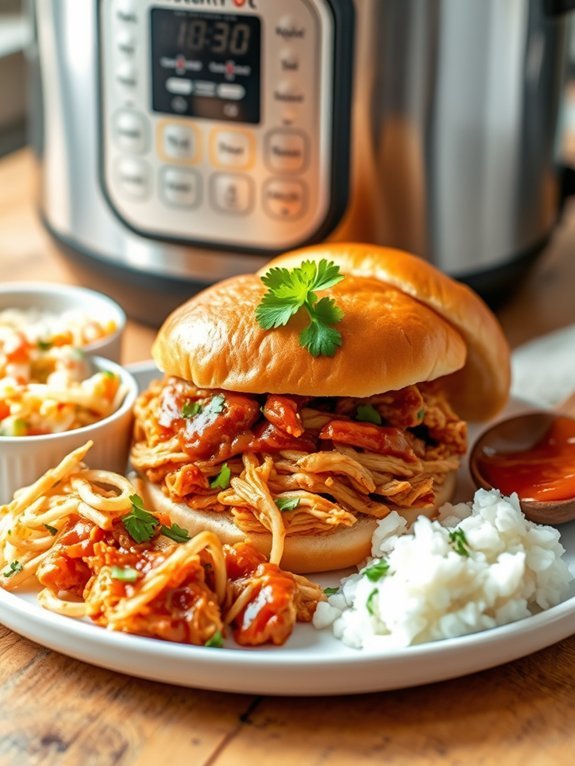
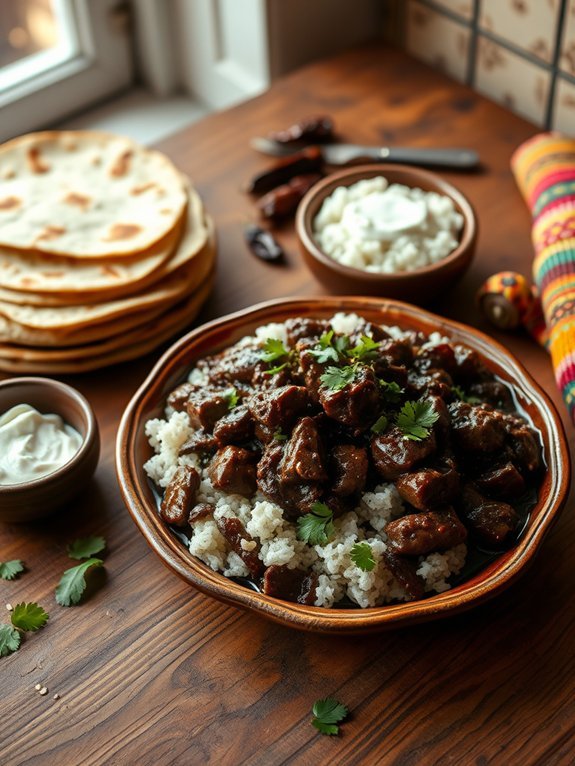
BBQ Pulled Chicken Sandwiches
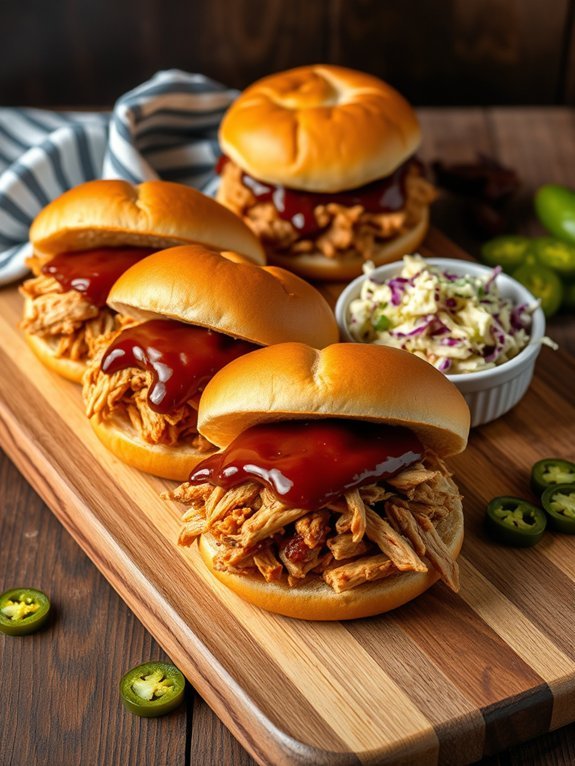
BBQ Pulled Chicken Sandwiches are a mouthwatering dish that combines tender, shredded chicken with sweet and tangy barbecue sauce. This recipe is perfect for any gathering or family dinner, as it brings a crowd-pleasing flavor that everyone will love. Plus, it's incredibly easy to make, allowing you to spend more time enjoying the company of your loved ones.
The beauty of BBQ Pulled Chicken Sandwiches lies in their versatility. You can use different types of barbecue sauce, adjust the seasoning to suit your taste, and even serve them on various types of bread. Whether you prefer classic hamburger buns, toasted hoagie rolls, or even homemade biscuits, these sandwiches make for a satisfying meal that can be customized to your liking.
- 2 pounds boneless, skinless chicken breasts
- 1 cup barbecue sauce (your choice)
- 1 teaspoon garlic powder
- 1 teaspoon onion powder
- 1 teaspoon paprika
- Salt and pepper to taste
- 4 hamburger buns
- Coleslaw (optional, for topping)
Start by placing the chicken breasts in a slow cooker. In a small bowl, mix together the barbecue sauce, garlic powder, onion powder, paprika, salt, and pepper. Pour the sauce over the chicken, ensuring it's evenly coated.
Cover and cook on low for 6-7 hours or on high for 3-4 hours, until the chicken is fully cooked and shreds easily with a fork. Once done, remove the chicken from the slow cooker and shred it with two forks, then return the shredded chicken to the cooker and mix it with the remaining sauce.
For the best results, let the pulled chicken rest in the barbecue sauce for a few minutes before serving to allow the flavors to meld together. If you have extra time, try marinating the chicken in the sauce overnight for an even richer taste.
Additionally, don't hesitate to experiment with different toppings like pickles, jalapeños, or even avocado to add a unique twist to your sandwiches. Enjoy your BBQ Pulled Chicken Sandwiches with a side of fries or a fresh salad for a complete meal!
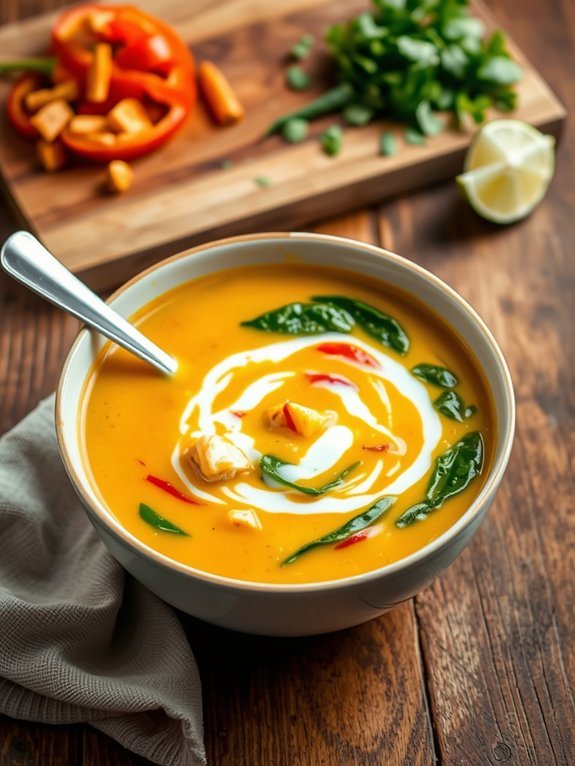
Thai Coconut Curry Chicken
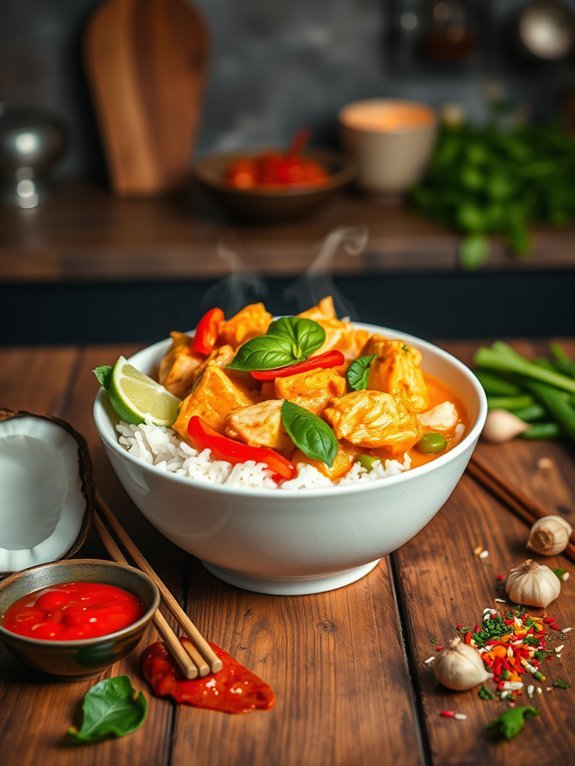
Thai Coconut Curry Chicken is a delightful dish that brings the perfect balance of flavors and aromas to your dining table. The creamy coconut milk paired with fragrant Thai spices creates a luscious sauce that envelops tender chicken. This dish not only showcases the vibrant flavors, but it's also quick to prepare, making it an ideal choice for a weeknight dinner or a casual gathering with friends.
Whether you prefer it mild or spicy, this curry can be easily adjusted to suit your taste. Serve it over a bed of fluffy jasmine rice or with a side of warm naan to soak up every delicious drop of the sauce. The colorful ingredients not only make this meal appetizing visually, but they also pack a nutritional punch, making it as wholesome as it's delightful.
Ingredients:
- 1 lb boneless, skinless chicken thighs, cut into bite-sized pieces
- 1 can (14 oz) coconut milk
- 2 tablespoons red curry paste
- 1 tablespoon vegetable oil
- 1 onion, thinly sliced
- 2 cloves garlic, minced
- 1 tablespoon fresh ginger, minced
- 1 red bell pepper, sliced
- 1 cup snap peas
- 2 tablespoons fish sauce
- 1 tablespoon brown sugar
- Fresh basil leaves, for garnish
- Lime wedges, for serving
In a large skillet or pot, heat the vegetable oil over medium heat. Add the sliced onion and sauté until translucent, about 3-4 minutes. Stir in the garlic and ginger, cooking for an additional minute until fragrant.
Next, add the chicken pieces and cook until they're no longer pink. Mix in the red curry paste, ensuring the chicken is well-coated. Pour in the coconut milk, fish sauce, and brown sugar, bringing the mixture to a gentle simmer. Add the sliced bell pepper and snap peas, cooking for about 5-7 minutes until the vegetables are tender and the chicken is cooked through. Serve hot, garnished with fresh basil and lime wedges on the side.
For the best flavor, allow the curry to simmer for a little longer, which will enhance the depth of the spices. If you enjoy a spicier dish, consider adding sliced fresh chili or a dash of chili flakes while cooking.
Additionally, feel free to customize the vegetables based on your preference or what you have on hand—zucchini, carrots, or broccoli work wonderfully in this coconut curry.
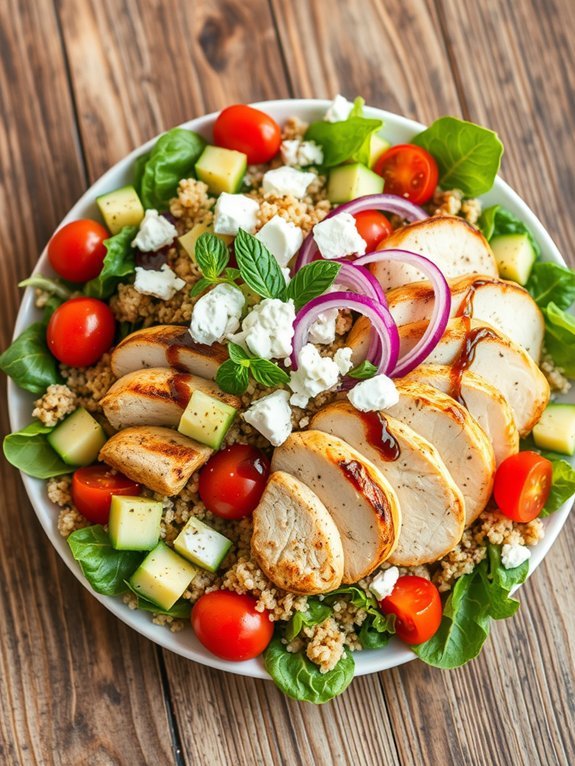
Chicken Caesar Salad
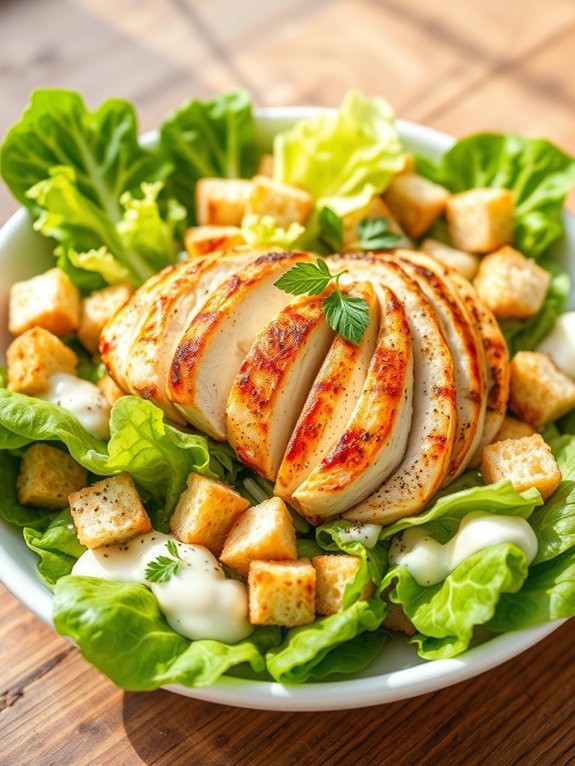
A Chicken Caesar Salad is a delightful combination of rich flavors and crisp textures, making it a popular choice for both lunch and dinner. With the savory taste of grilled chicken, the crunch of fresh romaine lettuce, and the creamy Caesar dressing, this salad becomes not just a side dish but a satisfying main course.
Whether you're preparing it for a summer barbecue or a leisurely dinner, it's sure to impress with its vibrant presentation and delicious ingredients.
Making a Chicken Caesar Salad isn't only quick and easy, but it also offers versatility. You can customize the recipe by adding your favorite toppings, such as croutons or parmesan cheese, to create a unique dish that suits your taste.
Furthermore, this salad is a wonderful way to incorporate lean protein from the chicken, along with fiber and nutrients from the greens, promoting a healthy and balanced meal.
Ingredients:
- 2 boneless, skinless chicken breasts
- 1 tablespoon olive oil
- Salt and pepper to taste
- 1 large head of romaine lettuce, chopped
- 1/2 cup Caesar dressing
- 1/4 cup freshly grated parmesan cheese
- Croutons for topping
- Freshly ground black pepper for garnish (optional)
Season the chicken breasts with olive oil, salt, and pepper, then grill or sauté them over medium heat until cooked through and internal temperature reaches 165°F (about 6-7 minutes per side).
Once cooked, let the chicken rest for a few minutes before slicing it into strips. In a large bowl, combine the chopped romaine lettuce with Caesar dressing, tossing to coat evenly. Top the dressed lettuce with sliced chicken, grated parmesan cheese, and croutons.
For a creamier version of your Chicken Caesar Salad, consider adding a couple of tablespoons of Greek yogurt to the dressing. This won't only enhance the flavor but also provide a boost of protein.
Additionally, experimenting with marinating the chicken in lemon juice, garlic, or herbs prior to cooking can elevate the taste considerably.
Finally, for those who prefer a less traditional approach, try adding ingredients like avocado or bacon for extra richness.
Mediterranean Chicken Skewers
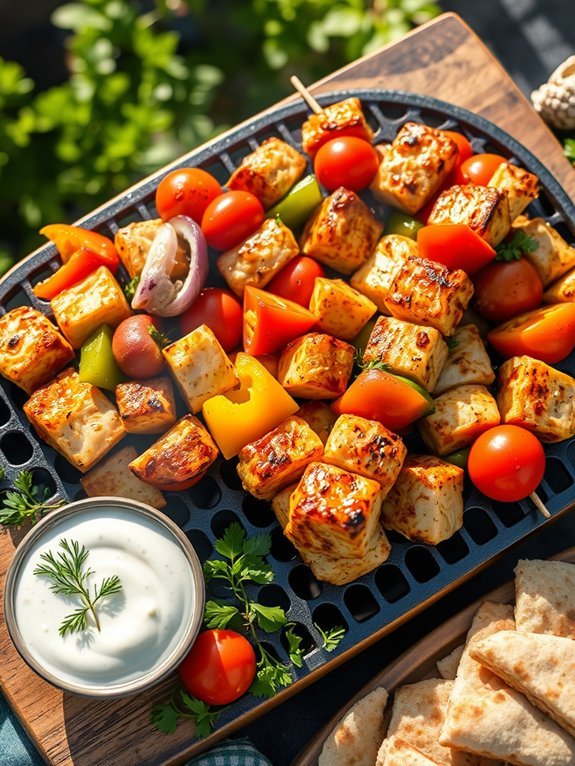
Mediterranean Chicken Skewers are a delightful and vibrant way to enjoy the rich flavors of the Mediterranean region. With succulent pieces of marinated chicken grilled to perfection and paired with an array of colorful vegetables, these skewers aren't only visually appealing but also bursting with flavor. This dish is perfect for any gathering, from casual backyard barbecues to sophisticated dinner parties.
The key to achieving the best Mediterranean Chicken Skewers lies in the marinade, which typically features ingredients like olive oil, lemon juice, garlic, and a variety of herbs such as oregano and rosemary. Allowing the chicken to marinate for several hours enhances its flavor and tenderness. Grilled to a golden brown, these skewers can be served on their own or alongside a fresh salad and pita bread for a complete meal.
- 1.5 lbs boneless, skinless chicken breasts, cut into 1-inch cubes
- 1/4 cup olive oil
- 2 tablespoons lemon juice
- 3 cloves garlic, minced
- 1 tablespoon dried oregano
- 1 teaspoon dried thyme
- 1 teaspoon salt
- 1/2 teaspoon black pepper
- 1 bell pepper (any color), cut into 1-inch squares
- 1 red onion, cut into wedges
- Cherry tomatoes (about 1 cup)
- Skewers (metal or soaked wooden skewers)
In a bowl, whisk together the olive oil, lemon juice, minced garlic, oregano, thyme, salt, and pepper to create the marinade. Add the chicken cubes to the marinade, ensuring they're well coated, and let them marinate for at least 1 hour (or up to 4 hours) in the refrigerator.
Once marinated, thread the chicken and vegetables onto the skewers, alternating between chicken, bell pepper, onion, and cherry tomatoes. Preheat the grill to medium-high heat and cook the skewers for about 10-12 minutes, turning occasionally, until the chicken is cooked through and has grill marks.
When preparing Mediterranean Chicken Skewers, you can experiment with different vegetables based on your preference or what's in season. Zucchini, mushrooms, and eggplant also make excellent additions.
Additionally, to achieve that perfect char on the grill, make sure your grill grates are well oiled and preheated. If using wooden skewers, soaking them in water for at least 30 minutes before grilling will prevent them from burning.
Enjoy your skewers fresh off the grill, and consider serving them with a side of tzatziki sauce for an authentic Mediterranean touch.
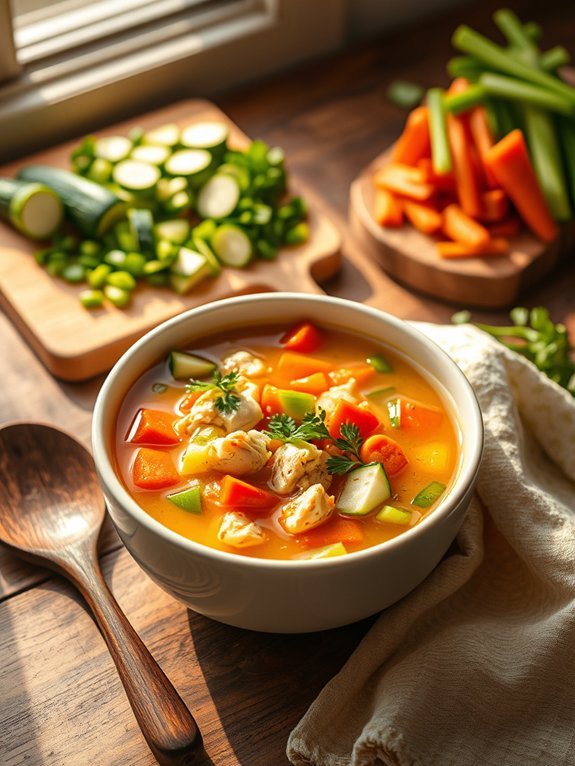
One-Pan Chicken and Veggies
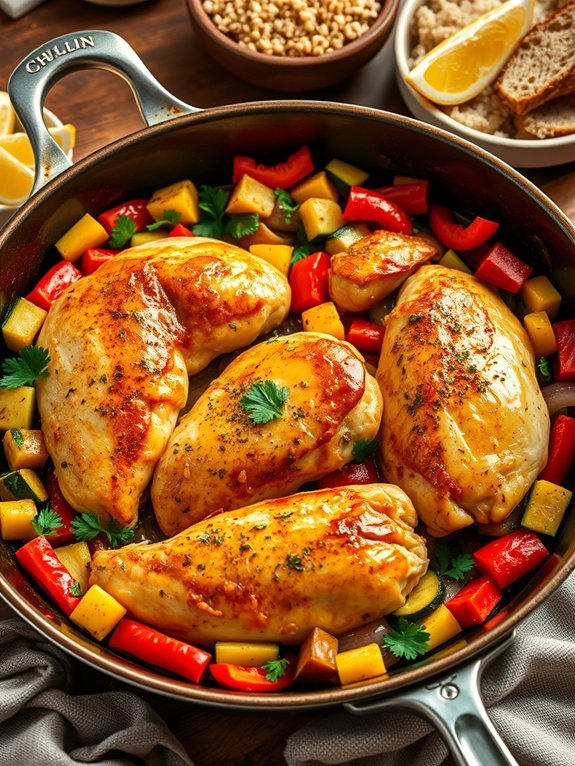
One-Pan Chicken and Veggies is a fabulous weeknight meal that brings together tender chicken breasts and a colorful assortment of vegetables, all cooked in a single pan. This not only minimizes cleanup but also allows the flavors to meld beautifully, creating a delicious and wholesome dish.
The recipe is flexible, meaning you can easily swap in your favorite vegetables or adjust the seasonings to suit your taste preferences. Ideal for busy families or anyone who appreciates simplicity in the kitchen, this meal is ready in under an hour. Pair it with a side of rice, quinoa, or crusty bread for a satisfying dinner. The best part is that the combination of juicy chicken and seasoned veggies means you'll get a well-rounded meal without the hassle of elaborate preparation.
- 4 boneless, skinless chicken breasts
- 1 red bell pepper, diced
- 1 yellow bell pepper, diced
- 1 zucchini, sliced
- 1 red onion, sliced
- 3 cloves garlic, minced
- 2 tablespoons olive oil
- 1 teaspoon dried oregano
- 1 teaspoon paprika
- Salt and pepper to taste
- Fresh parsley for garnish (optional)
Preheat your oven to 400°F (200°C). In a large oven-safe skillet, heat olive oil over medium heat. Add the chicken breasts, searing them for about 4-5 minutes on each side until golden brown. Remove the chicken and set it aside.
In the same pan, add the bell peppers, zucchini, onion, and garlic, sautéing for about 5 minutes. Season the veggies with oregano, paprika, salt, and pepper. Place the chicken back on top of the veggies, then transfer the skillet to the preheated oven. Bake for 25-30 minutes, or until the chicken is cooked through and reaches an internal temperature of 165°F (74°C).
When preparing One-Pan Chicken and Veggies, feel free to experiment with different vegetable combinations or your favorite spices and herbs. For a little kick, consider adding some red pepper flakes, or if you prefer a more lemony flavor, squeeze fresh lemon juice over the dish before serving.
Remember to let the chicken rest for a few minutes after removing it from the oven to keep it juicy, and don't forget to garnish with fresh parsley for added color and brightness. Enjoy!
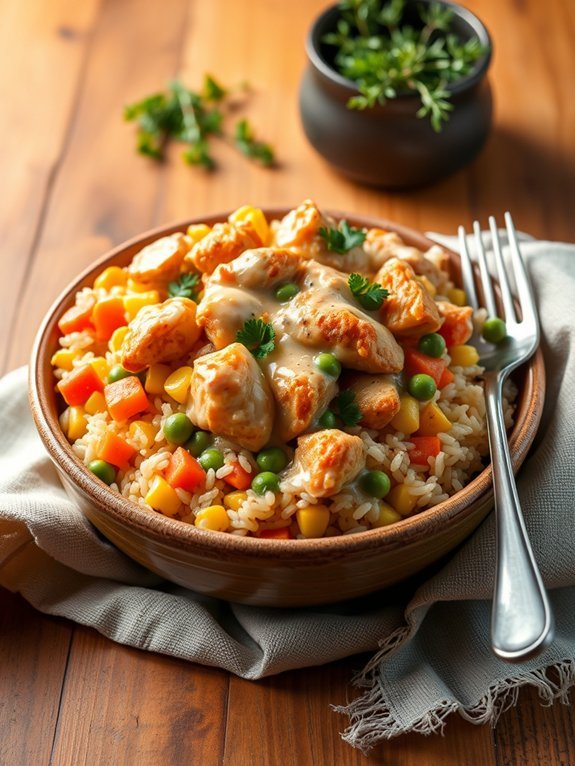
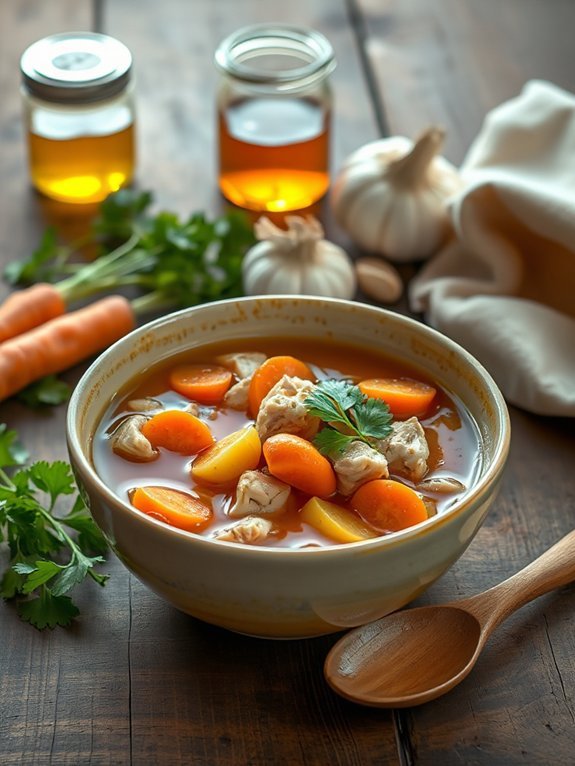
Chicken Pot Pie
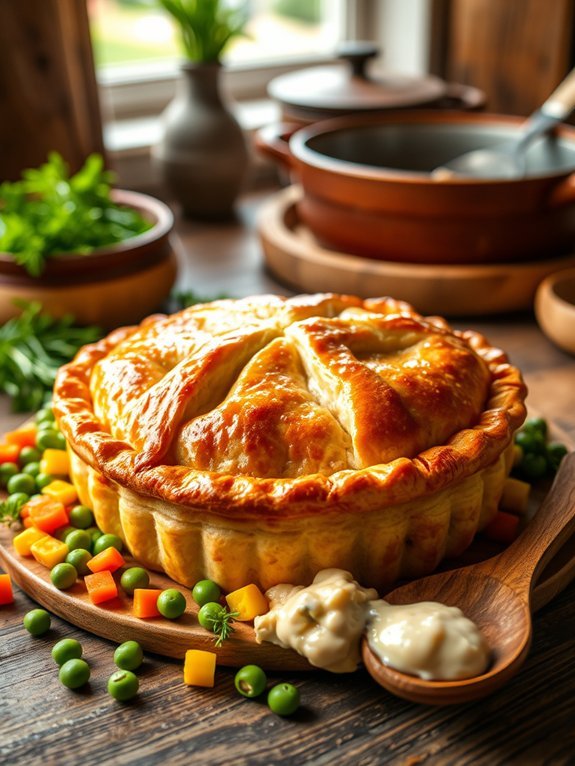
Chicken pot pie is a classic comfort food that brings warmth and satisfaction to any dinner table. With its flaky, buttery crust encasing tender chicken and colorful vegetables in a creamy sauce, it's a dish that appeals to both the young and old alike.
Whether you're preparing it for a family gathering or a cozy night in, this recipe will certainly delight the taste buds.
Making chicken pot pie can seem intimidating, but it's a fairly straightforward process that can be accomplished in just a few steps. Using either store-bought or homemade pie crust, you can find a balance between convenience and tradition.
The filling can vary based on personal preference or what you have on hand, making it a versatile dish that can change with the seasons or your cravings.
Ingredients:
- 1 pound cooked chicken, shredded or diced
- 2 cups mixed vegetables (carrots, peas, corn, green beans)
- 1 cup chicken broth
- 1 cup milk
- 1/3 cup all-purpose flour
- 1/4 cup butter
- 1 onion, diced
- 2 cloves garlic, minced
- 1 tsp salt
- 1/2 tsp black pepper
- 1 tsp dried thyme
- 1 tsp poultry seasoning
- 2 pie crusts (store-bought or homemade)
Preheat your oven to 425°F (220°C). In a large saucepan, melt the butter over medium heat and sauté the onion and garlic until they're translucent.
Stir in the flour and cook for another minute, then gradually whisk in the chicken broth and milk. Bring the mixture to a simmer, allowing it to thicken.
Add the cooked chicken, mixed vegetables, salt, pepper, thyme, and poultry seasoning. Mix well, then pour the filling into a pie dish lined with one of the pie crusts.
Cover with the second pie crust, seal the edges, and cut small slits in the top crust to allow steam to escape. Bake for 30-35 minutes, or until the crust is golden brown.
For an even flakier crust, make sure your butter is very cold when making or rolling out your pie crust. You can also add a splash of white wine to the filling for an extra depth of flavor.
If you want to make it ahead of time, the pie can be assembled and frozen before baking; just add an extra 10-15 minutes to the baking time when you're ready to cook it.