If you're craving comfort in a bowl, homemade chicken soups are the way to go. Whip up classic favorites like Chicken Noodle or Creamy Chicken and Rice for cozy nights. For a twist, try Lemon Chicken Orzo or Spicy Chicken Tortilla Soup to spice things up. Want something sweet and savory? Honey Garlic Chicken Soup is perfect. Discover a variety of flavors and ingredients that cater to all tastes, each recipe waiting to be explored further.
Classic Chicken Noodle Soup
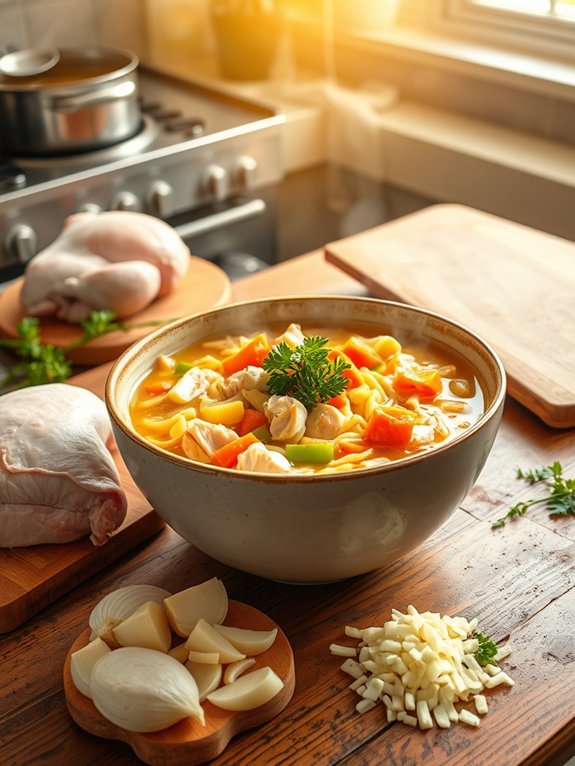
Classic Chicken Noodle Soup is a comforting dish that many of us associate with warm memories, cozy nights, and a sense of home. Made with tender chunks of chicken, hearty vegetables, and soft noodles, it's a dish that's both nourishing and satisfying. This time-honored recipe is perfect for chilly days, sick days, or any moment you need a little extra comfort. It's simple to prepare and allows the flavors to meld beautifully, making it a dish anyone can master.
To create a rich and flavorful broth, quality ingredients are essential. Using fresh chicken along with wholesome vegetables adds depth to the soup, while the addition of herbs can elevate the taste considerably. The beauty of this classic dish lies in its versatility; you can adjust the ingredients based on what you have on hand or your personal preferences. Best served hot, Chicken Noodle Soup is bound to warm you up from the inside out.
- 1 whole chicken (about 4-5 pounds)
- 8 cups water
- 2 carrots, sliced
- 2 celery stalks, sliced
- 1 onion, chopped
- 3 garlic cloves, minced
- 1 teaspoon dried thyme
- 1 teaspoon dried rosemary
- Salt and pepper to taste
- 2 cups egg noodles
- Fresh parsley, chopped (for garnish)
In a large pot, combine the whole chicken, water, carrots, celery, onion, garlic, thyme, rosemary, salt, and pepper. Bring to a boil over medium-high heat, then reduce the heat to a simmer. Cover the pot and allow the chicken to cook for about 1 hour or until fully cooked and tender.
Once the chicken is done, remove it from the pot and let it cool slightly before shredding the meat. Strain the broth to remove the vegetables, then return it to the pot and bring to a simmer again. Add the egg noodles and cook according to package instructions. Finally, stir in the shredded chicken and heat through before serving.
For the best Chicken Noodle Soup experience, consider making a batch ahead of time and storing it in the fridge or freezer. The flavors will continue to improve as the soup sits, so it's a great dish to prepare in advance.
Store any leftovers in an airtight container, and remember that the noodles will absorb some broth as they sit, so add a little extra water when reheating. Don't hesitate to play around with the veggies or add a splash of lemon juice for brightness; this soup is very forgiving and can be customized to your tastes!
Creamy Chicken and Rice Soup
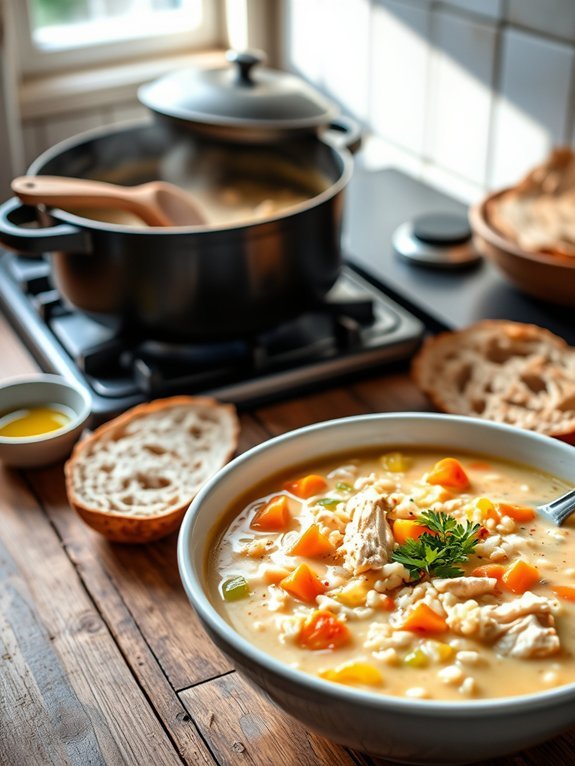
Creamy Chicken and Rice Soup is a comforting dish that warms both the body and soul, making it perfect for chilly days or when you're feeling under the weather. The rich, creamy broth combined with tender chicken and fluffy rice creates a satisfying meal that can be enjoyed on its own or as a hearty companion to a fresh salad or crusty bread.
This soup isn't only delicious but also versatile, allowing for adjustments to suit your taste preferences or dietary needs. Incorporating fresh ingredients like onions, carrots, and celery brings about depth in flavor while the addition of herbs adds an aromatic touch.
It's a perfect recipe for utilizing leftover rotisserie chicken or any cooked chicken you have on hand. With just a touch of cream or a dairy-free alternative, you can create a luscious soup that balances creaminess with the wholesome goodness of vegetables and protein.
Ingredients:
- 2 cups cooked chicken, shredded
- 1 cup uncooked rice (white or brown)
- 1 medium onion, chopped
- 2 carrots, diced
- 2 celery stalks, diced
- 4 cups chicken broth
- 1 cup heavy cream (or coconut milk for a dairy-free version)
- 2 cloves garlic, minced
- 1 teaspoon thyme
- 1 teaspoon parsley
- Salt and pepper to taste
- 2 tablespoons olive oil
In a large pot, heat olive oil over medium heat. Add onions, carrots, and celery, cooking until softened, about 5-7 minutes. Stir in the garlic and cook for an additional minute before adding the chicken broth, shredded chicken, and rice.
Bring to a boil then reduce the heat and let it simmer until the rice is cooked and tender, about 15-20 minutes. Stir in the cream, thyme, parsley, salt, and pepper, and heat through before serving.
To enhance the flavor profile of your Creamy Chicken and Rice Soup, consider adding a splash of lemon juice for brightness or a sprinkle of red pepper flakes for a bit of heat. You can also customize the vegetables based on what you have on hand, such as adding peas or spinach for extra nutrition.
For the best results, let the soup sit for a bit after cooking; this will allow the flavors to meld beautifully before serving.
Lemon Chicken Orzo Soup

Lemon Chicken Orzo Soup is a delightful dish that combines the comforting essence of chicken soup with the bright, zesty flavors of lemon. This soup isn't only easy to prepare but also packed with nutrients, making it a perfect meal for chilly days or when you're feeling under the weather.
The orzo pasta adds a lovely texture, and the infusion of fresh herbs elevates the soup to a whole new level. This recipe will serve approximately 4-6 people and can be made in under an hour. It's the ideal option for a weeknight dinner, or can be made in larger batches and stored for lunches throughout the week.
With its invigorating flavors and hearty ingredients, Lemon Chicken Orzo Soup is sure to become a family favorite.
Ingredients:
- 1 tablespoon olive oil
- 1 medium onion, diced
- 2 cloves garlic, minced
- 3 carrots, diced
- 2 stalks celery, diced
- 6 cups chicken broth
- 2 cups cooked shredded chicken
- 1 cup orzo pasta
- Zest of 1 lemon
- Juice of 1 lemon
- 1 teaspoon dried thyme
- Salt and pepper, to taste
- Fresh parsley, chopped (for garnish)
In a large pot, heat olive oil over medium heat. Add the diced onion, and sauté until translucent, about 5 minutes. Stir in the garlic, carrots, and celery, and cook until the vegetables begin to soften, about another 5 minutes.
Pour in the chicken broth and bring the mixture to a gentle boil. Add the shredded chicken and orzo pasta, cooking for about 10-12 minutes or until the pasta is al dente.
Finally, stir in the lemon zest, lemon juice, dried thyme, salt, and pepper to taste, and allow the soup to simmer for a few more minutes before serving. Garnish with freshly chopped parsley.
When making Lemon Chicken Orzo Soup, feel free to customize it with your favorite vegetables or herbs. Adding fresh spinach or kale towards the end of cooking can increase the nutritional value, and using homemade chicken stock will amplify the flavors even more.
If you prefer a thicker soup, you can add more orzo, but be sure to adjust the broth accordingly. This soup also freezes well, so don't hesitate to make extra for future meals!
Spicy Chicken Tortilla Soup
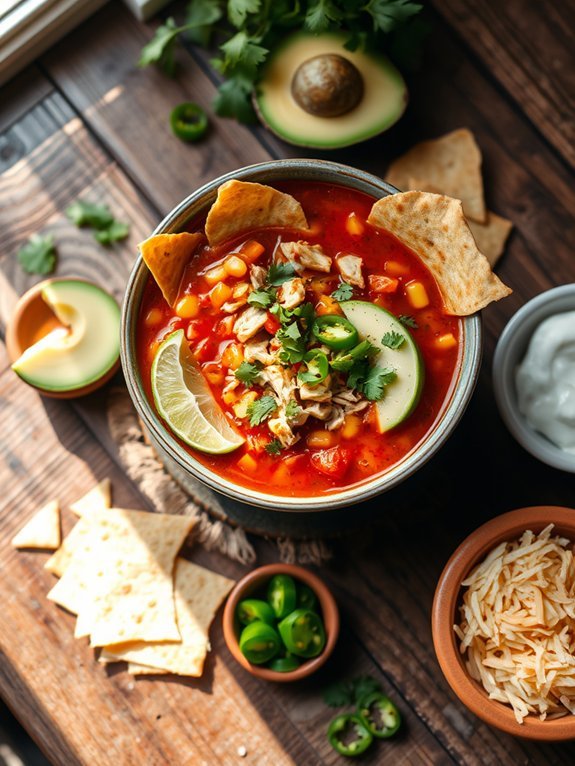
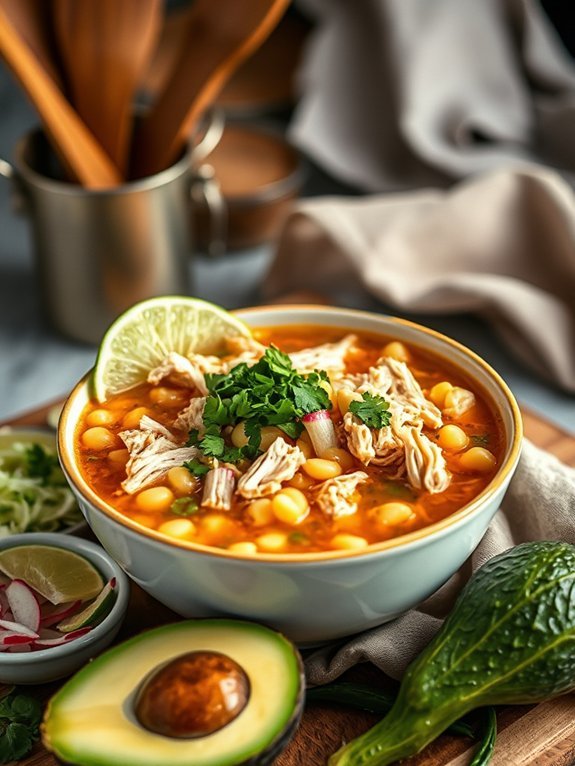
When the weather gets cooler or when you're in need of a comforting meal, nothing warms you up quite like a hearty bowl of Spicy Chicken Tortilla Soup. This delicious Mexican-inspired soup combines the vibrant flavors of zesty tomatoes, tender chicken, and a kick of spice that elevates a simple chicken soup to new culinary heights.
With the layers of flavor from spices and herbs, along with the crunchiness of crispy tortilla strips, it's perfect for a cozy family dinner or an impressive dish for entertaining friends.
The beauty of this Spicy Chicken Tortilla Soup lies in its versatility. You can customize the heat level to suit your taste by adjusting the amount of jalapeño or chili powder you use. This soup also provides ample opportunity to add extra toppings like avocado, cheese, and lime, making each bowl uniquely yours.
Plus, it's a great way to utilize leftover chicken or rotisserie chicken, making the prep even easier. So gather your ingredients, and let's start cooking!
- 2 tablespoons olive oil
- 1 medium onion, diced
- 2 cloves garlic, minced
- 1 jalapeño, seeded and diced (adjust to taste)
- 1 teaspoon ground cumin
- 1 teaspoon chili powder
- 1 can (14.5 oz) diced tomatoes
- 4 cups chicken broth
- 2 cups cooked chicken, shredded
- Salt and pepper to taste
- 1 cup corn kernels (fresh or frozen)
- 1 lime, juiced
- Tortilla strips for garnish
- Chopped fresh cilantro for garnish
- Avocado slices (optional)
- Shredded cheese (optional)
In a large pot, heat the olive oil over medium heat. Add the diced onion and cook until translucent, about 5 minutes. Stir in the minced garlic and jalapeño, cooking for an additional minute.
Then, add the cumin and chili powder, stirring until fragrant. Next, pour in the diced tomatoes along with their juice, the chicken broth, shredded chicken, corn, salt, and pepper. Bring the soup to a gentle boil, reduce heat, and let simmer for about 20 minutes.
Just before serving, stir in the lime juice for a fresh burst of flavor. Serve hot, garnished with crispy tortilla strips, cilantro, avocado slices, and shredded cheese if desired.
To make your Spicy Chicken Tortilla Soup even more delicious, consider roasting the vegetables beforehand for added depth of flavor. You can also let the soup cool and store it, as the flavors meld beautifully over time.
Adjust the toppings to your liking; fresh jalapeños, sour cream, and different cheeses can add wonderful textures and flavors. Enjoy experimenting with the recipe to find your perfect balance of spice and flavor!
Honey Garlic Chicken Soup
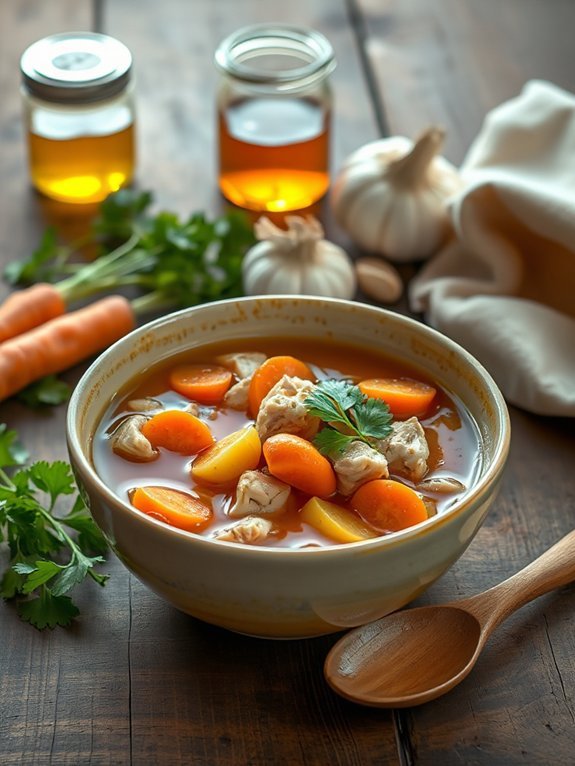
Honey Garlic Chicken Soup is a delightful and flavorful dish that combines the richness of chicken with the sweetness of honey and the pungency of garlic. This comforting soup is perfect for chilly evenings or when you need a quick pick-me-up during cold and flu season.
With its aromatic broth and tender pieces of chicken, it offers a warm embrace and a nourishing meal for the whole family. The inclusion of honey adds a unique sweetness, but it also helps balance the savory notes provided by garlic and any added vegetables.
This recipe is versatile and can be adjusted to include your favorite veggies or grains, making it a great option for using up what you have in your pantry or refrigerator. Get ready to indulge in a bowl of homemade comfort with this easy and delicious Honey Garlic Chicken Soup!
Ingredients:
- 2 tablespoons olive oil
- 1 pound boneless, skinless chicken thighs or breasts, diced
- 4 cloves garlic, minced
- 1 medium onion, chopped
- 3 carrots, sliced
- 3 celery stalks, chopped
- 6 cups chicken broth
- 1/3 cup honey
- 2 tablespoons soy sauce
- 1 teaspoon fresh ginger, minced
- Salt and pepper to taste
- Fresh parsley, chopped (for garnish)
In a large pot, heat the olive oil over medium heat and add the diced chicken, cooking until browned. Stir in the minced garlic, onions, carrots, and celery, cooking for about 5 minutes until the vegetables begin to soften.
Pour in the chicken broth, honey, soy sauce, and ginger, then bring to a boil. Reduce the heat and let it simmer for about 20-30 minutes, until the chicken is cooked through and the flavors meld together.
Season with salt and pepper to taste and garnish with fresh parsley before serving.
When preparing Honey Garlic Chicken Soup, feel free to experiment by adding in your favorite vegetables, such as spinach or mushrooms, for added nutrition and flavor. If you want a thicker soup, consider adding a small amount of cornstarch mixed with water or cooked rice or noodles to create a heartier meal.
Make sure to adjust the level of honey based on your sweetness preference and enjoy the comforting and robust flavors of this homemade soup!
Rustic Chicken Vegetable Soup
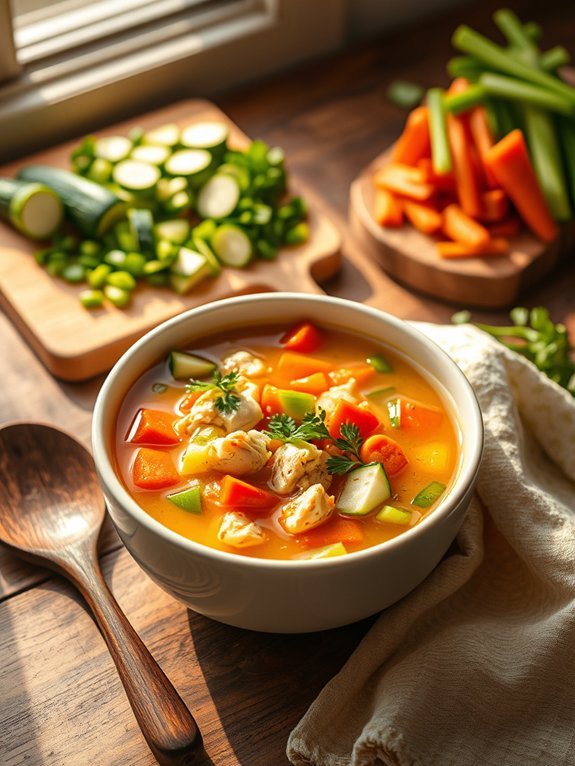
Rustic Chicken Vegetable Soup is a comforting dish that embodies the warmth of home-cooked meals. This hearty soup is packed with tender chicken, vibrant vegetables, and seasoned broth, making it perfect for chilly evenings or when someone needs a little extra care. The soul of this recipe lies in its simplicity, allowing each ingredient to shine through and create a nourishing bowl of goodness.
To make this soup truly rustic, it's best to use a variety of fresh, seasonal vegetables along with succulent pieces of chicken. You can either use bone-in chicken for richer flavor or shredded rotisserie chicken for a quicker option. Regardless of the choice, this Rustic Chicken Vegetable Soup isn't only easy to prepare but can also be customized to your liking, so feel free to use any seasonal vegetables you have on hand.
Ingredients:
- 1 tablespoon olive oil
- 1 onion, diced
- 3 cloves garlic, minced
- 2 carrots, sliced
- 2 celery stalks, sliced
- 1 bell pepper, diced
- 1 zucchini, diced
- 1 pound boneless, skinless chicken thighs or breasts, cut into bite-sized pieces
- 6 cups chicken broth
- 1 teaspoon dried thyme
- 1 teaspoon dried oregano
- Salt and pepper to taste
- Fresh parsley, chopped (for garnish)
In a large pot, heat the olive oil over medium heat. Add the onion and garlic, sautéing until fragrant and softened. Then add the carrots, celery, and bell pepper, cooking for an additional 5 minutes.
Stir in the chicken pieces and cook until they're no longer pink. Pour in the chicken broth, add the dried thyme and oregano, and bring the soup to a boil. Once boiling, reduce the heat and let it simmer for about 25-30 minutes.
In the last 10 minutes, stir in the zucchini, and season with salt and pepper to taste. Finish with a sprinkle of fresh parsley before serving.
For an extra depth of flavor, consider adding a splash of Worcestershire sauce or lemon juice for brightness. If you want a thicker soup, you can blend a portion of it and stir it back into the pot. Additionally, this soup freezes well, so make a larger batch and store portions in airtight containers for future meals.
Finally, feel free to swap in any of your favorite vegetables or even add some cooked pasta or rice to make it even heartier. Enjoy your rustic meal!
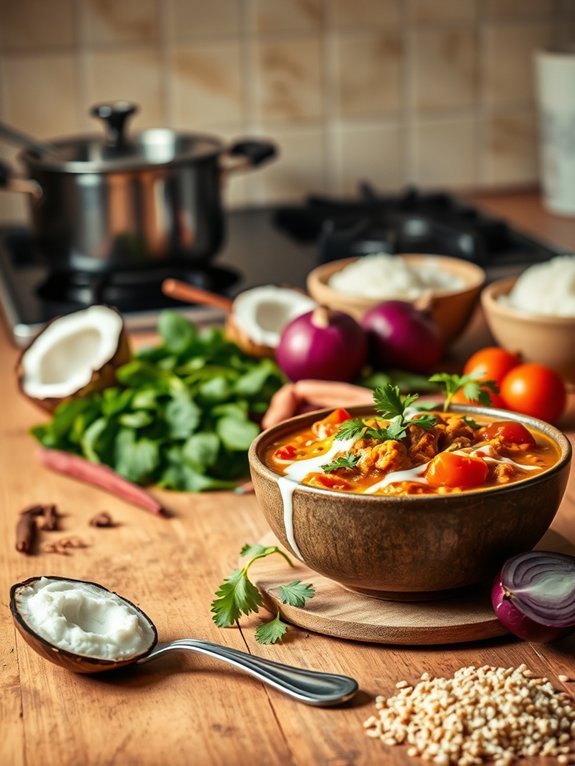
Coconut Curry Chicken Soup

Coconut Curry Chicken Soup is a vibrant and comforting dish that brings together the richness of coconut milk, the warmth of curry spices, and tender chicken in a single bowl. This soup is perfect for a chilly day or when you need a boost of warmth and flavor. The combination of ingredients creates a harmonious balance that's both satisfying and nourishing, making it a favorite in many households.
Making this dish is a breeze, as it requires relatively simple ingredients and methods. You can customize it to your taste by adding different vegetables or adjusting the level of spice. Whether enjoyed on its own or paired with some crusty bread or rice, Coconut Curry Chicken Soup is sure to delight everyone at your table.
- 1 lb (450g) chicken breast, cubed
- 1 can (13.5 oz) coconut milk
- 4 cups chicken broth
- 1 tablespoon red curry paste (or to taste)
- 1 tablespoon vegetable oil
- 1 onion, chopped
- 3 cloves garlic, minced
- 1 tablespoon ginger, grated
- 2 cups spinach or kale, chopped
- 1 bell pepper, sliced
- 1 cup carrots, diced
- Salt and pepper to taste
- Fresh cilantro for garnish (optional)
- Lime wedges for serving (optional)
In a large pot, heat the vegetable oil over medium heat. Add the chopped onion, garlic, and ginger, sautéing until the onion turns translucent. Add the cubed chicken and cook until it starts to brown. Stir in the red curry paste and cook for another minute to release the flavors.
Pour in the chicken broth and coconut milk, bringing the mixture to a gentle boil. Add the bell pepper and carrots, then reduce the heat and let it simmer for about 15-20 minutes until the chicken is cooked through and the vegetables are tender.
Ultimately, stir in the chopped spinach or kale and cook for an additional 2-3 minutes before seasoning with salt and pepper to taste. Garnish with fresh cilantro and serve with lime wedges.
For an enhanced depth of flavor, consider marinating the chicken in some curry paste and lime juice before cooking. You can experiment with different proteins such as shrimp or tofu if you want a lighter option.
Adding more vegetables such as broccoli or sweet potatoes can also make the soup more nutritious and colorful. Additionally, feel free to adjust the spice level to suit your preference by adding more or less curry paste. Enjoy your culinary adventure!
Chicken and Quinoa Soup
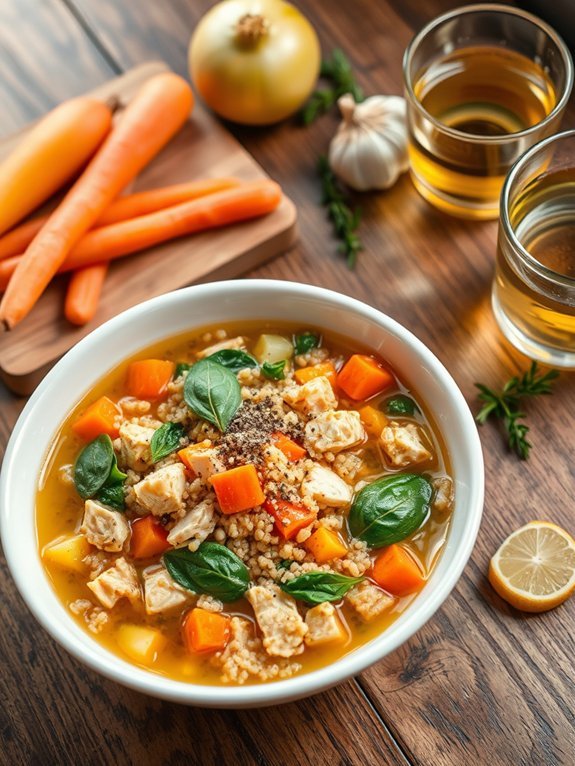
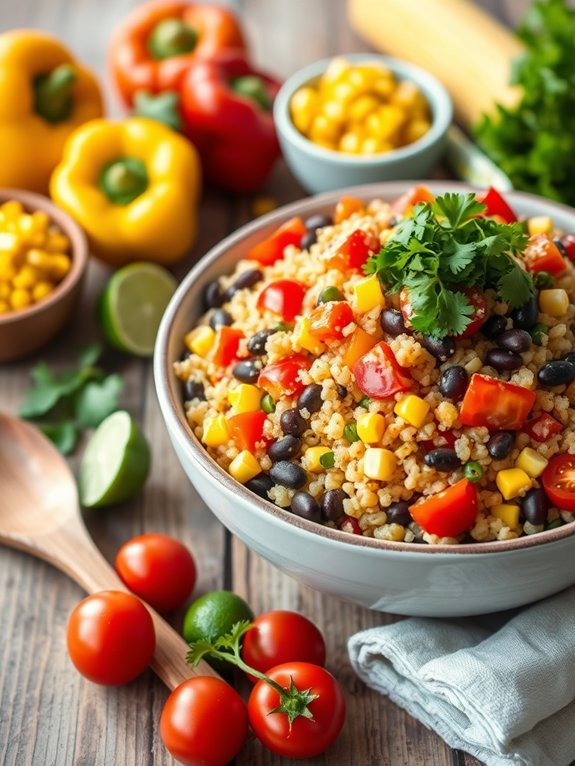
Chicken and quinoa soup is a nourishing meal that's perfect for any time of the year. It combines the wholesome goodness of chicken with protein-packed quinoa and an array of colorful vegetables, making it both hearty and healthy. Whether you're looking to warm up on a cold day or need something comforting when you're feeling under the weather, this soup is sure to satisfy.
The versatility of the ingredients also means you can easily customize the soup based on what you have on hand. To get started, you'll want to select fresh, high-quality chicken, as it will be the star ingredient of your dish. Pair it with vegetables like carrots, celery, and spinach to add flavor and nutritional value.
The quinoa not only acts as a filler but also adds a delightful texture to the soup. With just a bit of seasoning, this dish becomes a flavorful, fulfilling creation that you can enjoy alone or share with family and friends.
- 1 pound chicken breast or thighs, diced
- 1 cup quinoa, rinsed
- 4 cups chicken broth
- 2 cups water
- 1 medium onion, chopped
- 2 carrots, diced
- 2 celery stalks, diced
- 2 cups fresh spinach
- 2 cloves garlic, minced
- 1 teaspoon dried thyme
- Salt and pepper, to taste
- Olive oil for sautéing
In a large pot, heat a drizzle of olive oil over medium heat, then add the chopped onion, carrots, and celery. Sauté until the vegetables are tender, about 5-7 minutes. Next, add the diced chicken and cook until no longer pink.
Stir in the garlic, thyme, quinoa, chicken broth, and water. Bring the mixture to a boil, then reduce heat to a simmer and cover, cooking for about 15-20 minutes until the quinoa is cooked and the chicken is tender. Finally, add the fresh spinach just before serving to wilt it down.
When making chicken and quinoa soup, feel free to experiment by adding your favorite herbs and spices for a unique twist. You can also substitute the chicken for turkey or use leftover rotisserie chicken for an even quicker option.
If you want a creamier texture, consider stirring in a splash of cream or coconut milk just before serving. For added depth of flavor, a squeeze of fresh lemon juice can brighten up the dish beautifully.
Mediterranean Chicken Soup
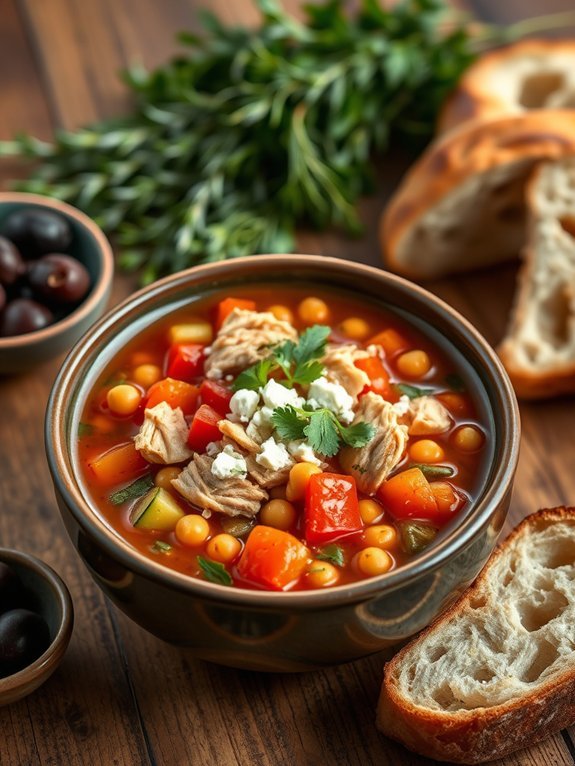
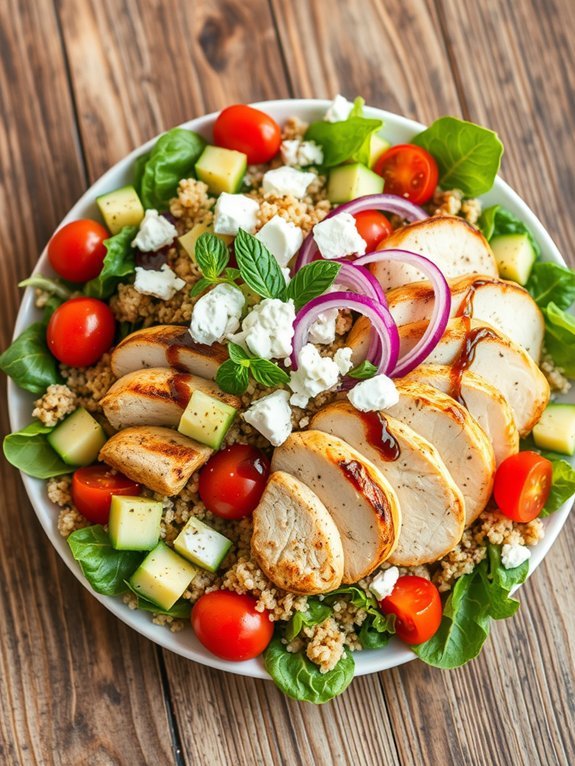
Mediterranean Chicken Soup is a hearty and vibrant dish that captures the essence of the Mediterranean region. Rich in flavors and infused with fresh herbs, this soup combines tender chicken, colorful vegetables, and aromatic spices, making it a wholesome choice for any meal. Whether you're looking for a comforting dinner or a light yet satisfying lunch, this recipe is sure to delight your taste buds and warm your soul.
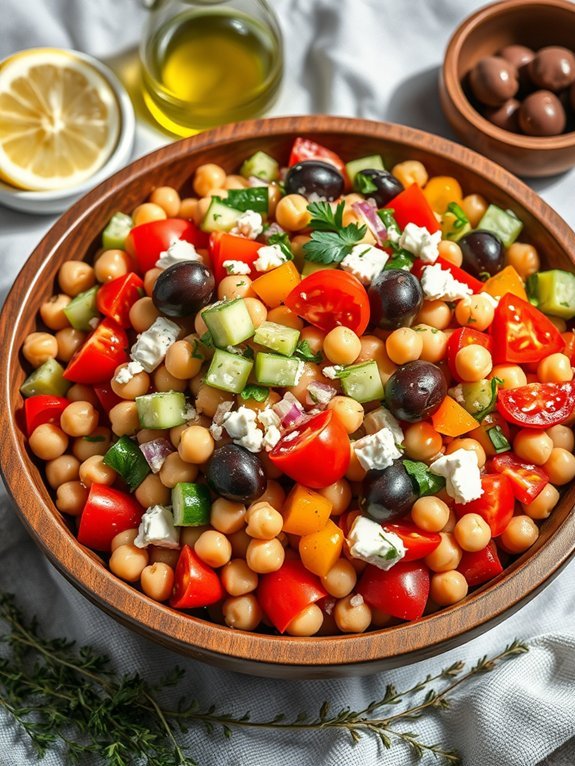
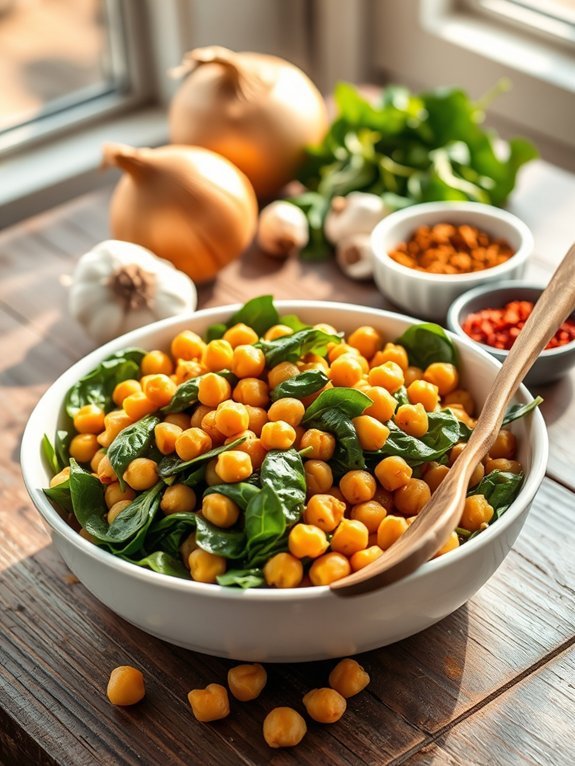
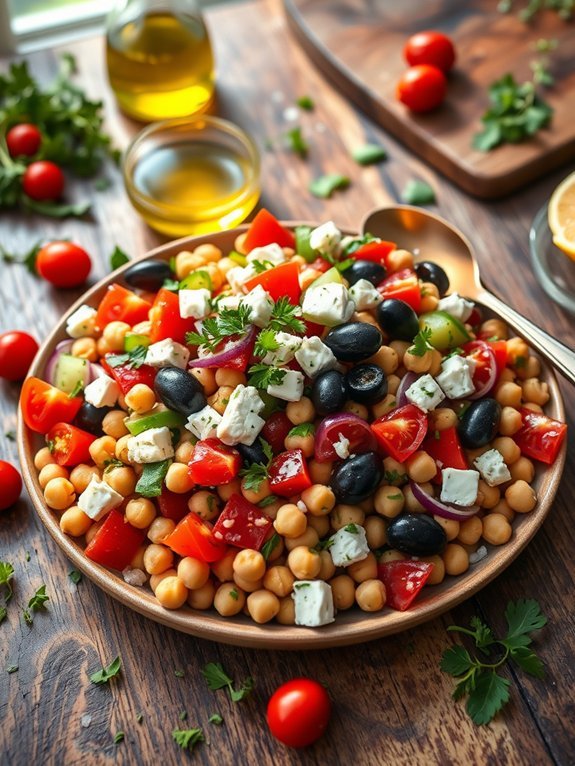
The beauty of Mediterranean Chicken Soup lies not only in its flavor but also in its nutritional value. Packed with lean protein from chicken and an array of vegetables, this soup is a fantastic option for those seeking a healthy meal. The addition of elements like olives, tomatoes, and chickpeas not only enhances the flavor profile but also adds texture and richness to the dish, making it a delicious and fulfilling option for any occasion.
Ingredients:
- 1 lb boneless, skinless chicken breasts
- 4 cups chicken broth
- 1 can (15 oz) chickpeas, drained and rinsed
- 1 cup diced tomatoes (canned or fresh)
- 1 medium onion, chopped
- 2 cloves garlic, minced
- 2 medium carrots, diced
- 1 medium zucchini, diced
- 1 red bell pepper, chopped
- 1 tsp dried oregano
- 1 tsp dried thyme
- Juice of 1 lemon
- 1/4 cup chopped fresh parsley
- Salt and pepper to taste
- 2 tablespoons olive oil
In a large pot, heat the olive oil over medium heat and add the chopped onion, garlic, carrots, zucchini, and red bell pepper. Sauté until the vegetables begin to soften, about 5-7 minutes.
Next, add the chicken breasts, chicken broth, diced tomatoes, chickpeas, oregano, thyme, salt, and pepper. Bring the mixture to a boil, then reduce the heat to low, cover, and let it simmer for about 30 minutes, or until the chicken is cooked through.
Remove the chicken, shred it with two forks, then return it to the pot along with the lemon juice and fresh parsley. Stir well and serve hot.
For an extra flavor boost, consider garnishing your soup with crumbled feta cheese and kalamata olives. You can also customize the soup by adding your favorite Mediterranean ingredients such as spinach, kale, or even a dash of red pepper flakes for a bit of heat.
Additionally, serving this soup alongside a warm crusty bread or a simple salad can elevate the dining experience, making it a complete and satisfying meal. Enjoy your cooking adventure!
Chicken Dumpling Soup
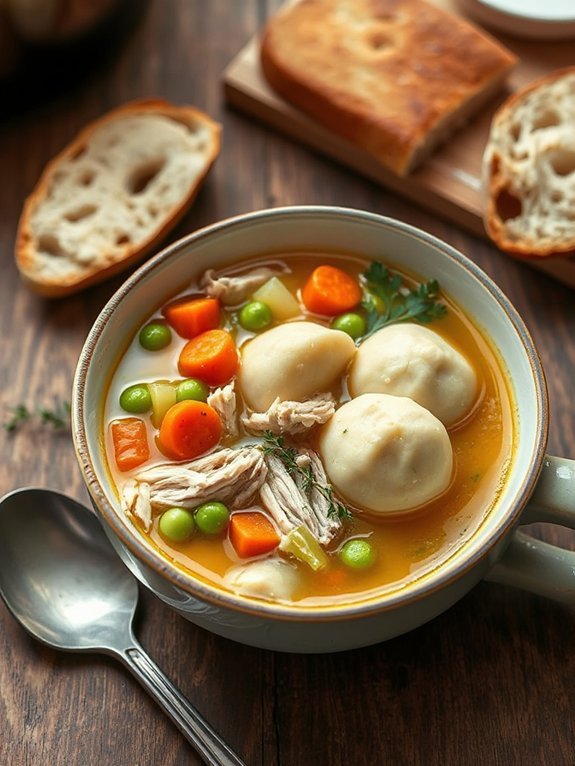
Chicken Dumpling Soup is a comforting and hearty dish that brings warmth and nostalgia to the dinner table. The soft, pillowy dumplings combined with tender chicken and fresh vegetables create a nourishing meal that can be enjoyed any time of the year. Perfect for chilly evenings or when you're feeling under the weather, this soup can be easily adapted to suit your taste preferences or dietary needs.
Making Chicken Dumpling Soup is a relatively simple process, allowing you to prepare a wholesome meal with minimal effort. Once you've gathered your ingredients, the recipe requires a bit of simmering on the stovetop, which allows all the flavors to meld beautifully. The fluffy dumplings cook right in the broth, soaking up the delicious flavors, making this dish a family favorite.
- 1 lb boneless, skinless chicken breasts or thighs
- 4 cups chicken broth
- 1 cup water
- 2 cups mixed vegetables (carrots, peas, celery)
- 1 small onion, diced
- 3 cloves garlic, minced
- 2 cups all-purpose flour
- 1 tablespoon baking powder
- 1 teaspoon salt
- 1/4 cup milk
- 2 tablespoons butter, melted
- 1 teaspoon dried thyme
- Fresh parsley, for garnish (optional)
In a large pot, combine chicken, chicken broth, water, diced onion, minced garlic, and mixed vegetables. Bring to a boil, then reduce heat to a simmer and cook until the chicken is fully cooked, about 15-20 minutes. Once done, remove the chicken, shred it, and return it to the pot.
In a separate bowl, mix together the flour, baking powder, salt, thyme, milk, and melted butter to create a thick dough. Bring the soup to a gentle boil, drop spoonfuls of the dumpling batter into the boiling broth, and cook for about 10-12 minutes or until the dumplings are cooked through and fluffy. Serve warm, garnished with fresh parsley if desired.
For the best results, use fresh herbs and quality chicken broth for a rich flavor. If you prefer a thicker broth, you can add a cornstarch slurry (cornstarch mixed with water) before adding the dumplings. Feel free to customize your vegetable selection based on what you have on hand, and don't hesitate to experiment with spices to give the soup your unique twist.
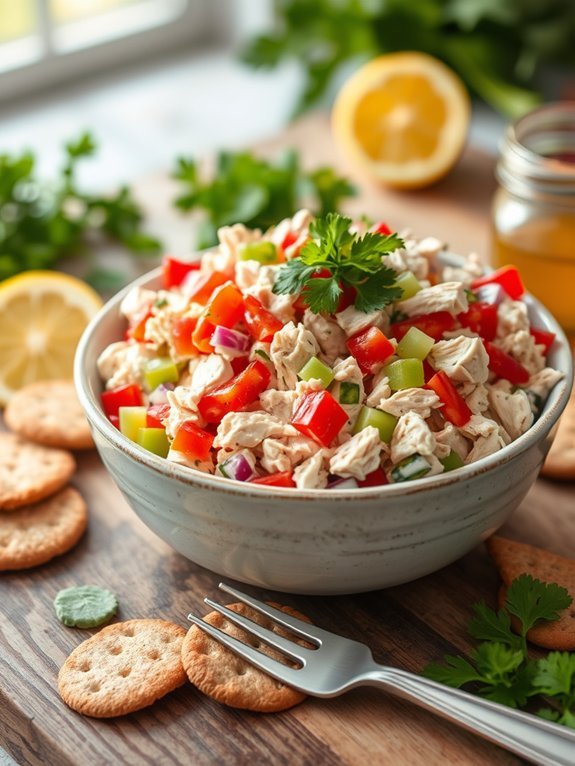
Enjoy your delicious bowl of Chicken Dumpling Soup with some crusty bread for a satisfying meal.