If you're looking for sugar-free recipes that don't skimp on flavor, you're in for a treat! You can whip up a rich Delectable Avocado Chocolate Mousse or indulge in zesty Lemon Coconut Energy Bites for quick snacks. Savory options like Creamy Spinach and Artichoke Dip and a Cauliflower Pizza Crust keep your meals exciting. Don't miss out on hearty dishes like Vegetable Stir-Fry with Cauliflower Rice and Coconut Flour Pancakes topped with fresh berries. There's so much more to explore!
Delectable Avocado Chocolate Mousse
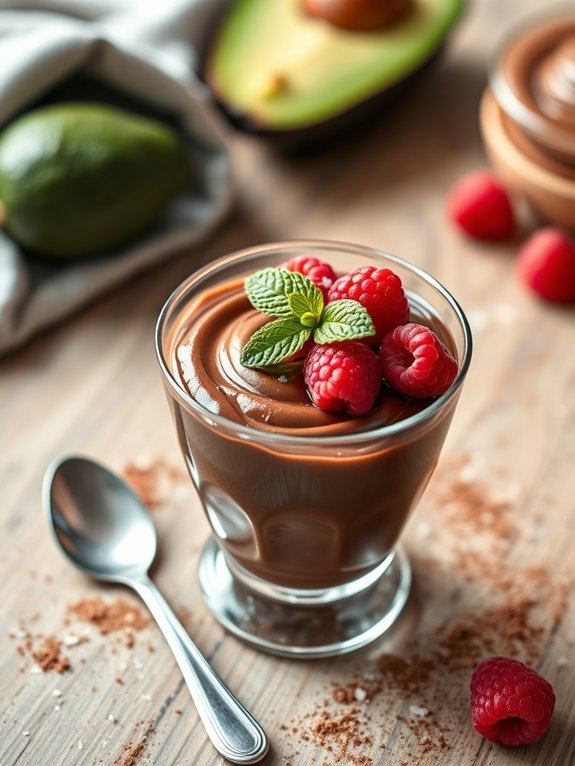
Indulging in a rich, creamy dessert doesn't have to mean sacrificing your health goals. This Delectable Avocado Chocolate Mousse is a delightful twist on traditional mousse that uses ripe avocados for a silky texture and natural sweetness. Packed with healthy fats and antioxidants, this recipe not only satisfies your sweet tooth but also nourishes your body.
The combination of cocoa powder and ripe avocados creates a depth of flavor that's hard to resist, making it perfect for any occasion, from a casual dinner to a fancy celebration.
In just a few simple steps, you can whip up this luscious dessert that will leave your guests guessing the secret ingredient. The best part? It's naturally sugar-free, leveraging the natural sweetness of ripe avocados and your favorite sugar substitute.
With a rich chocolate flavor and a velvety smooth finish, this mousse will impress even the pickiest of eaters, serving as a guilt-free treat that everyone can enjoy.
Ingredients:
- 2 ripe avocados
- 1/2 cup unsweetened cocoa powder
- 1/4 cup almond milk (or any milk of choice)
- 1/4 cup maple syrup or sugar substitute
- 1 teaspoon vanilla extract
- A pinch of salt
Scoop the flesh from the ripe avocados and place them in a blender or food processor. Add the cocoa powder, almond milk, sweetener, vanilla extract, and salt. Blend until smooth and creamy, scraping down the sides as necessary to ascertain everything is combined evenly.
Once blended to your desired consistency, taste the mousse and adjust sweetener if needed. Transfer to serving dishes and chill in the refrigerator for at least 30 minutes before serving for the best texture.
When making this mousse, verify that your avocados are perfectly ripe for a smooth blend; under-ripe avocados may result in a grainy texture.
Feel free to experiment with different sweeteners according to your taste preferences or dietary restrictions. Additionally, you can enhance the flavor by adding a pinch of cinnamon or a dash of espresso powder to intensify the chocolate taste.
Garnishing with fresh berries or a sprinkle of sea salt before serving can elevate the presentation and add an extra layer of flavor.
Savory Cauliflower Pizza Crust

Savory cauliflower pizza crust is a fantastic alternative to traditional pizza crust, offering a low-carb, gluten-free option that's packed with flavor. This recipe is ideal for those looking to reduce their carbohydrate intake while still enjoying the satisfying taste of pizza. Cauliflower serves as an excellent base due to its mild flavor, allowing you to customize the crust with your favorite seasonings and toppings.
Making cauliflower pizza crust is simple and requires just a few ingredients. The process involves ricing the cauliflower and pressing out the moisture, which is essential for achieving a firm crust. Once the crust is baked to a perfect golden brown, you can add your choice of sauce and toppings for a delicious meal that fits your dietary preferences.
Ingredients:
- 1 medium head of cauliflower
- 1 cup shredded mozzarella cheese
- 1/4 cup grated Parmesan cheese
- 2 large eggs
- 1 teaspoon dried oregano
- 1 teaspoon garlic powder
- 1/2 teaspoon salt
- 1/4 teaspoon black pepper
Preheat your oven to 450°F (232°C) and line a baking sheet with parchment paper. First, remove the leaves from the cauliflower and cut it into florets. Using a food processor, pulse the cauliflower until it resembles rice.
Transfer the riced cauliflower to a clean kitchen towel or cheesecloth, and wring out as much moisture as possible. In a large bowl, mix the riced cauliflower with mozzarella cheese, Parmesan cheese, eggs, oregano, garlic powder, salt, and pepper until well combined.
Spread the mixture onto the prepared baking sheet into a round pizza shape, about 1/4 inch thick. Bake for 15-20 minutes or until the crust is golden and firm.
For the best results, make sure that you squeeze out as much moisture from the riced cauliflower as possible; this prevents the crust from becoming soggy. You can also experiment with different seasonings or cheeses to suit your taste.
Once you've mastered the basic crust, try incorporating herbs or spices into the mix for added flavor. Finally, don't forget to let the crust cool slightly after baking to make it easier to add toppings and slice. Enjoy your healthy and satisfying pizza!
Zesty Lemon Coconut Energy Bites

Zesty Lemon Coconut Energy Bites are a perfect on-the-go snack that packs a punch of flavor and nutrition. These delicious little bites aren't only sugar-free but also easy to make, making them a perfect choice for those looking to boost their energy levels throughout the day.
The combination of zesty lemon and rich coconut offers a rejuvenating taste that's both invigorating and satisfying, making them ideal for post-workout recovery or a midday snack.
In addition to their bright and tangy flavor, these energy bites are made with wholesome ingredients that provide a natural source of energy, thanks to the healthy fats and fibers inherent in nuts and seeds. Their no-bake nature means you can whip them up in just a matter of minutes, allowing you to indulge in a homemade treat without spending hours in the kitchen.
Prepare to impress your friends and family with these delightful bites that will keep you fueled and invigorated.
- 1 cup unsweetened shredded coconut
- 1 cup almonds (or any preferred nut)
- 1/4 cup chia seeds
- 1/4 cup almond butter (or any nut butter)
- Zest of 1 lemon
- Juice of 1 lemon
- 1 tablespoon raw honey or maple syrup (optional, for sweetness)
- Pinch of sea salt
In a food processor, combine the shredded coconut, almonds, chia seeds, almond butter, lemon zest, lemon juice, optional sweetener, and a pinch of sea salt.
Pulse the mixture until everything is well combined and the nuts are finely chopped. Use your hands to form the mixture into small balls, about 1 inch in diameter, and place them on a baking sheet lined with parchment paper.
Once you've shaped all the bites, refrigerate them for about 30 minutes to firm up. For an added burst of flavor, consider rolling the energy bites in extra shredded coconut or finely chopped nuts before refrigerating.
To store them, keep the bites in an airtight container in the fridge for up to one week, or you can freeze them for longer preservation. Feel free to experiment with different nut varieties or add-ins like dried fruit or seeds to customize the energy bites to your liking.
Enjoy your healthy snacking!
Creamy Spinach and Artichoke Dip
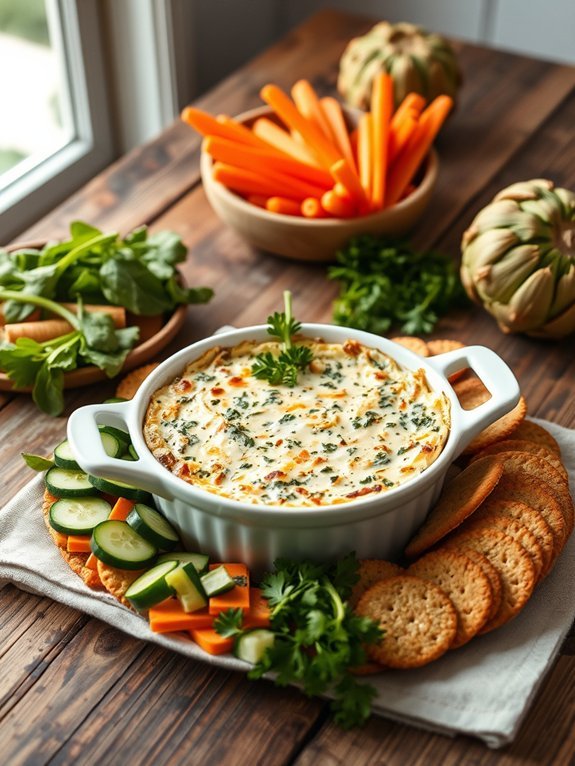
Creamy Spinach and Artichoke Dip is a delightful appetizer that's both rich and satisfying, yet free from sugar. This dish combines the earthy flavors of spinach with the tangy taste of artichokes, blended together with cheesy goodness to create a creamy dip. Perfect for gatherings or as a snack while watching your favorite movie, this dip will surely be a crowd-pleaser, appealing to those who prefer a wholesome alternative without the added sugars.
The beauty of this recipe lies not only in its taste but also in its simplicity. With just a few ingredients, you can whip up this luscious dip in no time. It's versatile, too; serving it with a variety of dippers, such as fresh veggies, whole-grain crackers, or gluten-free bread, makes for a nutritious and enjoyable experience. Let's plunge into the flavors!
- 1 cup frozen chopped spinach, thawed and drained
- 1 cup canned artichoke hearts, drained and chopped
- 1 cup cream cheese, softened
- 1 cup Greek yogurt
- 1 cup shredded mozzarella cheese
- 1/2 cup grated Parmesan cheese
- 2 cloves garlic, minced
- 1 teaspoon onion powder
- Salt and pepper to taste
In a mixing bowl, combine the cream cheese and Greek yogurt until smooth. Stir in the chopped spinach, artichoke hearts, mozzarella cheese, Parmesan cheese, minced garlic, onion powder, salt, and pepper until everything is well combined.
Transfer the mixture to a baking dish and spread it evenly. Bake in a preheated oven at 375°F (190°C) for about 25-30 minutes, or until the dip is hot, bubbly, and lightly golden on top.
For the best creamy texture, make sure your cream cheese is at room temperature before mixing; this will help achieve a smooth blend without lumps. Feel free to add your favorite seasonings, such as a pinch of cayenne pepper for a bit of heat or fresh herbs for added flavor.
This dip is best served warm, so consider reheating leftovers in the oven for an irresistible snack that feels freshly made.
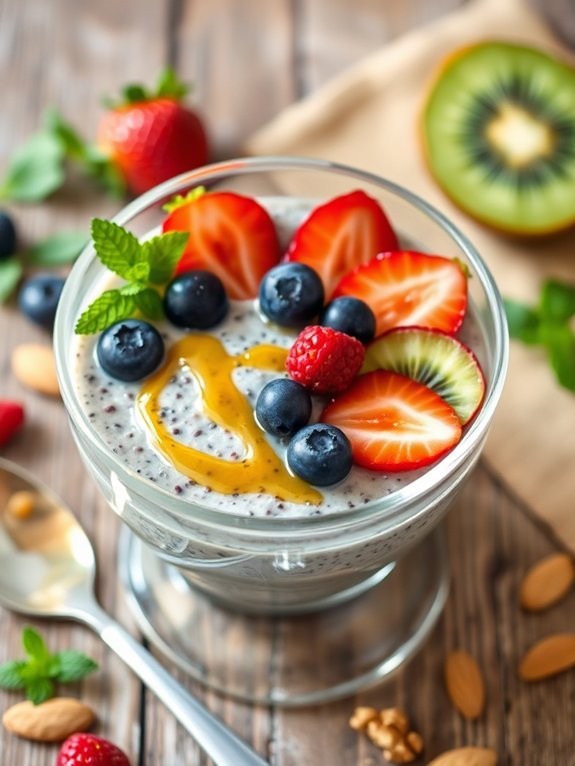
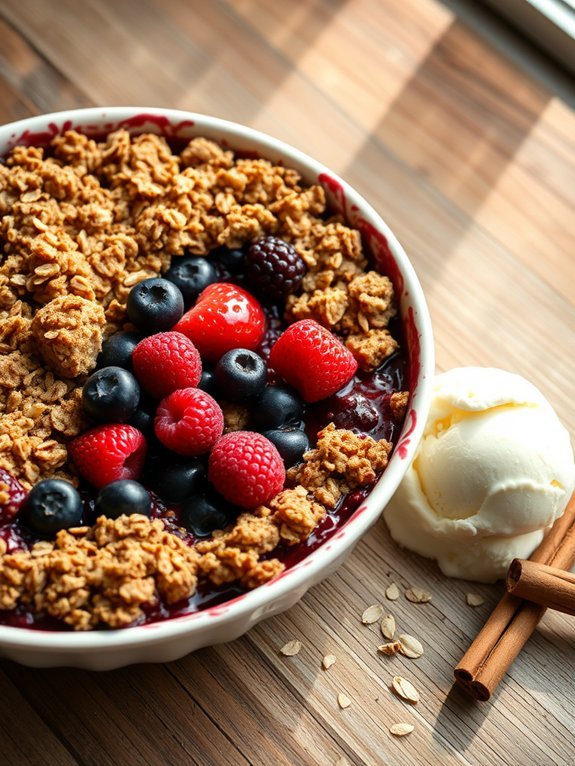
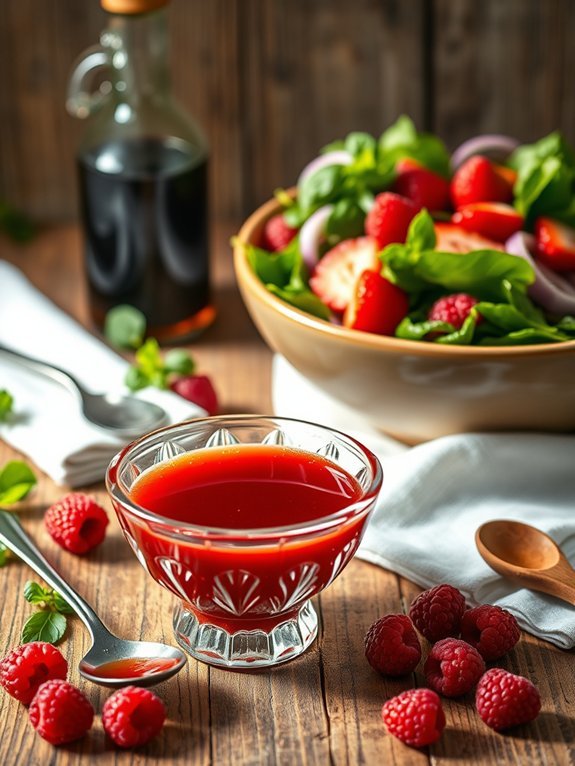
Refreshing Berry Chia Seed Pudding
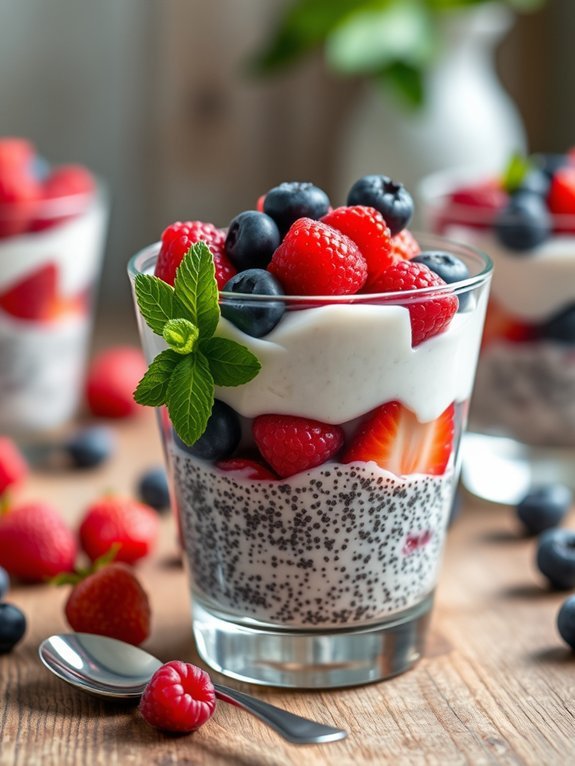
Invigorating Berry Chia Seed Pudding is a nutritious and delightful treat that combines the goodness of chia seeds with the vibrant flavors of mixed berries. This pudding is perfect for a breakfast option, a healthy snack, or even a guilt-free dessert. Chia seeds are packed with omega-3 fatty acids, fiber, and protein, making this dish a powerhouse of nutrition. The addition of fresh berries not only adds natural sweetness but also a burst of antioxidants, making this recipe both delicious and good for you.
Preparing this pudding is a breeze, as it requires minimal effort and just a few simple ingredients. The best part is that you can customize it to your taste by choosing your favorite berries or adding variations like coconut milk or almond milk. This invigorating berry chia seed pudding is sure to become a staple in your kitchen and will leave you feeling satisfied and energized throughout the day.
- 1 cup almond milk (or any dairy-free milk)
- 1/4 cup chia seeds
- 1 tablespoon maple syrup (optional)
- 1 teaspoon vanilla extract
- 1 cup mixed berries (strawberries, blueberries, raspberries, blackberries)
- Fresh mint leaves (for garnish, optional)
In a medium-sized bowl, whisk together the almond milk, chia seeds, maple syrup, and vanilla extract until well combined. Let the mixture sit for about 5 minutes before whisking it again to prevent the chia seeds from clumping together.
Pour the mixture into individual serving cups or bowls and refrigerate for at least 2 hours, or overnight, allowing the pudding to thicken. Before serving, top with mixed berries and garnish with fresh mint leaves if desired.
When making your invigorating berry chia seed pudding, feel free to experiment with different types of milk, sweeteners, and toppings. For an extra layer of flavor, consider adding a pinch of cinnamon or a tablespoon of nut butter.
This pudding can easily be made in advance and stored in the refrigerator for up to 5 days, making it a convenient option for meal prep. Enjoy it chilled, and don't hesitate to mix in other fruits or nuts to elevate the dish even further!
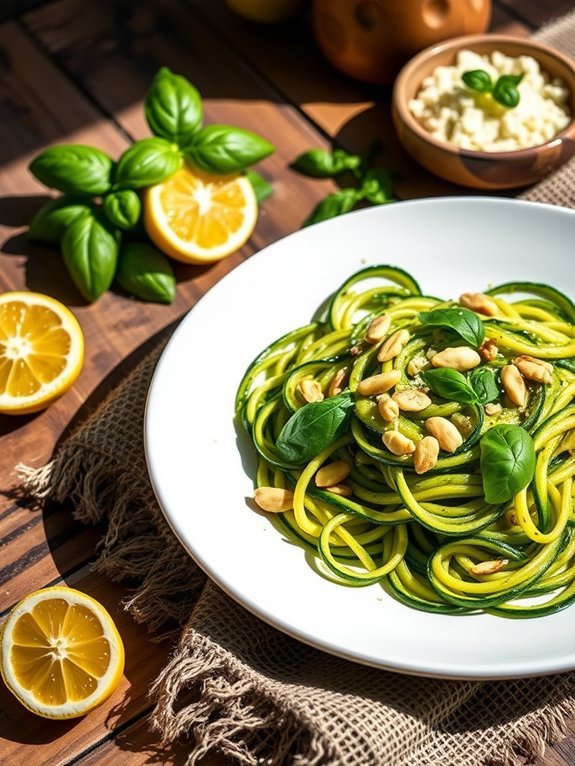
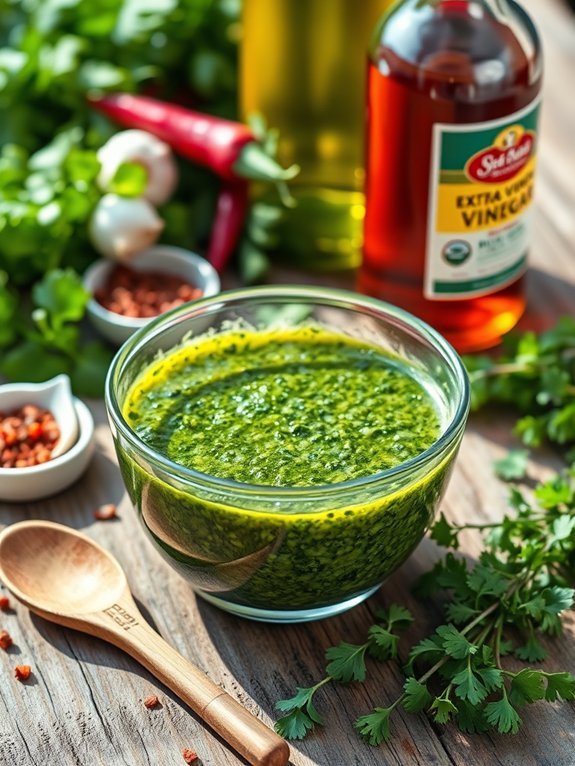
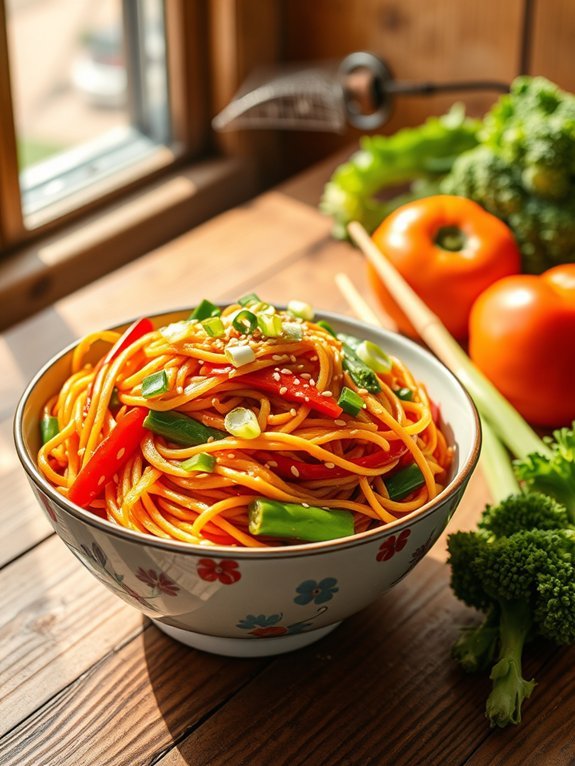
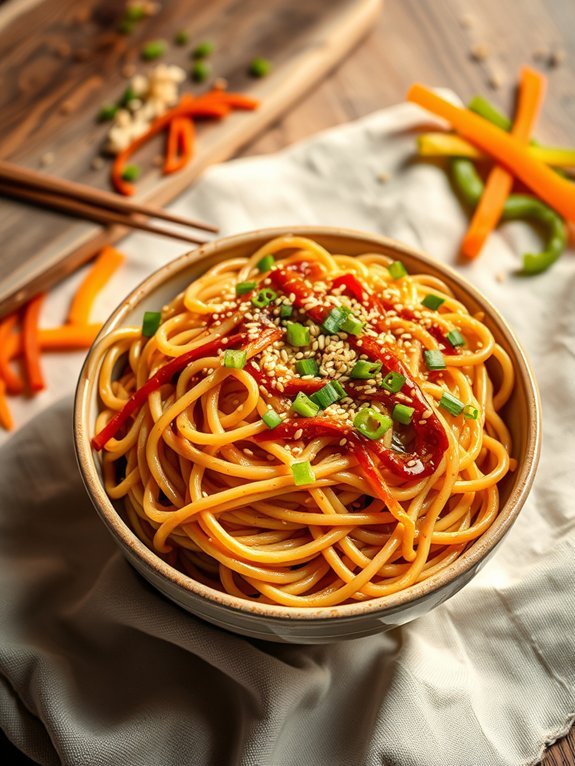
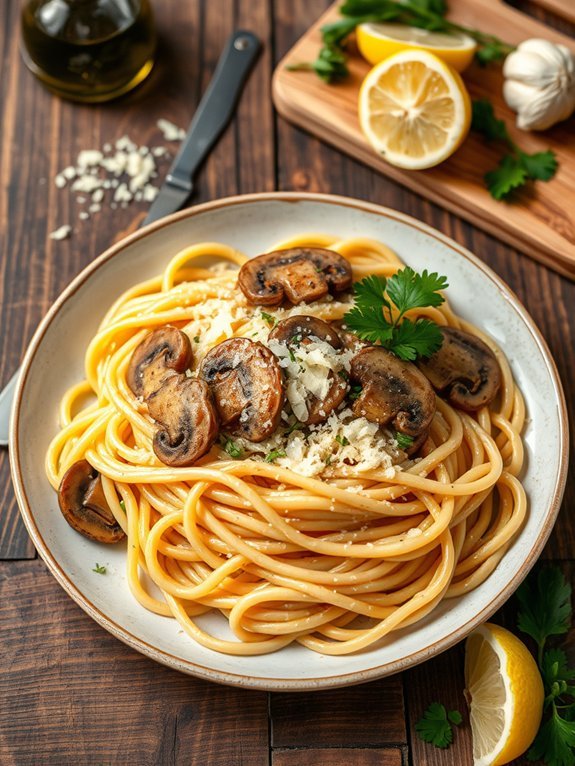
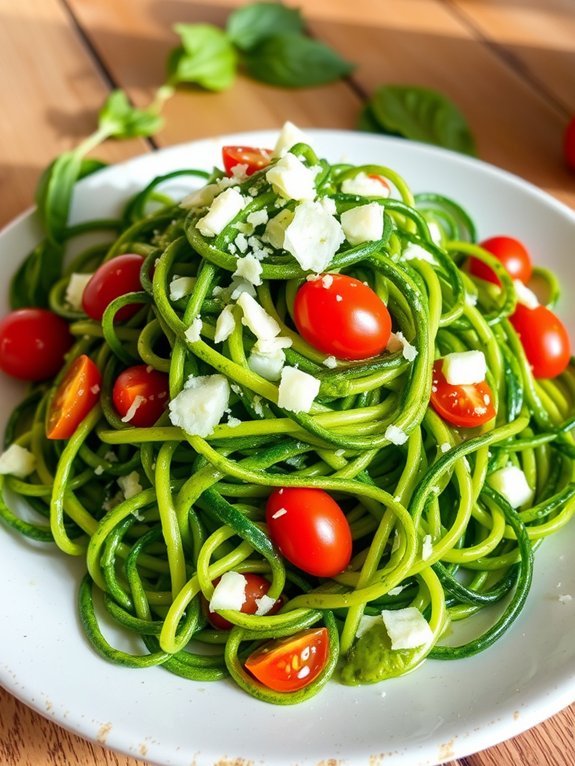
Flavorful Zucchini Noodles With Pesto

Zucchini noodles, or "zoodles," have become a trendy alternative to traditional pasta for those looking to cut carbs or reduce their sugar intake. These light and rejuvenating noodles aren't only healthy but also versatile, allowing them to pair well with a variety of sauces. In this recipe, we'll elevate zucchini noodles by tossing them in a homemade pesto, bursting with fresh basil, garlic, and nutty flavors. This dish is perfect as a main course or as a side dish and can be enjoyed warm or cold.
To make the most of this recipe, choose fresh, firm zucchinis for spiralizing. The vibrant green color and crisp texture of the noodles add a rejuvenating element to the dish. By preparing your own pesto, you can customize the flavors to your liking and guarantee that the recipe remains sugar-free while maintaining a delightful taste. Get ready to experience a culinary delight that's both nutritious and satisfying!
Ingredients:
- 2 medium zucchinis
- 2 cups fresh basil leaves
- 2 cloves garlic
- 1/4 cup pine nuts (or walnuts)
- 1/2 cup olive oil
- 1/4 cup grated Parmesan cheese (optional)
- Salt and pepper to taste
To prepare the flavorful zucchini noodles with pesto, start by spiralizing the zucchinis into noodle-like strands. In a food processor, combine the basil, garlic, pine nuts, and grated Parmesan cheese (if using).
With the processor running, slowly drizzle in the olive oil until the mixture reaches a smooth consistency. Season the pesto with salt and pepper to taste. In a large skillet, briefly toss the zucchini noodles over medium heat until just tender, then remove from heat and combine with the fresh pesto. Serve immediately.
When making zoodles, it's important not to overcook them as they can become mushy. For added flavor, you can sauté the zoodles for just a couple of minutes and even toss in cherry tomatoes or sautéed vegetables for extra nutrition and color.
Also, adjusting the thickness of the zucchini strands can give a unique experience—thicker for a satisfying bite, or thinner for a delicate touch. Enjoy experimenting with different nuts in the pesto, or try adding a splash of lemon juice for brightness!
Indulgent Sugar-Free Chocolate Chip Cookies

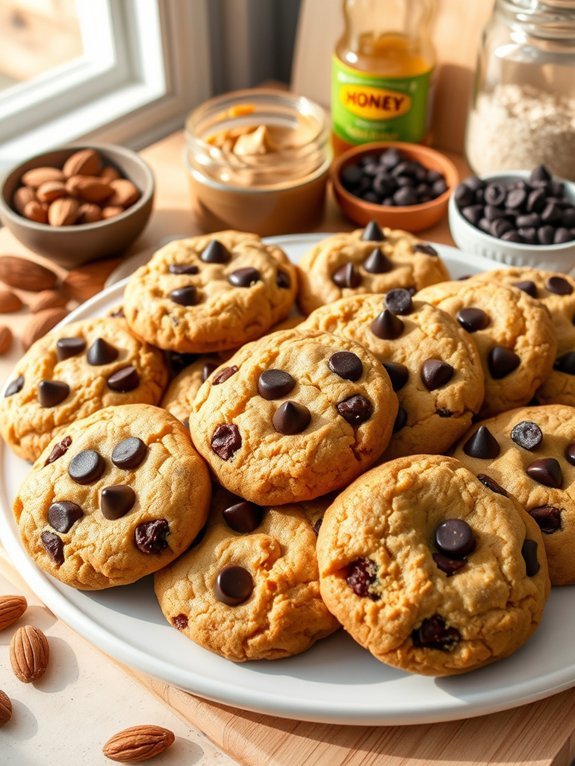
Indulgent Sugar-Free Chocolate Chip Cookies are the perfect treat for anyone who wants to enjoy a delicious dessert without the guilt of added sugars. Made with natural sweeteners and wholesome ingredients, these cookies maintain the classic chocolate chip flavor while being friendly to your waistline.
Baking these cookies can be a fulfilling experience, as the aroma of melted chocolate paired with vanilla wafts through your kitchen, making it hard to resist sneaking a bite before they're even finished.
This sugar-free version doesn't compromise on taste or texture; each cookie is soft, chewy, and loaded with gooey chocolate chips. By substituting traditional sugar with sweeteners such as Stevia or erythritol, you can indulge your sweet tooth without sacrificing your health. They make for a delightful snack to pair with your favorite mug of coffee or tea, perfect for sharing with family and friends who mightn't even notice they're sugar-free.
Ingredients:
- 1 cup almond flour
- 1/2 cup coconut flour
- 1/2 cup sugar-free chocolate chips
- 1/2 cup unsalted butter, softened
- 1/4 cup erythritol or preferred sugar substitute
- 1 large egg
- 1 teaspoon vanilla extract
- 1/2 teaspoon baking soda
- 1/4 teaspoon salt
Preheat your oven to 350°F (175°C). In a large mixing bowl, cream together the softened butter and erythritol until light and fluffy. Beat in the egg and vanilla extract until well combined.
In a separate bowl, whisk together the almond flour, coconut flour, baking soda, and salt. Gradually incorporate the dry ingredients into the wet mixture until a dough forms. Fold in the sugar-free chocolate chips.
Drop tablespoons of dough onto a parchment-lined baking sheet and bake for 10-12 minutes, or until golden around the edges. Allow them to cool slightly before transferring to a wire rack.
For best results, let the cookies cool completely before serving, as this will help them set and enhance their flavor. You can experiment with different combinations of nut flours for unique textures or add in chopped nuts for extra crunch.
When storing, keep the cookies in an airtight container to maintain their freshness. They can also be frozen for longer storage, allowing you to enjoy them anytime you crave a sweet treat!
Spicy Roasted Chickpeas

Spicy roasted chickpeas are a delightful snack that perfectly balances crunchiness and flavor. They're simple to prepare and are an excellent alternative to traditional snacks, especially for those seeking a sugar-free option. Packed with protein and fiber, these chickpeas not only satisfy your cravings but also provide a nutritious boost to your diet.
Whether enjoyed on their own, as a topping for salads, or mixed into your favorite grain bowls, they can easily become a staple in your kitchen.
To make spicy roasted chickpeas, you need just a few basic ingredients and some spices to give them a kick. The versatility of this snack means you can adjust the spice levels to cater to your taste preferences.
With a crisp outer shell and a chewy interior, these chickpeas bring a satisfying texture and flavor that will keep you coming back for more.
- 1 can (15 oz) of chickpeas, rinsed and drained
- 2 tablespoons olive oil
- 1 teaspoon smoked paprika
- 1 teaspoon garlic powder
- 1/2 teaspoon cayenne pepper (adjust to taste)
- 1/2 teaspoon cumin
- Salt to taste
Preheat your oven to 400°F (200°C) and line a baking sheet with parchment paper. Spread the rinsed and drained chickpeas on the baking sheet and pat them dry with a paper towel to remove excess moisture. Drizzle the olive oil over the chickpeas and toss them with the smoked paprika, garlic powder, cayenne pepper, cumin, and salt, ensuring they're well coated.
Roast in the preheated oven for 25-30 minutes, stirring occasionally, until the chickpeas are golden brown and crispy. For best results, let the roasted chickpeas cool completely before serving, as this will allow them to become extra crunchy.
You can also experiment with different spices or herbs, such as adding chili powder for heat or nutritional yeast for a cheesy flavor. Store any leftovers in an airtight container at room temperature, and be sure to consume them within a few days for ideal crunchiness.
Enjoy these spicy nuggets as a healthy snack or a flavorful addition to other dishes!
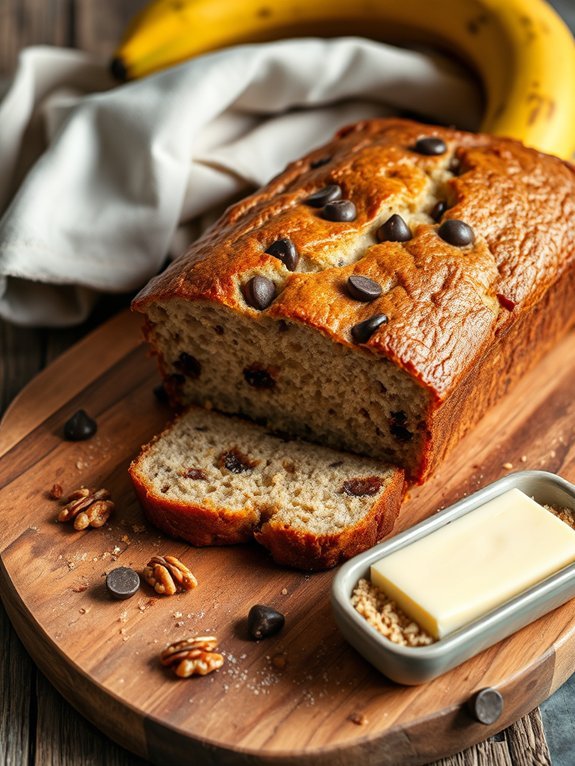
Wholesome Almond Butter Banana Bread
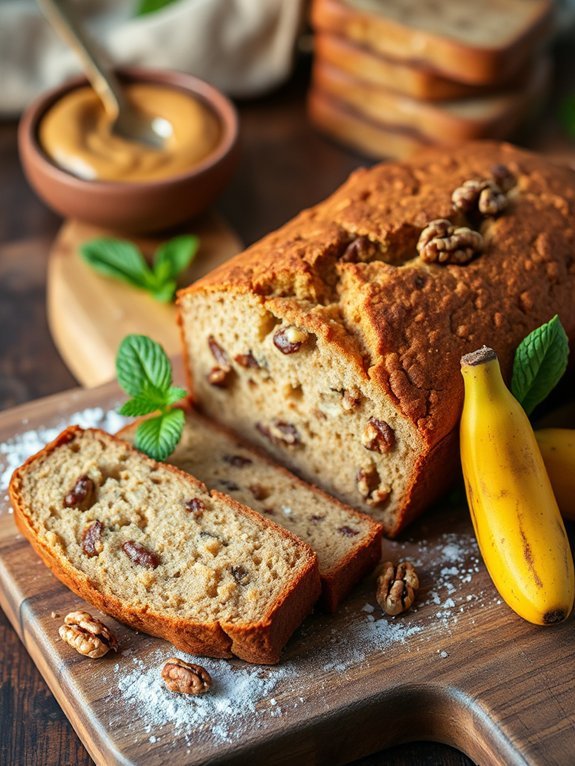
Wholesome Almond Butter Banana Bread is a delightful twist on the classic banana bread, offering a healthier alternative without sacrificing flavor. The creamy almond butter adds a rich, nutty undertone that beautifully complements the natural sweetness of ripe bananas.
This sugar-free recipe is perfect for breakfast, a snack, or even a guilt-free dessert, making it a versatile addition to your baking repertoire. You'll love how easy it's to whip up and how it fills your kitchen with a comforting aroma.
This banana bread isn't only simple to prepare but also packed with wholesome ingredients. Using ripe bananas as a natural sweetener means you'll skip the refined sugars typically found in many baked goods. Each slice is moist and flavorful, making it an ideal choice for anyone looking to indulge in a sweet treat without compromising on health.
- 3 ripe bananas, mashed
- 1 cup almond butter
- 2 large eggs
- 1 teaspoon vanilla extract
- 1 teaspoon baking soda
- 1/2 teaspoon baking powder
- 1/4 teaspoon salt
- 1 cup whole wheat flour (or almond flour for gluten-free)
- 1/2 cup chopped walnuts or chocolate chips (optional)
Preheat your oven to 350°F (175°C) and lightly grease a loaf pan. In a large bowl, combine the mashed bananas, almond butter, eggs, and vanilla extract until well mixed.
In another bowl, whisk together the baking soda, baking powder, salt, and flour. Gradually add the dry ingredients to the wet mixture, stirring until just combined. Fold in walnuts or chocolate chips if desired. Pour the batter into the prepared loaf pan and smooth the top. Bake for 50-60 minutes or until a toothpick inserted in the center comes out clean. Allow to cool before slicing.
For the best results, make sure your bananas are very ripe; the riper they are, the sweeter your bread will be. You can also customize your banana bread by adding spices like cinnamon or nutmeg for extra flavor.
If you prefer a stronger nutty taste, try using crunchy almond butter for added texture. Store any leftovers in an airtight container or freeze slices for future enjoyment!
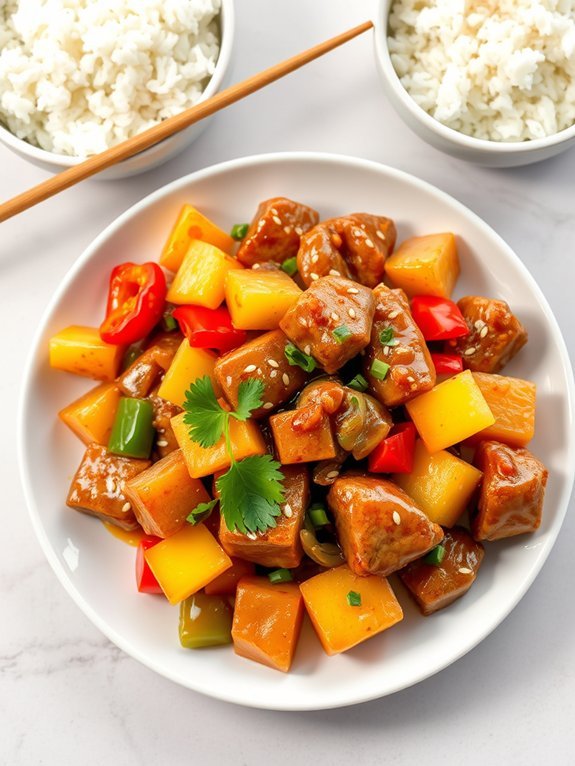
Hearty Vegetable Stir-Fry With Cauliflower Rice
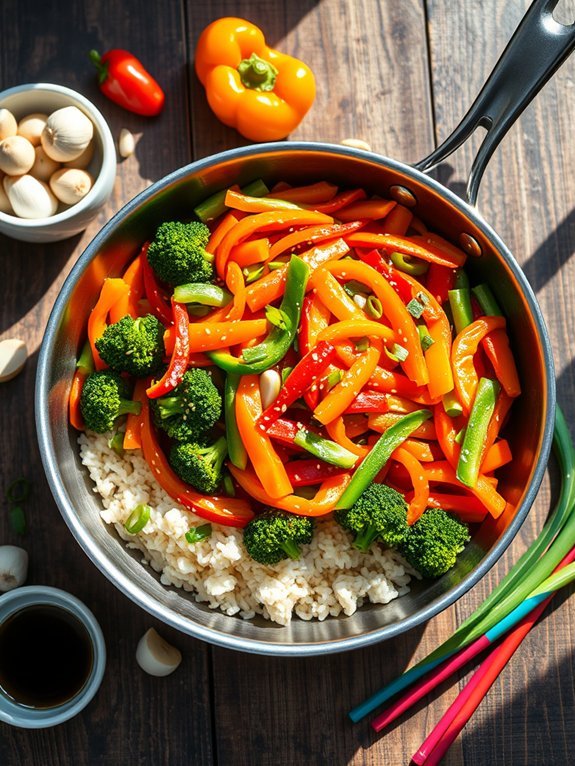
Hearty vegetable stir-fry with cauliflower rice is a delightful and nutritious dish that brings together colorful veggies in a flavorful, low-carb alternative to traditional fried rice. This vibrant meal isn't only sugar-free, but it's also packed with vitamins and minerals, making it a perfect choice for a healthy lunch or dinner.
Cauliflower rice serves as a wonderful base, providing a light and fluffy texture that absorbs the savory sauces and spices of the stir-fried vegetables. Preparing this dish is both quick and easy, making it an excellent option for busy weeknights. The combination of fresh vegetables not only adds a variety of flavors but also creates a visually appealing presentation.
Feel free to customize the vegetable selection based on your preferences and what you have on hand.
Ingredients:
- 1 medium head of cauliflower, riced
- 1 tablespoon olive oil
- 1 bell pepper, sliced
- 1 carrot, julienned
- 1 zucchini, sliced
- 1 cup broccoli florets
- 1 cup snap peas
- 3 cloves garlic, minced
- 2 inches fresh ginger, minced
- 3 tablespoons low-sodium soy sauce or tamari
- 1 tablespoon sesame oil
- Salt and pepper to taste
- Optional toppings: sesame seeds, sliced green onions
Heat the olive oil in a large skillet or wok over medium-high heat. Add the minced garlic and ginger, sautéing for 30 seconds before adding the bell pepper, carrot, zucchini, broccoli, and snap peas.
Stir-fry the vegetables for 4-5 minutes until tender but crisp. Then, add the riced cauliflower to the skillet, along with the soy sauce and sesame oil. Stir everything together and cook for another 3-4 minutes, allowing the cauliflower to warm through and absorb the flavors.
Season with salt and pepper to taste. Serve hot, garnished with optional sesame seeds and green onions.
When making this hearty vegetable stir-fry, be sure to choose fresh, seasonal vegetables for the best flavor and texture. You can also experiment with different vegetables or add protein sources like tofu or chicken for an extra boost.
If you prefer a bit more heat, consider adding a dash of chili flakes or a drizzle of sriracha sauce for a spicy kick. Enjoy your healthy meal!
Coconut Flour Pancakes With Fresh Berries
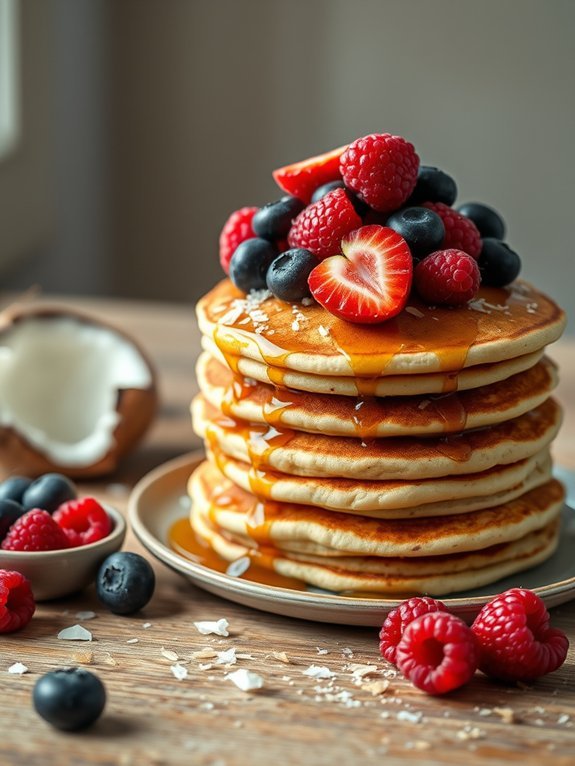
Coconut flour pancakes are a delightful and healthy alternative to traditional pancakes, making them perfect for those who are looking for a sugar-free breakfast option. The unique flavor and texture of coconut flour give these pancakes a satisfying density, while the addition of fresh berries provides a burst of sweetness and nutrition.
Whether you're enjoying them on a lazy Sunday morning or serving them to guests, these pancakes are sure to impress.
Making coconut flour pancakes isn't only simple but also a great way to incorporate healthy fats and fibers into your diet. Coconut flour is low in carbohydrates and high in fiber, which can help keep you feeling full longer.
Paired with fresh berries packed with antioxidants, this recipe creates a wholesome meal that satisfies both taste buds and health goals. Let's explore this delicious recipe!
- 1/2 cup coconut flour
- 4 large eggs
- 1 cup unsweetened almond milk (or any non-dairy milk)
- 1/2 teaspoon baking powder
- 1/4 teaspoon salt
- 1/2 teaspoon vanilla extract
- Fresh berries (blueberries, strawberries, raspberries, or a mix)
In a mixing bowl, combine the coconut flour, baking powder, and salt. In a separate bowl, whisk together the eggs, almond milk, and vanilla extract.
Gradually add the wet ingredients to the dry ingredients, stirring until you achieve a smooth batter. Preheat a non-stick skillet over medium heat and lightly grease it with coconut oil.
Pour about 1/4 cup of batter onto the skillet for each pancake and cook until bubbles form on the surface, about 2-3 minutes. Flip and cook for an additional 1-2 minutes on the other side until golden brown.
Repeat with the remaining batter.
When cooking coconut flour pancakes, it's essential to recognize that the batter will be thicker than traditional pancake batter, so you may need to adjust the cooking time slightly. Keep an eye on the pancakes to verify they're cooked through but not burnt.
If the pancakes aren't filling enough, consider adding healthy toppings like nut butter or unsweetened Greek yogurt for extra protein.
Additionally, if the batter seems dry, a splash more of almond milk can help achieve the right consistency. Enjoy your pancakes with a drizzle of sugar-free syrup or a sprinkle of cinnamon for added flavor!
Decadent Peanut Butter Chocolate Fat Bombs

Indulging in a sweet treat without the guilt has never been easier than with these decadent peanut butter chocolate fat bombs. Perfect for satisfying a chocolate craving, these fat bombs aren't only sugar-free but also keto-friendly, making them an excellent snack for those following a low-carb lifestyle.
Loaded with healthy fats from the peanut butter and coconut oil, they provide a burst of energy without spiking your blood sugar levels. These little bites of heaven are incredibly simple to prepare and require minimal ingredients. Just a few pantry staples can transform into a delicious, rich snack that will keep you feeling full and satisfied.
Whether you enjoy them as a post-workout treat or a late-night snack, these fat bombs are sure to please chocolate lovers while keeping sugar at bay.
Ingredients:
- 1 cup natural peanut butter (sugar-free)
- 1/4 cup coconut oil, melted
- 1/4 cup unsweetened cocoa powder
- 1/4 cup sugar-free sweetener (such as erythritol or stevia)
- 1 teaspoon vanilla extract
- Pinch of salt
In a mixing bowl, combine the peanut butter, melted coconut oil, cocoa powder, sugar-free sweetener, vanilla extract, and a pinch of salt. Mix until all ingredients are fully incorporated and smooth.
Once ready, spoon the mixture into silicone molds or mini cupcake liners. Place them in the freezer for about 30 minutes or until solid, then pop them out and store in an airtight container in the refrigerator.
For an extra layer of flavor, consider adding toppings such as chopped nuts, shredded coconut, or a sprinkle of sea salt before freezing. Additionally, feel free to experiment with different nut butters for unique variations; almond or cashew butter works just as well.
Make sure to store your fat bombs in the fridge or freezer to maintain their texture and freshness. Enjoy them chilled for the best taste!