If you're looking for effortless cooking, try these slow cooker beef recipes! Whip up a creamy Beef Stroganoff, satisfying Classic Beef Stew, or spicy Slow Cooker Beef Tacos. You can also indulge in BBQ Beef Brisket or a revitalizing Beef and Broccoli dish. Want something sweet and tangy? Check out Sweet and Sour Beef. And for a heartier option, Beef Chili and Moroccan Beef Tagine will warm your soul. Stick around to discover even more delicious options!
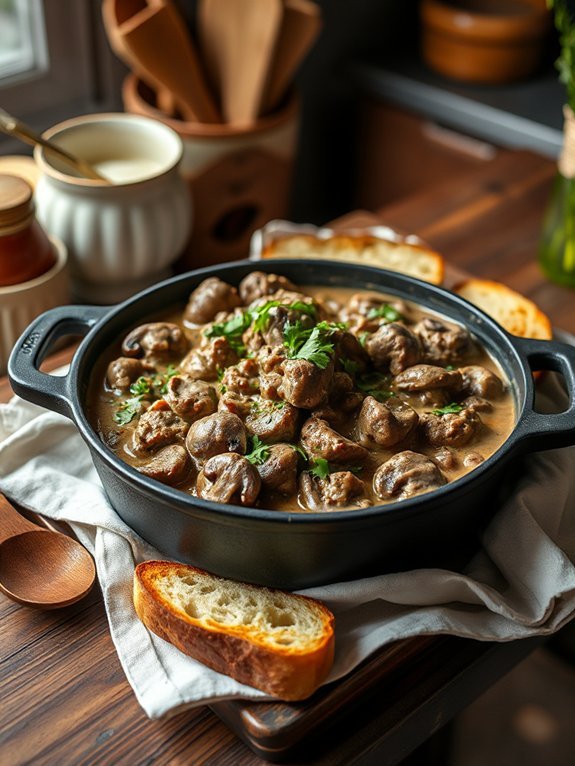
Beef Stroganoff
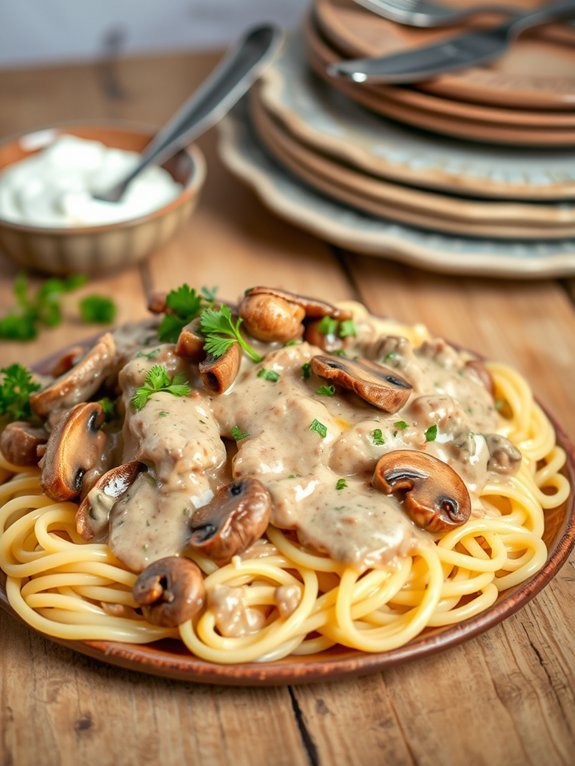
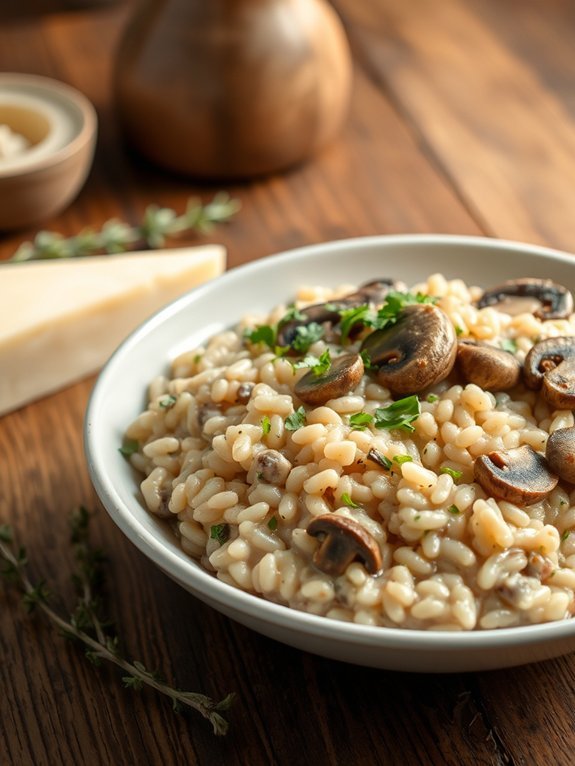
Beef Stroganoff is a classic comfort dish known for its rich and creamy sauce that pairs perfectly with tender beef and mushrooms. This recipe transforms the traditional stovetop method into an effortless slow cooker version, allowing you to savor the deep flavors developed over time without constant monitoring.
Ideal for busy weeknights or a relaxed weekend dinner, this dish can be served over egg noodles, rice, or even mashed potatoes for a satisfying meal. The slow cooker enhances the depth of flavor as the beef simmers low and slow, soaking up the deliciously seasoned broth. It yields melt-in-your-mouth meat and a luscious sauce that's irresistible.
With minimal prep required, you can have this scrumptious Beef Stroganoff ready to enjoy with family and friends, making it an excellent choice for gatherings or cozy family dinners.
- 1½ pounds beef sirloin, cut into thin strips
- 1 medium onion, chopped
- 3 cloves garlic, minced
- 8 ounces mushrooms, sliced
- 1 cup beef broth
- 1 tablespoon Worcestershire sauce
- 1 teaspoon Dijon mustard
- ½ teaspoon salt
- ¼ teaspoon black pepper
- 1 tablespoon cornstarch (optional, for thickening)
- 1 cup sour cream
- Fresh parsley, chopped (for garnish)
- Cooked egg noodles or rice (for serving)
In the slow cooker, combine the beef sirloin, onion, garlic, mushrooms, beef broth, Worcestershire sauce, Dijon mustard, salt, and black pepper. Cover and cook on low for 6 to 8 hours or on high for 4 to 5 hours until the beef is tender.
About 30 minutes before serving, stir in the sour cream and, if desired, mix the cornstarch with a little cold water before adding it to the slow cooker to thicken the sauce. Serve the stroganoff over egg noodles or rice, garnished with parsley.
For best results, slice the beef against the grain to guarantee it's tender, and opt for a good quality beef broth to enhance the flavor profile. If you're short on time, you can sauté the onions, garlic, and mushrooms before adding them to the slow cooker for an extra layer of flavor.
Additionally, feel free to customize the dish by adding vegetables like peas or bell peppers in the last 30 minutes of cooking for a colorful and nutritious twist.
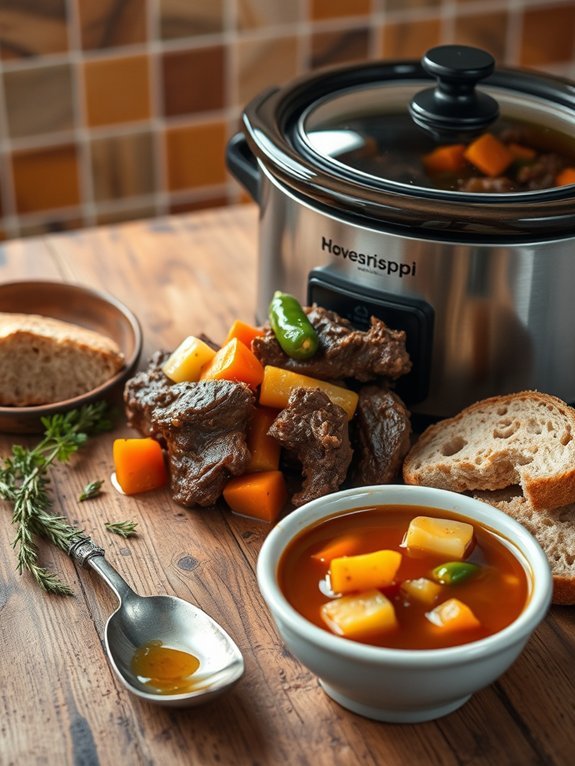
Classic Beef Stew

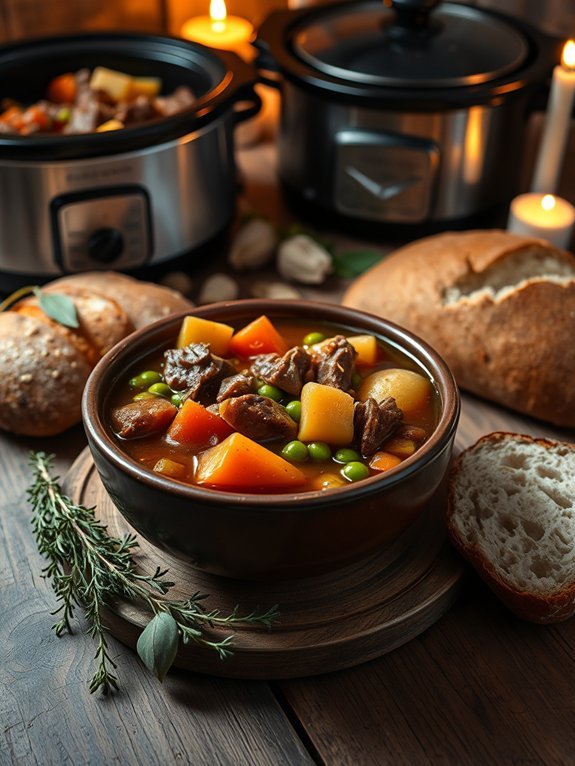
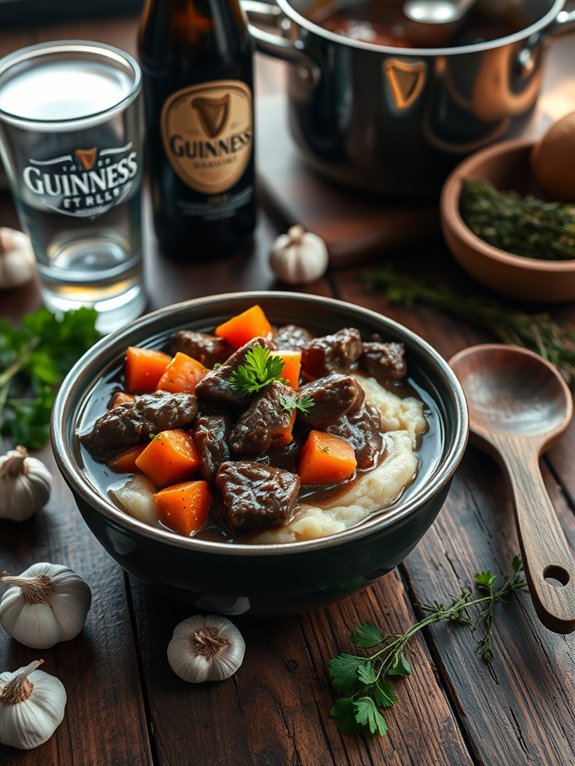
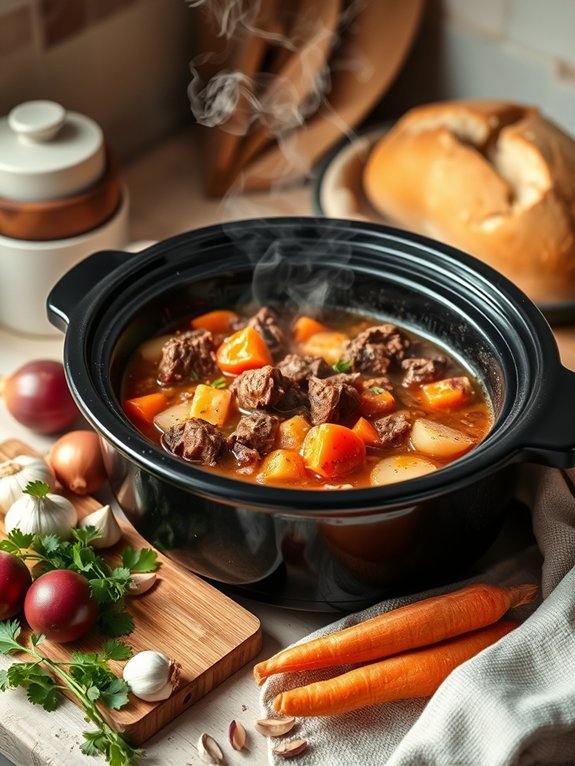
There's nothing quite like a classic beef stew to warm you up on a chilly evening. This dish combines tender cuts of beef, hearty vegetables, and aromatic seasonings, all slow-cooked to perfection. The gentle simmering melds the flavors beautifully, resulting in a comforting meal that's as satisfying as it's delicious.
Whether you're settling in for a family dinner or meal prepping for the week, this slow cooker beef stew is a go-to classic.
One of the great things about making beef stew in a slow cooker is its simplicity. You can throw all the ingredients in, set it, and forget it for several hours. The slow cooking process guarantees that the beef becomes wonderfully tender while the vegetables retain their shape and flavor.
Serve it with some crusty bread for a complete and hearty meal that's sure to please.
Ingredients:
- 2 lbs beef chuck, cut into 1-inch cubes
- 4 cups beef broth
- 4 medium potatoes, peeled and diced
- 3 large carrots, sliced
- 1 onion, chopped
- 3 cloves garlic, minced
- 2 tablespoons tomato paste
- 1 tablespoon Worcestershire sauce
- 1 teaspoon dried thyme
- 1 teaspoon dried rosemary
- Salt and pepper, to taste
- 2 tablespoons flour (optional, for thickening)
Combine all the ingredients in the slow cooker, making sure that the beef is well-seasoned with salt and pepper. Mix well, and cook on low for 7-8 hours or high for 4-5 hours, until the beef is fork-tender and the vegetables are cooked through.
If you prefer a thicker stew, you can whisk together flour with a bit of water to make a slurry and add it during the final 30 minutes of cooking.
For best results, sear the beef in a skillet before adding it to the slow cooker; this adds a deep flavor to the stew.
Also, feel free to customize the vegetables based on what you have on hand—celery, green beans, or even parsnips can be excellent additions.
Finally, remember to adjust the seasoning to your taste; a splash of red wine can also enhance the overall flavor of the stew. Enjoy your hearty meal!
Slow Cooker Beef Tacos
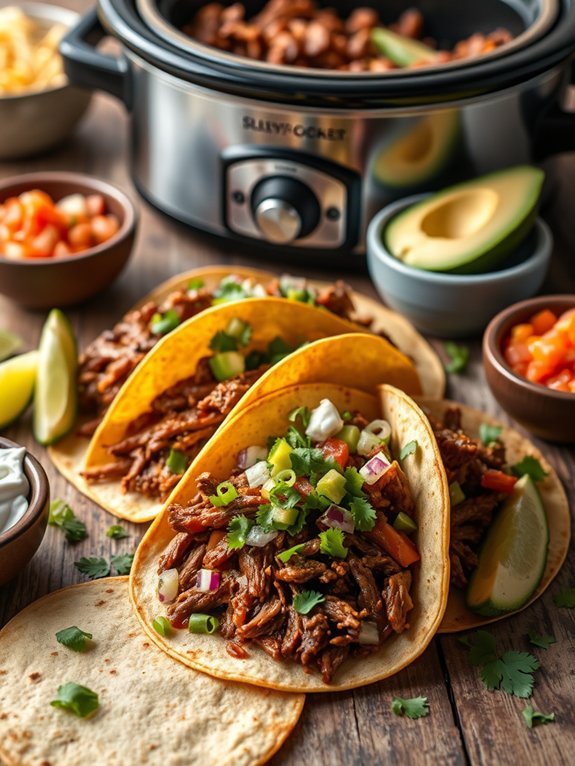
Slow cooker beef tacos are a fantastic way to bring robust flavors and tender meat to your table with minimal effort. This dish is perfect for busy weeknights or when entertaining friends and family, as it allows for a slow and even cooking process that infuses the beef with spices and herbs, making each bite a celebration of flavors.
The beauty of using a slow cooker lies in its convenience—it allows you to set it and forget it, freeing up your time for other activities.
To assemble your tacos, you'll start with a juicy, well-seasoned beef filling that can be customized to your liking. Serve the shredded beef in warm tortillas and let your guests choose from an array of toppings such as diced onions, cilantro, and fresh lime juice. Not only does this dish taste amazing, but it also brings everyone together, allowing for a shareable and interactive meal experience.
Ingredients:
- 2 lbs beef chuck roast
- 1 tablespoon olive oil
- 1 onion, diced
- 4 cloves garlic, minced
- 1 (14 oz) can diced tomatoes with green chilies
- 1 tablespoon chili powder
- 1 teaspoon cumin
- 1 teaspoon smoked paprika
- 1 teaspoon oregano
- Salt and pepper to taste
- 8-10 small corn or flour tortillas
- Toppings: diced onions, chopped cilantro, avocado, lime wedges, sour cream, shredded cheese
Place the olive oil in a large skillet over medium-high heat. Season the beef chuck roast with salt and pepper, then sear it in the skillet until browned on all sides.
Transfer the beef to the slow cooker, and then add the diced onions, minced garlic, canned tomatoes, chili powder, cumin, smoked paprika, oregano, and a pinch of salt. Cover and cook on low for 8 hours or until the beef is tender and can be easily shredded with a fork.
Once cooked, shred the beef and stir it together with the sauce in the slow cooker.
For the best flavor and texture, consider marinating your beef for a few hours or overnight with the spices before cooking. This allows the flavors to penetrate the meat more thoroughly.
Additionally, you can experiment with different toppings to customize your tacos according to your taste. Don't forget to warm your tortillas in a pan or microwave before serving to enhance their flavor and pliability, making them easier to fill and enjoy!
BBQ Beef Brisket
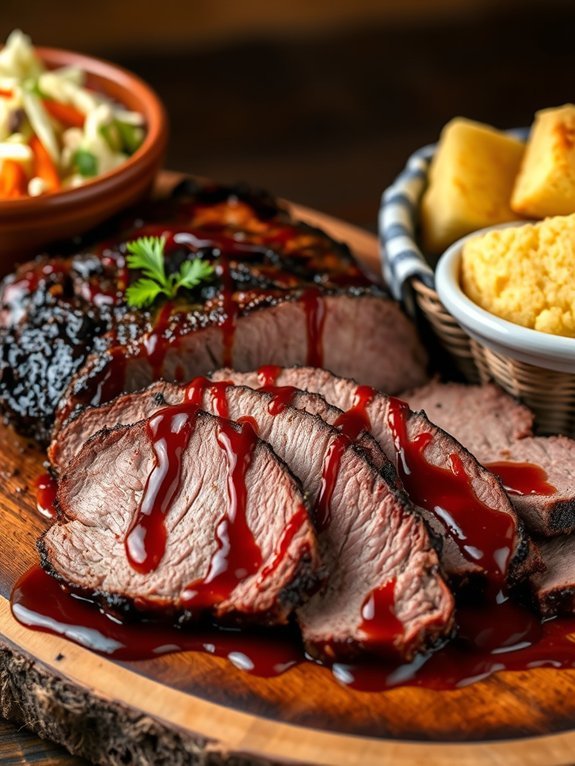
BBQ Beef Brisket is the perfect dish for anyone looking to create a hearty and satisfying meal with minimal effort. With the slow cooker doing most of the work, you can expect tender, flavorful meat that practically falls apart at the touch of a fork. The infusion of smoky BBQ flavors, combined with the richness of the brisket, makes this an ideal dish for gatherings, outdoor events, or simply a comforting family dinner.
Serve it alongside classic coleslaw and cornbread for an authentic BBQ experience, and you'll have everyone coming back for seconds.
Preparing BBQ Beef Brisket in a slow cooker is incredibly easy, allowing the robust flavors to meld beautifully throughout the cooking process. As the brisket cooks, it absorbs the tangy BBQ sauce, creating a luscious glaze that enhances its natural richness.
It's a versatile dish that can be adjusted to suit your preferred spice level or flavor profile, whether you like it sweet, smoky, or spicy.
- 3-4 pounds of beef brisket
- 2 cups of BBQ sauce (your favorite brand or homemade)
- 1 cup of beef broth or water
- 1/4 cup of brown sugar
- 2 tablespoons of Worcestershire sauce
- 1 tablespoon of smoked paprika
- 1 teaspoon of garlic powder
- 1 teaspoon of onion powder
- 1 teaspoon of salt
- 1/2 teaspoon of black pepper
- 1/4 teaspoon of cayenne pepper (optional for heat)
Place the beef brisket in the slow cooker and season it with salt, black pepper, smoked paprika, garlic powder, onion powder, and cayenne pepper if using.
In a separate bowl, mix together the BBQ sauce, beef broth, brown sugar, and Worcestershire sauce, then pour the mixture over the brisket. Cover the slow cooker and cook on low for 8-10 hours or on high for 4-5 hours, until the meat is fork-tender.
For best results, let the brisket rest for at least 10-15 minutes after cooking before slicing against the grain. This helps retain the juices and makes for a moist final product.
If you have any leftover brisket, it can be refrigerated for up to 4 days or frozen for longer storage. Additionally, feel free to experiment with different BBQ sauces or add freshly chopped herbs for a unique twist, tailoring the flavors to your taste preferences.
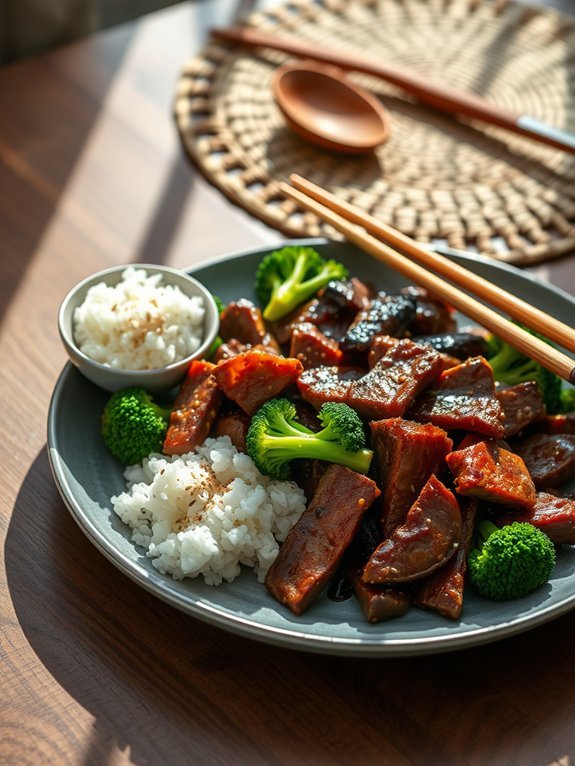
Beef and Broccoli

Beef and Broccoli is a classic Asian-inspired dish that isn't only delicious but also incredibly easy to prepare, especially when using a slow cooker. This dish features tender slices of beef, vibrant broccoli florets, and a flavorful sauce that marries the two perfectly.
It's a fantastic choice for a busy weeknight dinner, as you can set it and forget it until you're ready to serve. The slow cooking process allows the flavors to meld beautifully, resulting in a satisfying meal that your entire family will love.
To elevate this dish, you can select different cuts of beef, such as flank steak or sirloin, depending on your preference and budget. Slow cooking guarantees the meat becomes fork-tender while retaining its moisture, making each bite juicy and flavorful.
Pair this meal with steamed rice or noodles to soak up the delicious sauce, and you have a crowd-pleaser that's sure to impress.
Ingredients:
- 1 pound beef (flank steak or sirloin), thinly sliced against the grain
- 4 cups broccoli florets
- 1 cup beef broth
- 1/4 cup soy sauce
- 1/4 cup oyster sauce
- 2 tablespoons cornstarch
- 2 tablespoons brown sugar
- 2 teaspoons minced garlic
- 1 teaspoon minced ginger
- 1 tablespoon sesame oil
- Salt and pepper to taste
- Cooked rice or noodles, for serving
Combine the sliced beef, broccoli florets, beef broth, soy sauce, oyster sauce, cornstarch, brown sugar, garlic, ginger, and sesame oil in your slow cooker. Mix well to assure the beef is coated evenly with the sauce.
Season with salt and pepper to taste. Cover and cook on low for 4-5 hours or until the beef is tender and the broccoli is bright and cooked through. Serve over cooked rice or noodles, and drizzle any additional sauce from the cooker on top.
For a thicker sauce, you can remove the lid of the slow cooker during the last hour of cooking. Feel free to adjust the seasoning based on your taste preference; adding a splash of additional soy sauce or a pinch of red pepper flakes can introduce a delightful kick.
If you're looking for variety, you can also toss in other vegetables like bell peppers or snow peas to enhance the dish. Enjoy your homemade Beef and Broccoli dinner!
Italian Beef Sandwiches

Italian beef sandwiches are a flavorful and hearty meal that's perfect for family gatherings or a cozy night in. The tender roast beef is slow-cooked in a blend of seasonings, creating a rich and savory filling that's ideal for loading onto a crusty Italian roll. This dish is a comforting classic that brings a taste of Chicago right to your kitchen, and the best part is that it requires minimal prep time. Let your slow cooker do the heavy lifting while you sit back and enjoy the tantalizing aroma filling your home.
As the beef simmers, it absorbs all the delicious spices and liquids, resulting in a mouthwatering sandwich that can be customized to suit your taste. Whether you prefer it extra juicy with a dip or piled high with roasted peppers and provolone cheese, these Italian beef sandwiches are sure to impress. Perfect for an easy weeknight dinner or for feeding a crowd, this recipe guarantees you'll always have something to savor.
Ingredients:
- 3-4 pounds beef chuck roast
- 1 cup beef broth
- 1 packet Italian dressing mix
- 1 tablespoon garlic powder
- 1 tablespoon onion powder
- 1 teaspoon red pepper flakes (optional)
- 1 jar (16 ounces) roasted red peppers, sliced
- 6-8 Italian rolls or hoagie buns
- Provolone cheese slices (optional)
- Giardiniera (pickled vegetables, optional)
Place the chuck roast in the slow cooker and pour in the beef broth, then sprinkle the Italian dressing mix, garlic powder, onion powder, and red pepper flakes over the meat. Cover and cook on low for 8-10 hours or until the beef is tender and easily shredded with a fork.
Once done, remove the roast and let it rest before shredding it. Strain the cooking juices, then return the shredded beef to the slow cooker and mix it with the juices. Serve the beef on Italian rolls topped with roasted red peppers and provolone cheese, if desired.
For the best results, consider marinating the beef in the broth and seasoning overnight for deeper flavor. Additionally, don't skimp on the toppings—adding giardiniera or fresh herbs can really elevate your sandwich. If you prefer a little more heat, adjust the amount of red pepper flakes to your liking.
Remember that slow cooker times can vary based on the model, so check the beef periodically to ascertain perfect tenderness.
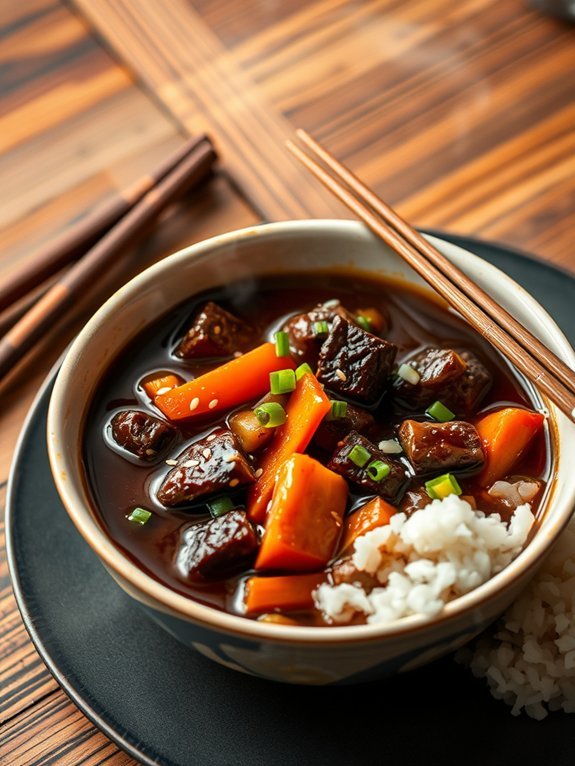
Sweet and Sour Beef
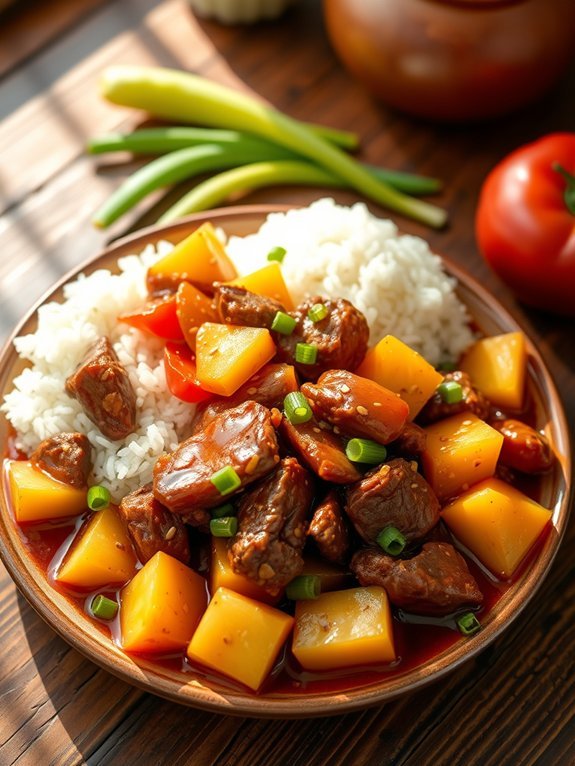
Sweet and Sour Beef is a delightful dish that brings a perfect balance of flavors to the table. This dish is especially popular for family gatherings or weeknight dinners, as it's easy to prepare and requires minimal effort thanks to the slow cooker. The fusion of sweetness from brown sugar and tanginess from vinegar, combined with tender beef, creates a sauce that complements rice or noodles beautifully.
Using a slow cooker allows the beef to absorb the delicious flavors while becoming incredibly tender. This method enhances the natural taste of the ingredients, resulting in a hearty and satisfying meal. Plus, the slow cooking process means you can set it and forget it, giving you more time to spend with family or engage in other preparations for your meal.
- 2 lbs beef chuck roast, cut into 1-inch pieces
- 1 cup pineapple chunks (fresh or canned)
- 1 cup bell peppers, sliced (red and green)
- 1 cup onion, sliced
- 1/2 cup soy sauce
- 1/2 cup brown sugar
- 1/3 cup apple cider vinegar
- 2 cloves garlic, minced
- 1 tablespoon ginger, grated
- 1 tablespoon cornstarch (optional for thickening)
- Cooked rice or noodles, for serving
In a slow cooker, combine the beef, pineapple chunks, bell peppers, and onions. In a separate bowl, whisk together the soy sauce, brown sugar, vinegar, garlic, and ginger. Pour this sauce over the beef mixture in the slow cooker. Stir to verify everything is well coated, then cover and cook on low for 6-8 hours, or until the beef is tender.
If you wish to thicken the sauce, mix the cornstarch with a bit of water, stir it into the slow cooker during the final 30 minutes of cooking, and cover back up to let it thicken.
When preparing Sweet and Sour Beef, you can customize the vegetables according to your preference or what you have on hand. Adding diced carrots, snap peas, or even zucchini can enhance the dish's flavor and texture.
Additionally, if you're short on time, you can use pre-cut beef or frozen stir-fry vegetables to make the preparation even quicker. Finally, serve this dish with a sprinkle of sesame seeds or chopped green onions to elevate its presentation and add some freshness.
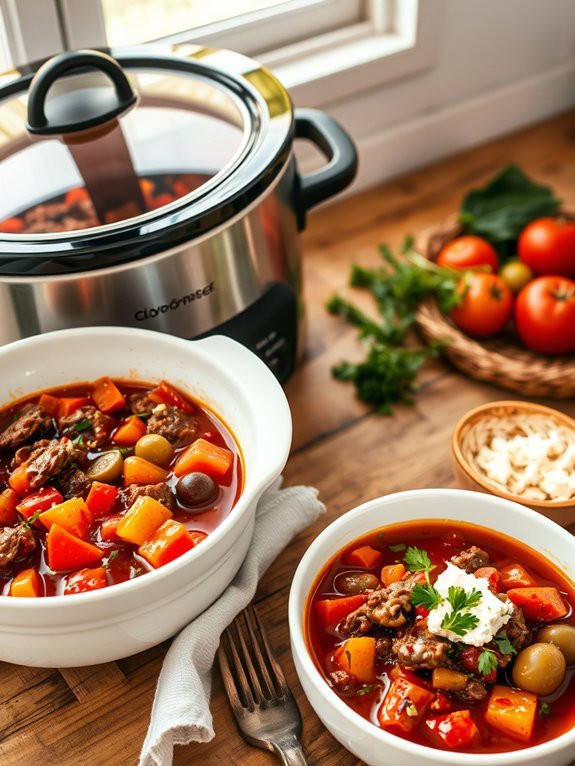
Beef Chili

Beef chili is a hearty and satisfying dish, perfect for a cozy dinner or feeding a crowd. By using a slow cooker, you can let the flavors meld together over time, resulting in a rich and delicious chili that requires minimal hands-on effort. The slow cooking process allows the beef to become tender while soaking up all the spices and ingredients, creating a meal that warms you from the inside out.
This recipe isn't only easy to prepare, but it's also versatile. You can customize the heat level by adjusting the amount of chili powder or adding fresh jalapeños for more spice. Serve this chili with your favorite toppings like shredded cheese, sour cream, or green onions for an extra burst of flavor. Whether you're hosting a game night or just enjoying a family dinner, this slow cooker beef chili is sure to be a hit.
Ingredients:
- 2 pounds ground beef
- 1 large onion, diced
- 2 cloves garlic, minced
- 1 can (28 ounces) crushed tomatoes
- 1 can (15 ounces) kidney beans, drained and rinsed
- 1 can (15 ounces) black beans, drained and rinsed
- 2 tablespoons chili powder
- 1 teaspoon cumin
- 1 teaspoon smoked paprika
- 1 jalapeño, chopped (optional)
- Salt and pepper, to taste
In a large skillet, brown the ground beef over medium heat, breaking it apart with a spatula as it cooks. Once browned, drain excess fat and transfer the beef to the slow cooker.
Add the diced onion, minced garlic, crushed tomatoes, kidney beans, black beans, chili powder, cumin, smoked paprika, jalapeño (if using), and salt and pepper to the slow cooker. Stir to combine, cover, and cook on low for 6-8 hours or on high for 3-4 hours until the flavors are well combined and the chili is hot and bubbly.
For the best flavor, allow the chili to rest for a few minutes before serving to let the flavors deepen. You can also make the chili a day in advance and refrigerate it overnight, as it tastes even better the next day.
Feel free to get creative with your toppings, and consider adding fresh cilantro, diced avocado, or tortilla chips for an added crunch. If you prefer a thicker chili, you can also blend in some cornmeal or masa harina towards the end of the cooking time.
Enjoy your warm and comforting bowl of slow cooker beef chili!
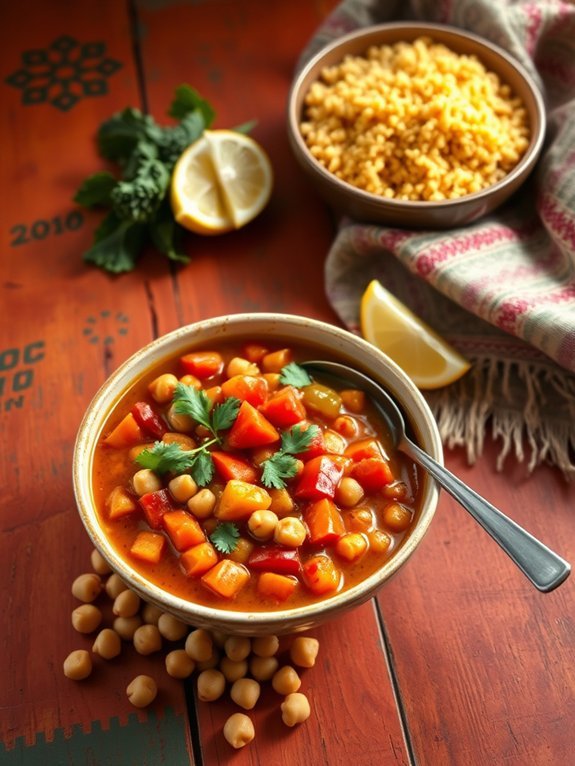
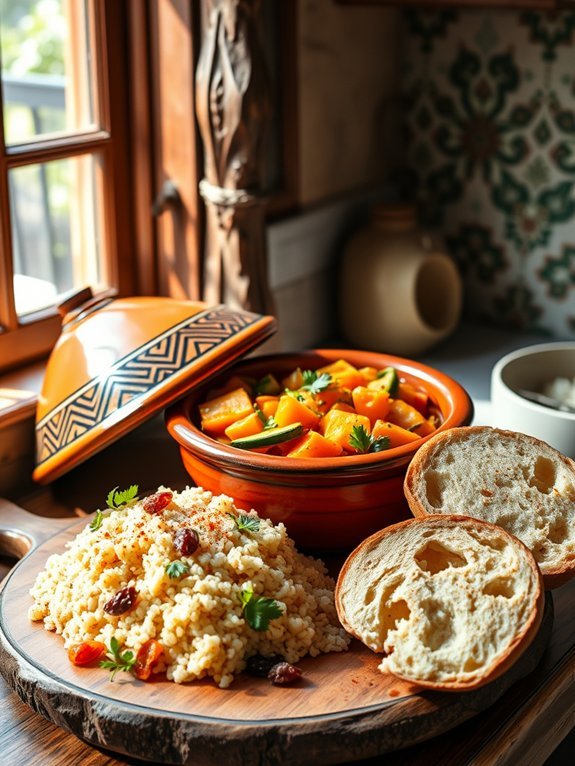
Moroccan Beef Tagine
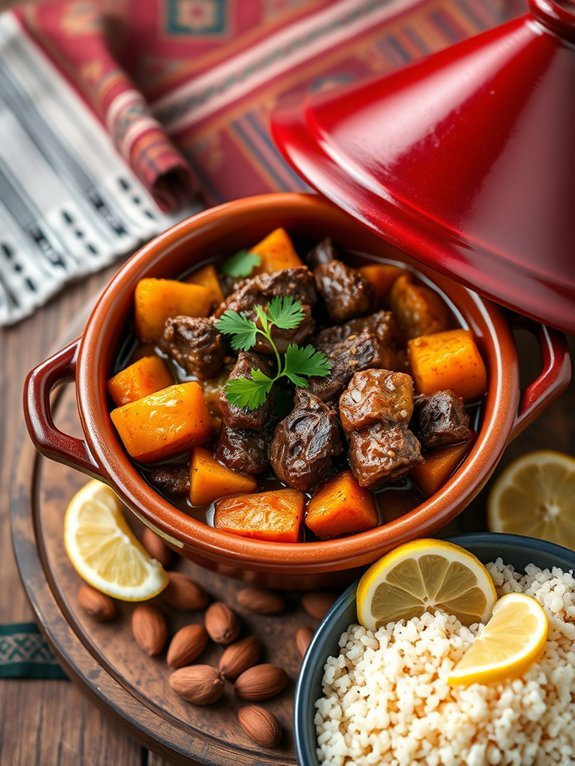
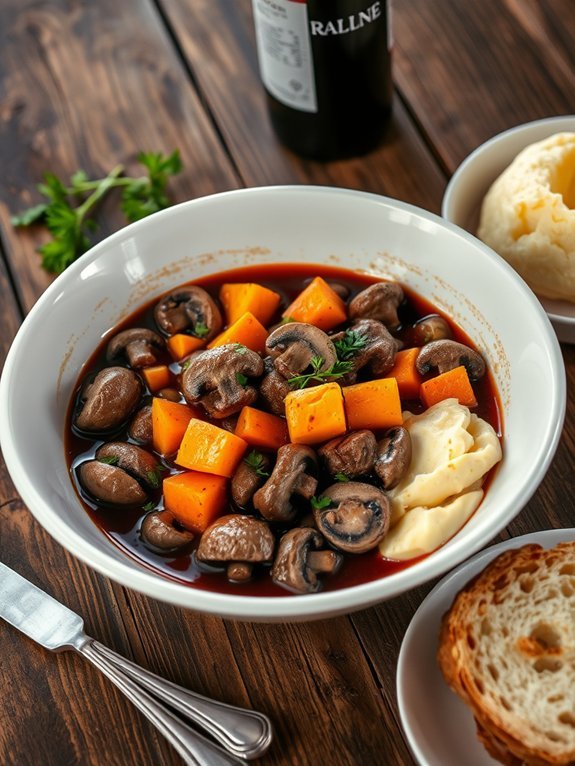
Moroccan Beef Tagine is a rich and aromatic dish that brings together the vibrant flavors of North African cuisine. Traditionally cooked in a tagine, a cone-shaped earthenware pot, this dish perfectly melds tender beef with an array of spices, fruits, and vegetables. The slow-cooking method allows the flavors to penetrate the meat, resulting in a hearty and satisfying meal that transports your taste buds to the bustling streets of Morocco.
Perfect for a gathering or a comforting family dinner, this dish isn't only nutritious but also visually stunning with its colorful ingredients. The combination of spices like cumin, coriander, and cinnamon, along with the sweetness of dried fruits and the earthiness of root vegetables, creates a well-balanced and delightful dish that pairs beautifully with couscous or warm crusty bread.
Ingredients:
- 2 lbs beef chuck, cut into 1-inch pieces
- 2 tbsp olive oil
- 1 onion, chopped
- 4 garlic cloves, minced
- 2 cups beef broth
- 1 can (14 oz) diced tomatoes
- 2 tsp ground cumin
- 2 tsp ground coriander
- 1 tsp ground cinnamon
- 1 tsp ground ginger
- 1/2 tsp cayenne pepper (optional)
- Salt and pepper, to taste
- 1 cup carrots, sliced
- 1 cup sweet potatoes, cubed
- 1/2 cup dried apricots, chopped
- 1/2 cup almonds or walnuts, toasted
- Fresh cilantro, for garnish
In a skillet, heat the olive oil over medium-high heat. Add the beef and sear it until browned on all sides. Transfer the beef to the slow cooker.
In the same skillet, sauté the onion and garlic until fragrant and translucent, then add them to the slow cooker. Stir in the beef broth, diced tomatoes, and all the spices. Combine well, then add the carrots, sweet potatoes, and dried apricots. Cover and cook on low for 6-8 hours, or until the meat is tender and the flavors have melded together beautifully.
When cooking Moroccan Beef Tagine, it's important to adjust the spices according to your taste preference. Feel free to experiment with additional ingredients or spice levels; for example, you can substitute the dried apricots with prunes or raisins for a different sweetness.
Also, to enhance the flavor, consider letting the dish sit for a few hours or overnight before serving; the flavors deepen and develop over time. Don't forget to serve it with a sprinkle of fresh cilantro and a side of couscous for an authentic experience!
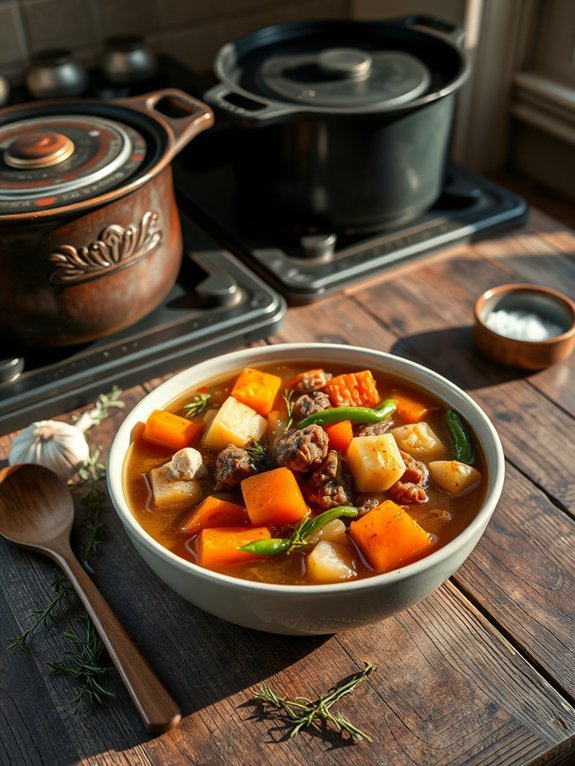
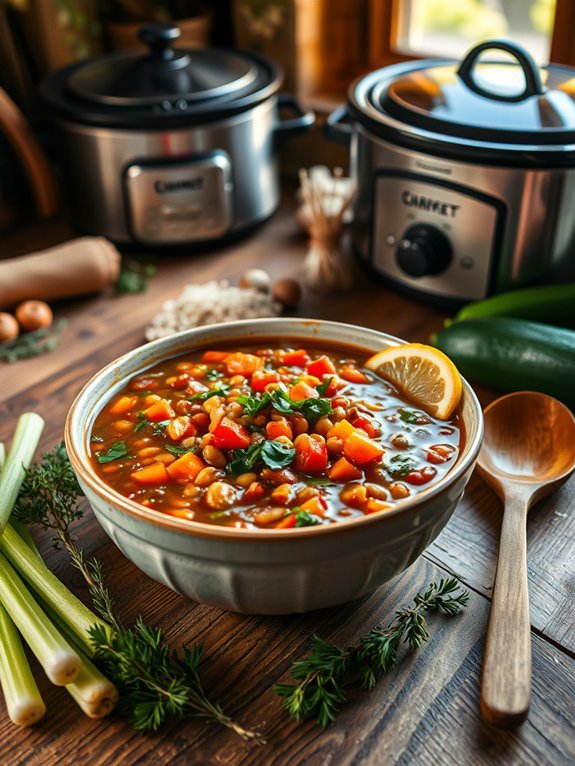
Beef and Vegetable Soup
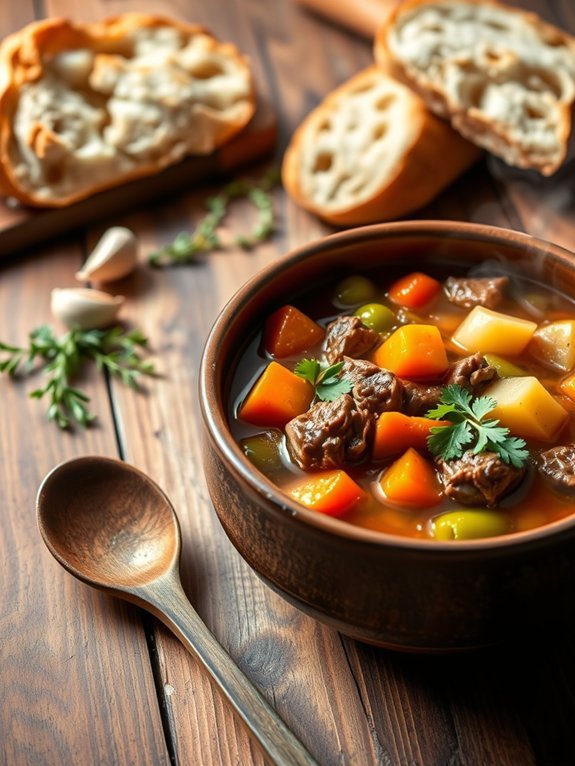
Slow Cooker Beef and Vegetable Soup is a comforting and hearty dish perfect for any occasion. This soup isn't only packed with flavor but also loaded with nutritious vegetables, making it a great choice for a wholesome meal.
The slow cooker allows the beef to become tender and the flavors to meld beautifully over time, creating a rich and satisfying broth that warms you from the inside out.
In addition to being delicious, this soup is incredibly versatile. You can customize the vegetable mix to incorporate whatever you have on hand, such as carrots, peas, or green beans. It's a great way to use up leftovers and can easily be adapted to suit different tastes. Serve it with some crusty bread for a complete meal that the whole family will enjoy.
- 1 pound beef stew meat, cut into bite-sized pieces
- 1 medium onion, diced
- 2 cloves garlic, minced
- 3 carrots, sliced
- 2 celery stalks, chopped
- 1 cup green beans, trimmed and cut into pieces
- 2 medium potatoes, diced
- 4 cups beef broth
- 1 can (14.5 oz) diced tomatoes, undrained
- 1 tablespoon Worcestershire sauce
- 1 teaspoon dried thyme
- 1 teaspoon dried oregano
- Salt and pepper to taste
- Optional: fresh parsley for garnish
In a slow cooker, combine the beef stew meat, onion, garlic, carrots, celery, green beans, potatoes, beef broth, diced tomatoes, Worcestershire sauce, thyme, oregano, salt, and pepper. Stir to mix all the ingredients well.
Cover and cook on low for 7-8 hours or on high for 4-5 hours, until the beef is tender and the vegetables are cooked through.
To enhance the flavor of your beef and vegetable soup, consider browning the beef in a skillet before adding it to the slow cooker. This step will add a deeper, richer flavor to the meat.
Additionally, you can experiment with different herbs and spices to suit your personal taste. If you prefer a thicker soup, you can use a cornstarch slurry (cornstarch mixed with water) in the final 30 minutes of cooking to thicken it up.
Finally, don't forget to taste and adjust seasoning before serving, as flavors can develop further during cooking.