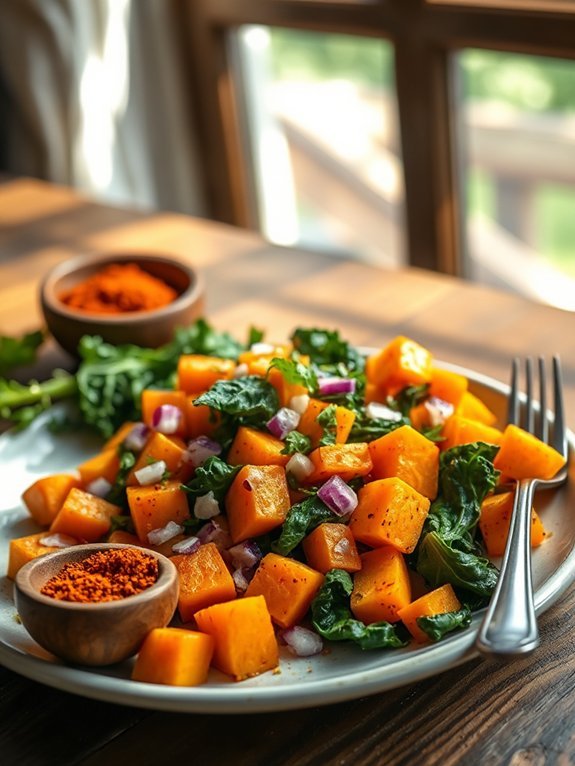
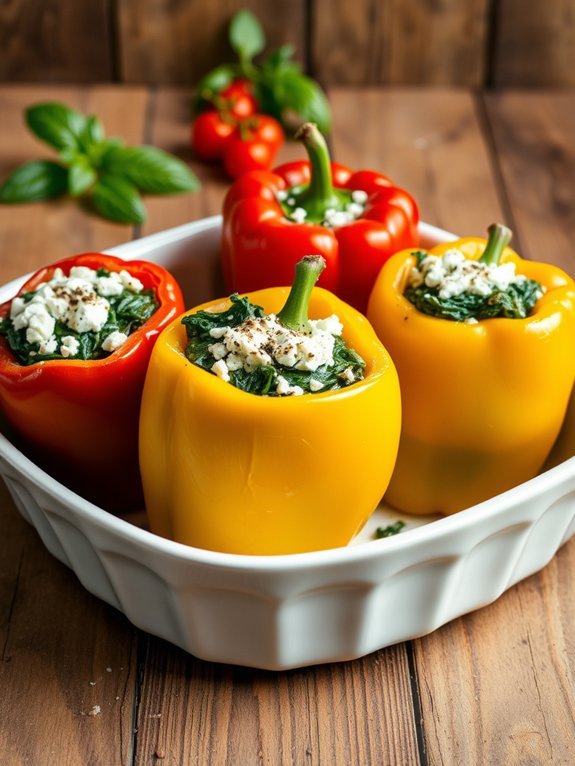
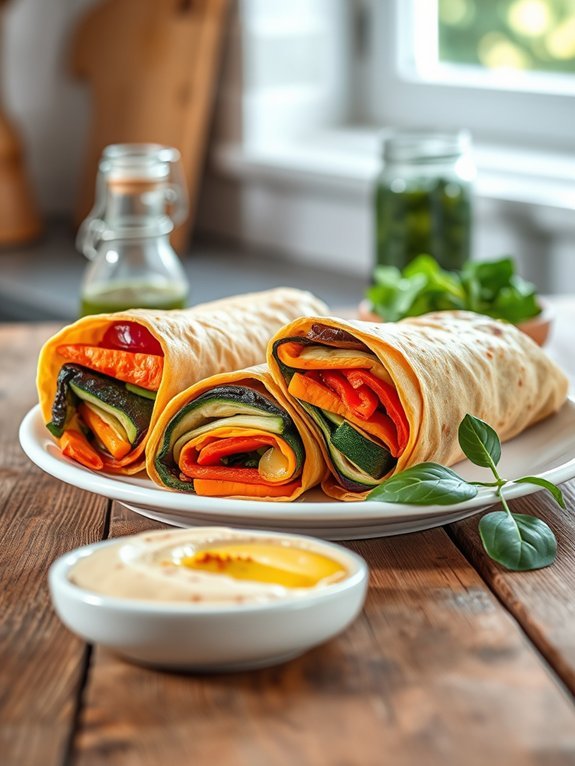
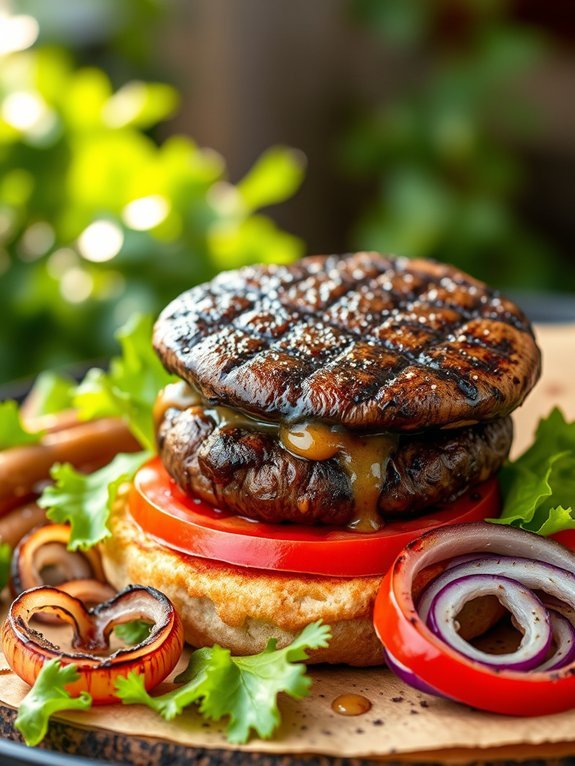
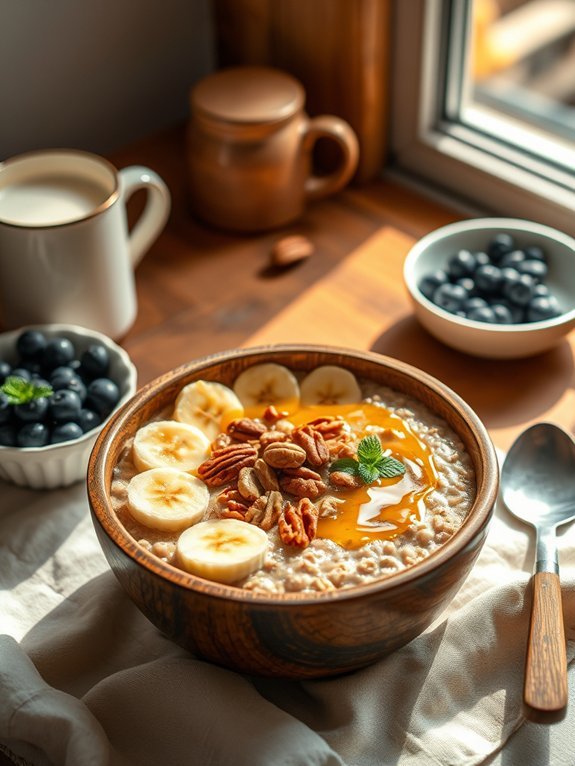
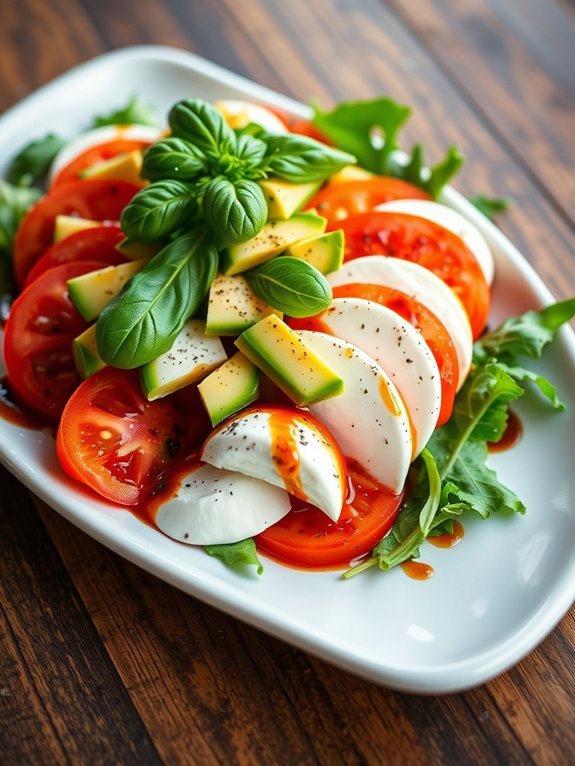
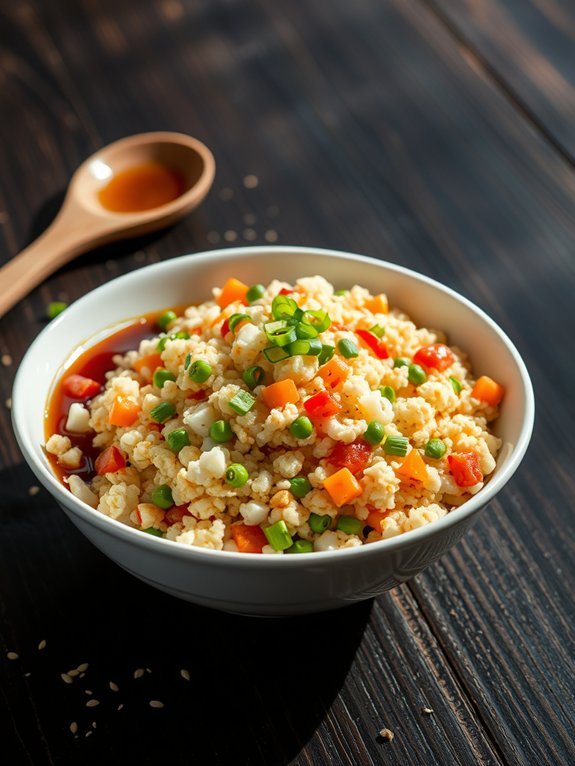
If you're looking for high-protein vegan recipes to stay full, try hearty lentil and quinoa stew, chickpea salad with avocado, or black bean and sweet potato tacos. Protein-packed vegan Buddha bowls make great meal prep options, while a creamy peanut butter and banana smoothie serves as a quick snack. For something hearty, consider a lentil and walnut Bolognese or Mediterranean chickpea salad. These dishes are not only filling but also easy to customize for your taste. Explore more delicious options ahead!
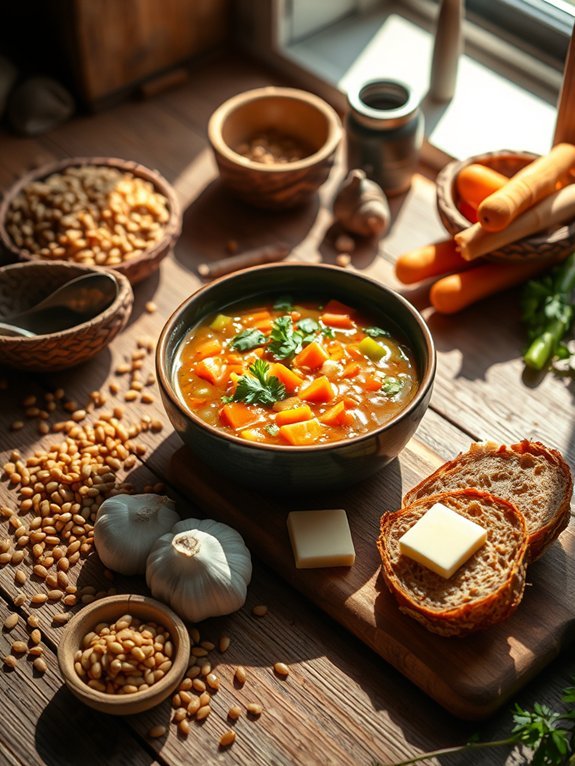
Hearty Lentil and Quinoa Stew
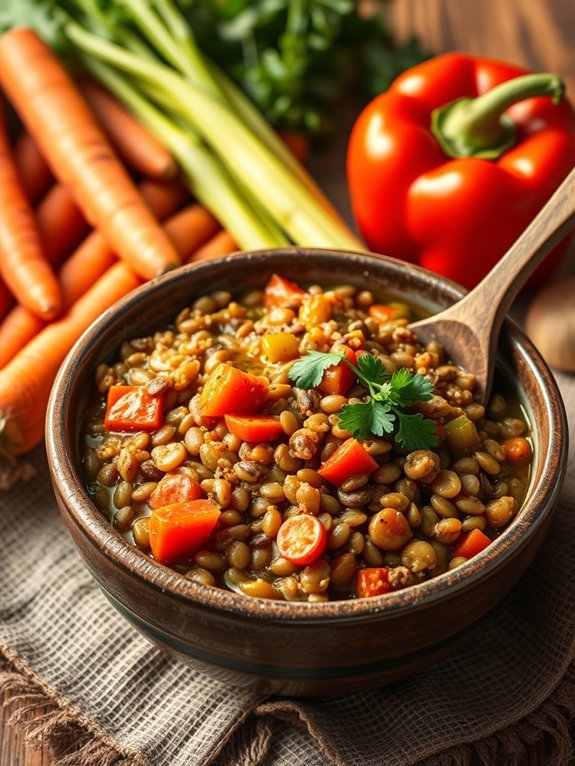
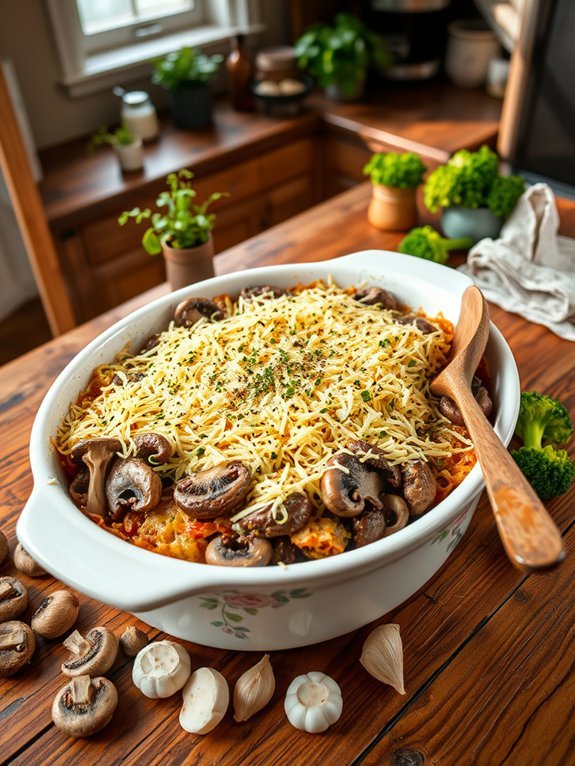
Hearty Lentil and Quinoa Stew is a nutritious and filling dish that showcases the power of plant-based protein. Packed with lentils, quinoa, and an array of vegetables, this stew isn't only delicious but also easy to prepare. Whether you're a seasoned vegan or simply looking to incorporate more plant-based meals into your routine, this recipe will satisfy your cravings while providing essential nutrients.
The combination of earthy lentils and fluffy quinoa makes for a wholesome meal that can be enjoyed any time of year. This stew also lends itself well to variations based on the seasonal vegetables you have on hand or your personal preferences. You can adjust the spices to suit your taste, making it as mild or spicy as you like.
Best of all, you can make a large batch to enjoy throughout the week or freeze portions for future meals. Enjoy this hearty and nutritious dish as a main course or as a side to accompany your favorite grain or salad.
Ingredients:
- 1 cup green or brown lentils, rinsed
- 1/2 cup quinoa, rinsed
- 1 medium onion, chopped
- 2 cloves garlic, minced
- 2 carrots, diced
- 2 celery stalks, diced
- 1 red bell pepper, chopped
- 1 can (14 oz) diced tomatoes
- 6 cups vegetable broth
- 1 tsp cumin
- 1 tsp paprika
- 1/2 tsp turmeric
- Salt and pepper, to taste
- 2 tablespoons olive oil
- Fresh parsley, for garnish
In a large pot, heat the olive oil over medium heat. Sauté the chopped onion, garlic, carrots, and celery until they begin to soften, about 5-7 minutes. Stir in the bell pepper, cumin, paprika, and turmeric, and cook for an additional 2 minutes.
Add in the rinsed lentils, quinoa, diced tomatoes, and vegetable broth. Bring to a boil, then reduce the heat to low. Cover and simmer for about 25-30 minutes, or until the lentils and quinoa are tender. Season with salt and pepper, and garnish with fresh parsley before serving.
When cooking this stew, feel free to experiment with different vegetables or spices to customize the flavor profile to your liking. Adding greens like spinach or kale in the last few minutes of cooking can boost the nutrition even further.
If you find the stew too thick, simply add a bit more vegetable broth to reach your desired consistency. Leftovers taste even better the next day, making this dish perfect for meal prepping!
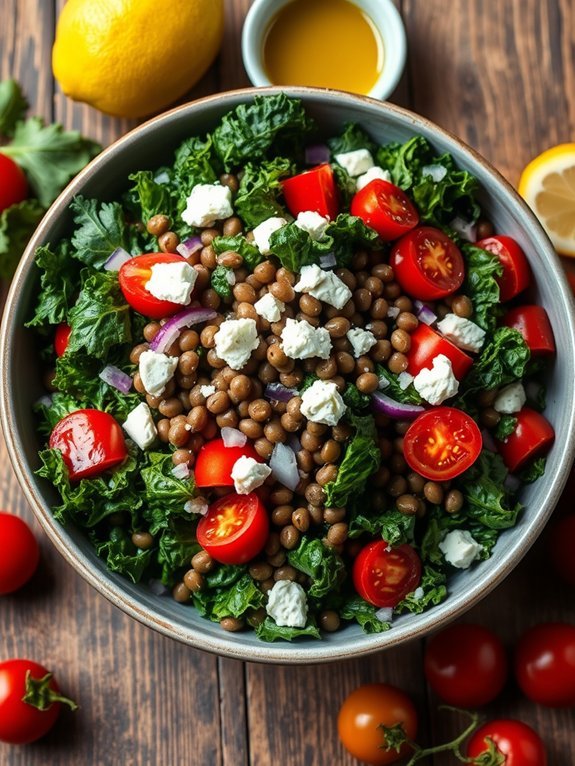
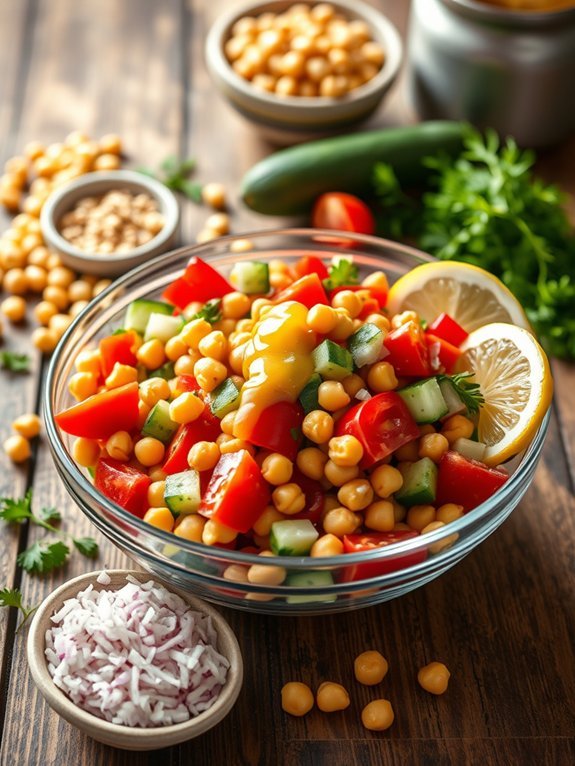
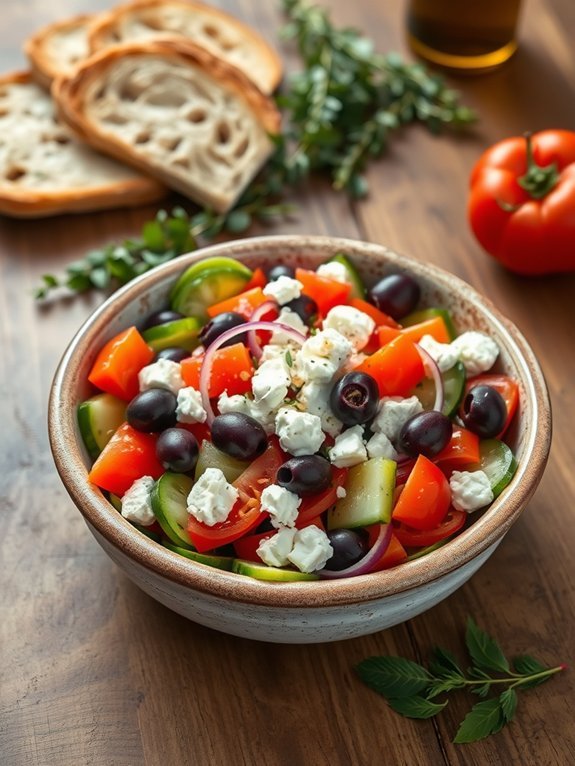
Chickpea Salad With Avocado and Crunchy Veggies

Chickpea salad with avocado and crunchy veggies is a delightful, nourishing dish perfect for a quick lunch or light dinner. The combination of creamy avocado and crisp vegetables creates a satisfying contrast, while protein-rich chickpeas provide a hearty base.
This salad isn't only vibrant and invigorating but also highly customizable, allowing you to incorporate your favorite seasonal produce. Packed with flavor and nutrition, this chickpea salad is an excellent way to meet your protein needs on a vegan diet.
The addition of lemon juice adds a zesty brightness, while herbs bring complexity to the dish. Serve it on its own or as a filling side, and enjoy the wholesome goodness that each bite brings.
Ingredients:
- 1 can (15 oz) chickpeas, drained and rinsed
- 1 ripe avocado, diced
- 1 cucumber, diced
- 1 bell pepper (any color), diced
- 1 cup cherry tomatoes, halved
- 1 small red onion, finely chopped
- 1/4 cup fresh parsley, chopped
- Juice of 1 lemon
- 2 tablespoons olive oil
- Salt and pepper to taste
In a large mixing bowl, combine the chickpeas, diced avocado, cucumber, bell pepper, cherry tomatoes, red onion, and parsley. Drizzle the lemon juice and olive oil over the salad, seasoning it with salt and pepper.
Gently toss the ingredients together, ensuring that everything is evenly coated without mashing the avocado. When preparing this salad, opt for ripe avocados for the best flavor and creamy texture.
Additionally, feel free to experiment with other vegetables, such as carrots or radishes, to add even more crunch. This salad can be made a few hours ahead of time; just be cautious not to add the avocado until right before serving to prevent browning.
Enjoy your nutritious, protein-packed meal!
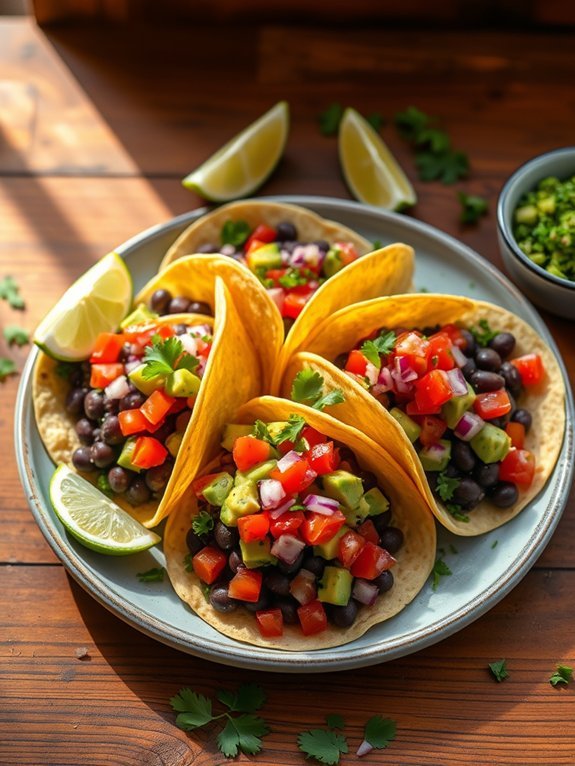
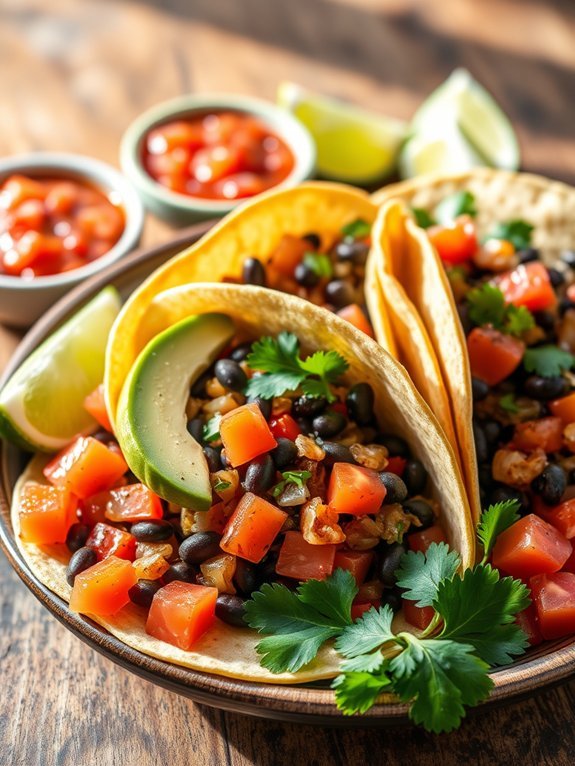
Black Bean and Sweet Potato Tacos
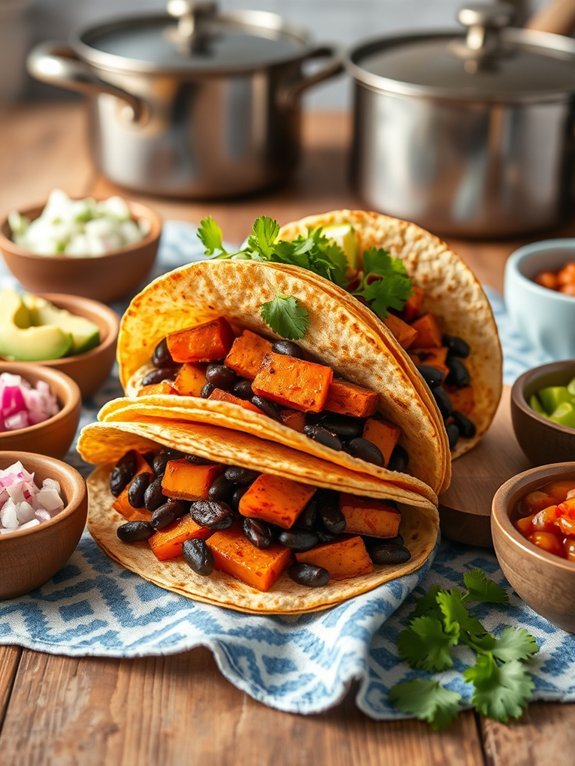
Black Bean and Sweet Potato Tacos are a delicious and nutritious option for anyone looking to enjoy a high-protein vegan meal. These tacos combine the earthy flavors of black beans and the sweetness of roasted sweet potatoes, creating a satisfying and filling dish. Packed with plant-based protein and fiber, they aren't only good for you but also incredibly flavorful and easy to prepare.
This dish is perfect for a quick weeknight dinner or a fun gathering with friends. You can easily customize your tacos with your favorite toppings, such as avocado, salsa, or fresh cilantro. Let the vibrant colors and flavors of the ingredients shine through as you create a healthful, satisfying meal that everyone will love.
- 2 medium sweet potatoes, peeled and diced
- 1 can (15 oz) black beans, drained and rinsed
- 1 tablespoon olive oil
- 1 teaspoon ground cumin
- 1 teaspoon smoked paprika
- Salt and pepper, to taste
- 8 small corn tortillas
- Fresh cilantro, for garnish
- Lime wedges, for serving
- Optional toppings: avocado, salsa, diced onion, or hot sauce
Preheat your oven to 425°F (220°C). Toss the diced sweet potatoes with olive oil, cumin, smoked paprika, salt, and pepper on a baking sheet. Roast the sweet potatoes in the oven for about 25-30 minutes, or until they're tender and slightly caramelized.
While the sweet potatoes are roasting, warm the black beans in a saucepan over medium heat. Once the sweet potatoes are ready, assemble the tacos by placing the roasted sweet potatoes and black beans on each tortilla. Garnish with fresh cilantro and serve with lime wedges and any additional toppings you prefer.
To enhance the flavor of the dish, consider adding a splash of lime juice to the black beans for added acidity. You can also roast the tortillas in the oven or on a skillet for a few minutes to achieve a crispy texture. If you're looking to increase the protein content even more, try adding some avocado or nutritional yeast as a topping.
Enjoy your delicious and nutritious black bean and sweet potato tacos!
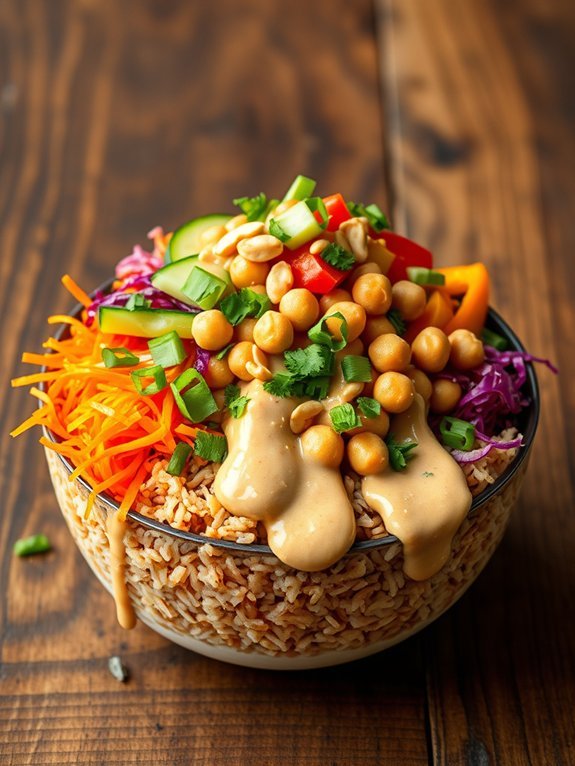
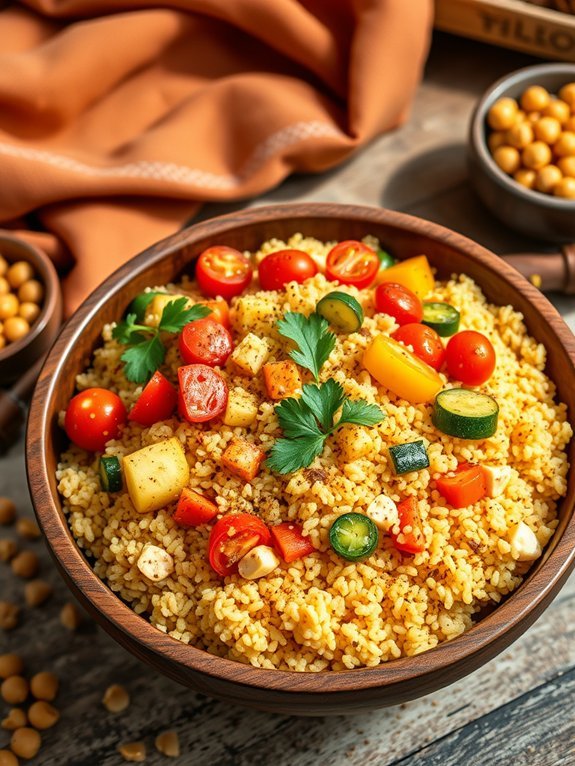
Protein-Packed Vegan Buddha Bowl
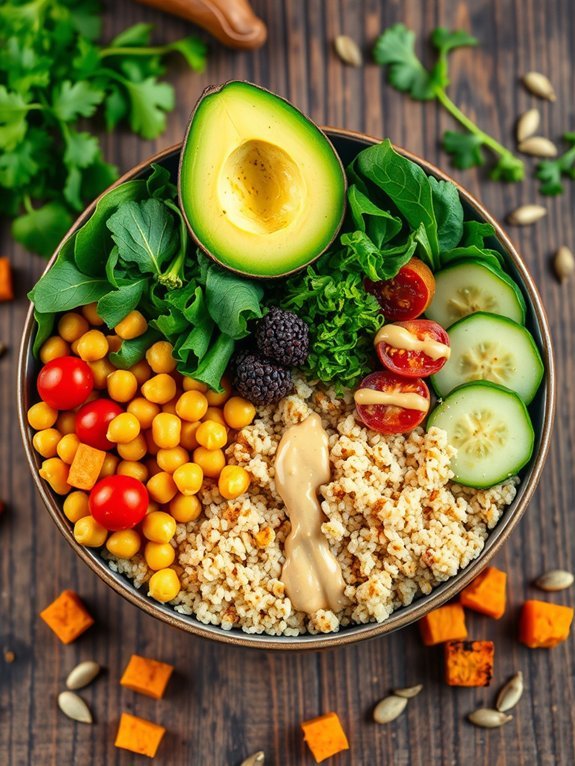
Buddha bowls are a delicious and visually appealing way to enjoy a variety of nutritious ingredients all in one meal. This protein-packed vegan Buddha bowl isn't only satisfying but also easy to customize according to your taste and what's available in your pantry.
Combining whole grains, protein-rich legumes, fresh vegetables, and a creamy dressing, this dish offers a delightful balance of flavors and textures.
To prepare this vibrant bowl, you can use quinoa or brown rice as the base, which provides a great source of carbohydrates and protein. The addition of chickpeas or lentils guarantees that your meal stays hearty while maintaining a plant-based profile. Topped with fresh greens, roasted vegetables, and a drizzle of tahini dressing, this recipe is sure to become a weekly staple in your kitchen.
Ingredients:
- 1 cup quinoa (or brown rice)
- 1 can chickpeas (or lentils), drained and rinsed
- 1 tablespoon olive oil
- 1 teaspoon smoked paprika
- Salt and pepper, to taste
- 2 cups mixed greens (spinach, kale, or arugula)
- 1 cup cherry tomatoes, halved
- 1 cup cucumber, diced
- 1 avocado, sliced
- 1/4 cup tahini
- 2 tablespoons lemon juice
- Water, to thin tahini dressing
In a large pot, cook the quinoa or brown rice according to package instructions. While the grain is cooking, preheat your oven to 400°F (200°C).
Toss the drained chickpeas with olive oil, smoked paprika, salt, and pepper. Spread the chickpeas on a baking sheet and roast for 25-30 minutes until golden and crispy.
Once everything is cooked, assemble the Buddha bowl by placing a generous scoop of quinoa or rice in the base, followed by the roasted chickpeas, mixed greens, cherry tomatoes, cucumber, and avocado. Drizzle tahini dressing over the top before serving.
When making your Buddha bowl, feel free to get creative with the toppings and flavors. You can add different vegetables like bell peppers, carrots, or roasted sweet potatoes, and even include nuts or seeds for an extra crunch.
If you prefer your dressing thicker, use less water when thinning out the tahini, or experiment with adding different spices or herbs to suit your taste. Enjoy this versatile dish for lunch or dinner!
Creamy Peanut Butter and Banana Smoothie
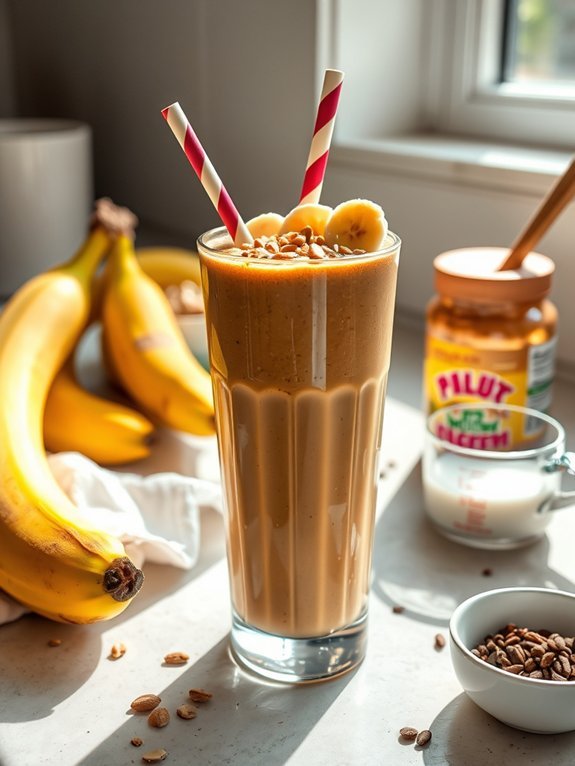
If you're looking for a delicious and nutritious high-protein vegan option, the Creamy Peanut Butter and Banana Smoothie is an excellent choice. This smoothie combines the goodness of ripe bananas with the rich flavor of peanut butter, creating a creamy blend that's satisfying and energizing.
It's perfect for breakfast, a post-workout snack, or a delightful afternoon treat. Plus, it's packed with plant-based protein, helping you meet your nutritional needs while enjoying a tasty drink.
To make this smoothie even more nutritious, you can add a scoop of your favorite plant-based protein powder. This addition won't only boost the protein content but also help keep you feeling full longer.
With just a few simple ingredients, you can whip up this delightful smoothie in no time, using your blender to create a creamy, dreamy texture that's hard to resist.
Ingredients:
- 2 ripe bananas
- 2 tablespoons peanut butter (or almond butter)
- 1 cup unsweetened almond milk (or any plant-based milk)
- 1 tablespoon maple syrup (optional, for sweetness)
- 1 teaspoon vanilla extract
- 1/2 teaspoon cinnamon (optional)
- Ice cubes (optional, for a thicker consistency)
To prepare the Creamy Peanut Butter and Banana Smoothie, simply combine all the ingredients in a high-speed blender.
Blend on high until the mixture is completely smooth and creamy, ensuring that the bananas and peanut butter are fully incorporated. If desired, you can adjust the thickness by adding more milk or ice cubes to your preference.
For an extra boost of flavor and nutrition, consider adding a handful of spinach or kale to the smoothie; they can easily blend into the mix without affecting the taste much.
You can also experiment with different nut butters like almond or cashew for a unique twist. Finally, topping the smoothie with some granola or chia seeds can give it a delightful crunch and an additional layer of texture.
Enjoy your nutritious and delicious smoothie!
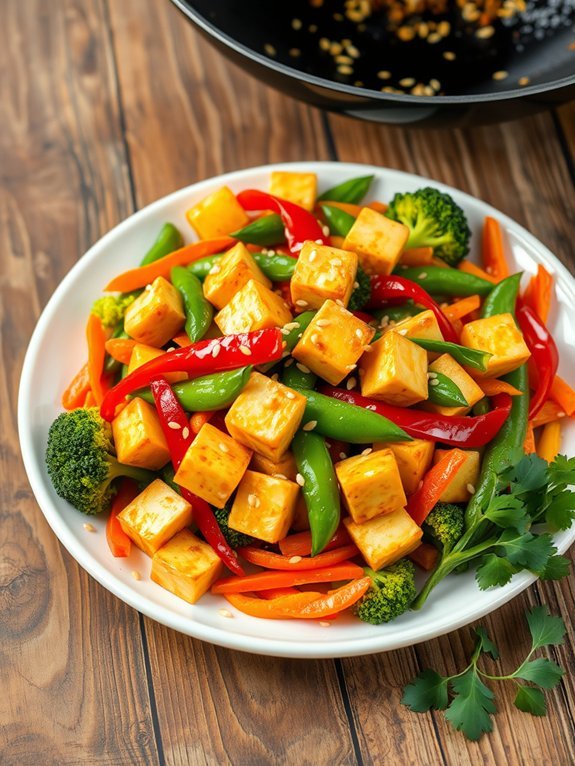
Spicy Tempeh Stir-Fry
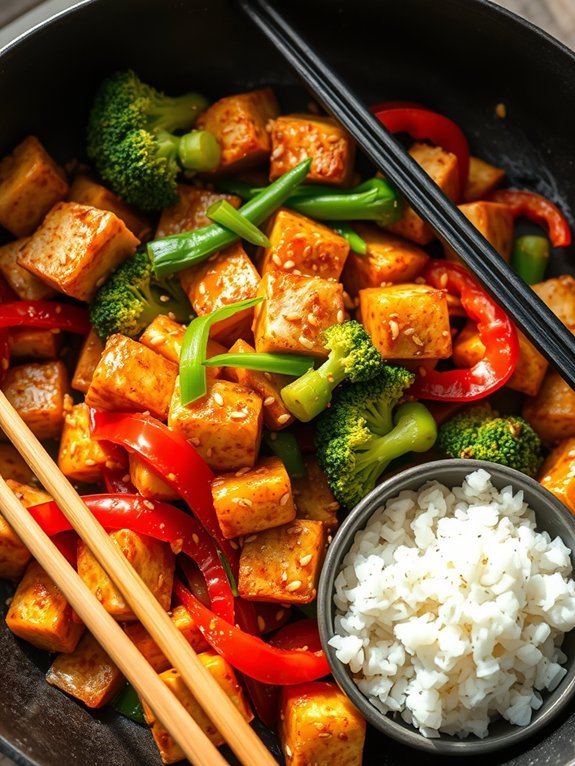
Spicy tempeh stir-fry is a fantastic high-protein vegan dish that brings both flavor and nutrition to your table. Tempeh, which is made from fermented soybeans, offers a meaty texture and is packed with protein, fiber, and essential nutrients. Combined with colorful vegetables and a spicy sauce, this stir-fry isn't only hearty but also takes just a short amount of time to prepare, making it perfect for a weeknight dinner or meal prep.
The beauty of this dish lies in its versatility; you can use any vegetables you have on hand or prefer, such as bell peppers, broccoli, snap peas, or carrots. The key is to balance the spice with the natural sweetness of the vegetables and the nutty flavor of the tempeh. Serve it over a bed of rice, quinoa, or noodles for a complete meal that will satisfy both your hunger and taste buds.
Ingredients:
- 1 block of tempeh, cubed
- 2 tablespoons soy sauce
- 1 tablespoon sesame oil
- 2 tablespoons chili garlic sauce
- 1 tablespoon maple syrup
- 2 cloves garlic, minced
- 1 inch ginger, grated
- 1 red bell pepper, sliced
- 2 cups broccoli florets
- 1 cup snap peas
- 2 green onions, chopped
- Cooked rice or quinoa, for serving
- Sesame seeds, for garnish
Heat a large pan or wok over medium heat and add the sesame oil. Once hot, add the cubed tempeh and stir-fry until golden brown, about 5-7 minutes. Next, add the garlic, ginger, red bell pepper, broccoli, and snap peas, stir-frying for an additional 3-4 minutes.
In a small bowl, combine the soy sauce, chili garlic sauce, and maple syrup, then pour it over the stir-fry. Toss everything together and cook for another 2 minutes until the sauce thickens slightly. Serve hot over rice or quinoa, garnished with chopped green onions and sesame seeds.
For a deeper flavor, marinating the tempeh in the soy sauce mixture for at least 30 minutes before cooking can enhance the dish. Additionally, you can adjust the spiciness by modifying the amount of chili garlic sauce to your taste.
For extra crunch, consider adding roasted peanuts or cashews as a topping. Enjoy experimenting with different vegetables and spices to make this stir-fry your own!
Spinach and Tofu Scramble
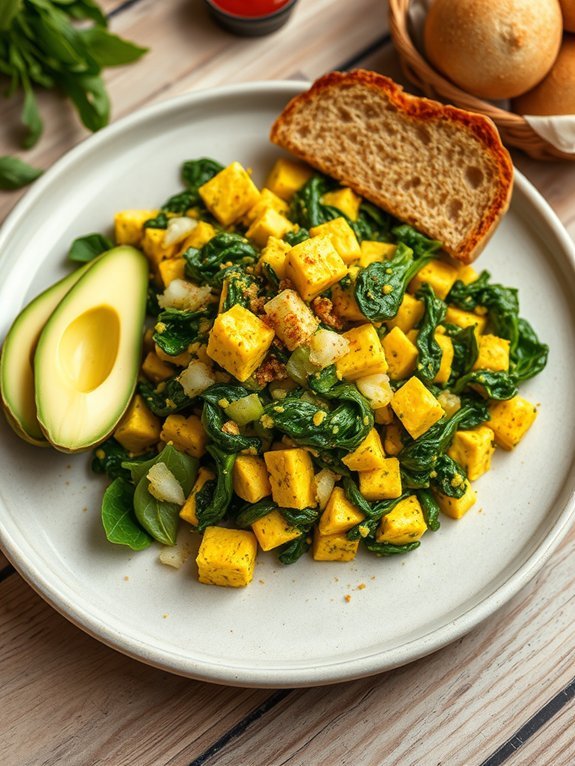
Spinach and Tofu Scramble is a delightful and nutritious breakfast option that's perfect for anyone looking to add more plant-based proteins to their diet. This savory dish combines the tender texture of sautéed tofu with fresh, vibrant spinach, creating a satisfying meal that's not only quick to prepare but also rich in essential nutrients.
It's an ideal choice for those busy mornings when you still want a hearty, filling meal before heading out for the day.
This recipe is incredibly versatile, allowing for additional ingredients to be thrown in based on your personal preferences. You can spice it up with a sprinkle of turmeric for that beautiful yellow hue or add chopped tomatoes and onions for added flavor and nutrition. Pair it with a slice of whole-grain toast or some roasted sweet potatoes to create a well-rounded breakfast plate that will keep you satisfied until lunch.
- 1 block (14 oz) firm tofu, drained and crumbled
- 3 cups fresh spinach, washed and chopped
- 1 tablespoon olive oil
- 1 small onion, diced
- 2 cloves garlic, minced
- 1/2 teaspoon ground turmeric
- Salt and pepper, to taste
- Optional toppings: Nutritional yeast, avocado slices, or hot sauce
In a large skillet, heat the olive oil over medium heat and add the diced onion, sautéing until translucent. Stir in the minced garlic and crumbled tofu, cooking for about 5-7 minutes while breaking up the tofu with a spatula.
Add the turmeric, salt, and pepper, mixing well to evenly coat the tofu. Finally, fold in the chopped spinach, cooking until wilted, about 2-3 minutes. Adjust spices as needed and serve immediately.
When cooking your Spinach and Tofu Scramble, feel free to experiment with different spices and herbs to suit your taste. For an extra kick, consider adding some cumin or chili powder.
If you prefer a creamier texture, you can toss in a few tablespoons of plant-based milk while cooking. Additionally, leftover scramble can be stored in the fridge and reheated for a quick meal later in the week!
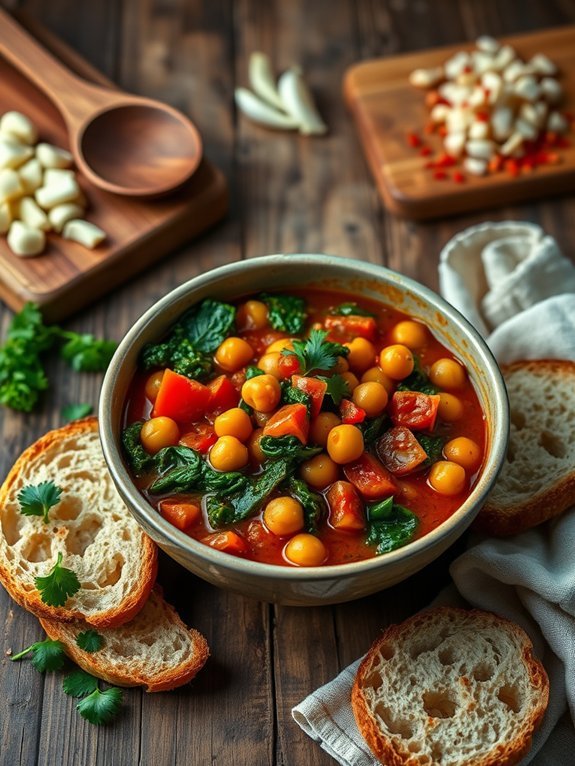
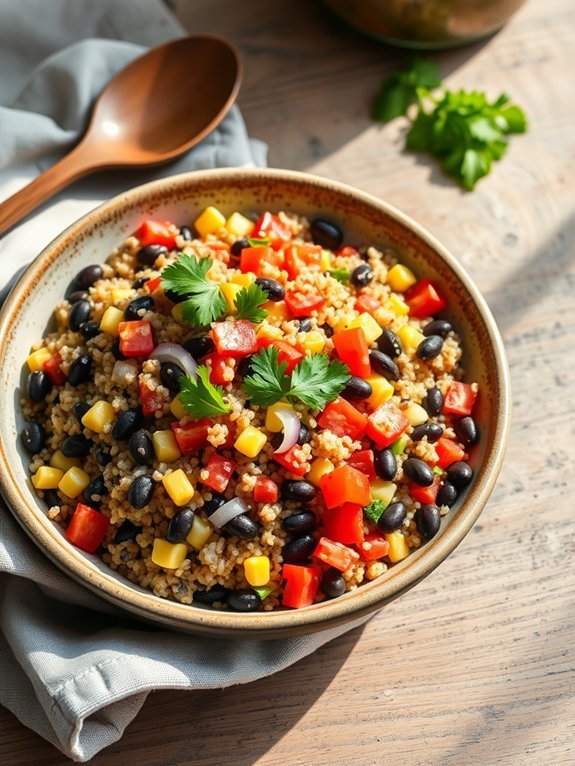
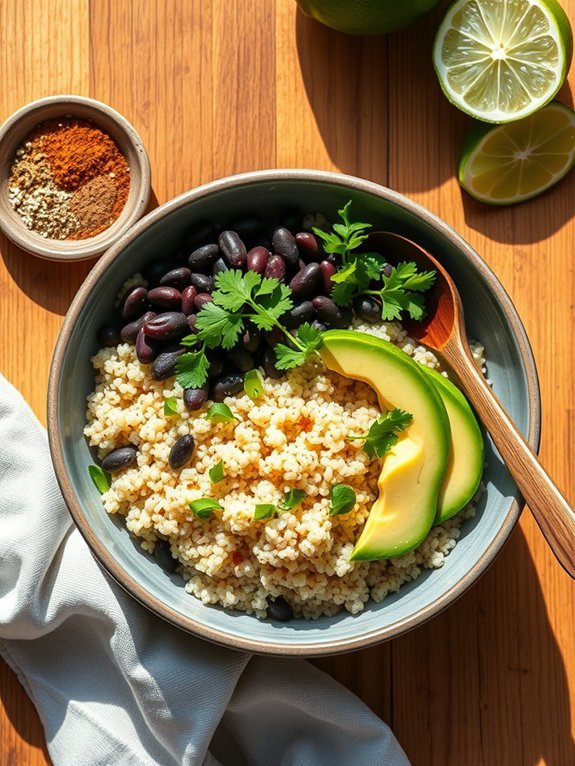
Quinoa and Black Bean Chili
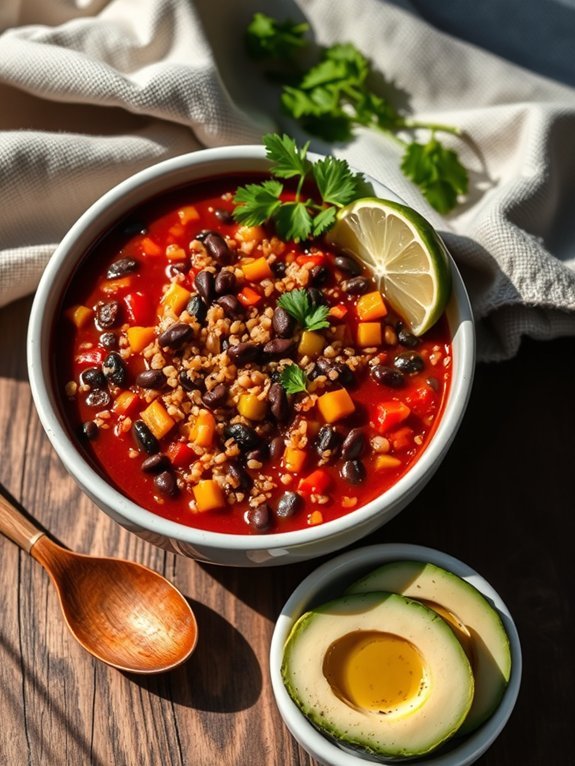
Quinoa and Black Bean Chili is a delicious and nutritious dish that brings together a symphony of flavors and textures. This vibrant chili isn't only packed with protein but also brimming with fiber, making it a perfect meal for those on a vegan diet or anyone looking to boost their protein intake. Quinoa, a complete protein source, and black beans come together to create a satisfying and hearty dish that warms you from the inside out.
This recipe isn't only simple to prepare but also offers flexibility—feel free to customize it with your favorite vegetables or spices. As the chili simmers, the ingredients meld beautifully, resulting in a dish that's both comforting and fulfilling.
The combination of spices, fresh vegetables, and the richness of black beans guarantees that each bite is bursting with flavor. Serve it with a side of cornbread or over a bed of rice for a complete meal, or simply enjoy it on its own for a nutritious bowl of goodness. This quinoa and black bean chili is sure to become a staple in your household!
Ingredients:
- 1 cup quinoa, rinsed
- 1 can black beans, drained and rinsed
- 1 can diced tomatoes (14 oz)
- 1 onion, chopped
- 3 cloves garlic, minced
- 1 bell pepper, diced
- 2 cups vegetable broth
- 2 teaspoons chili powder
- 1 teaspoon cumin
- ½ teaspoon smoked paprika
- Salt and pepper to taste
- Fresh cilantro for garnish (optional)
In a large pot, heat a tablespoon of olive oil over medium heat, add the chopped onion, and sauté until translucent. Stir in the garlic and bell pepper, cooking for an additional 3-4 minutes.
Add the rinsed quinoa, black beans, diced tomatoes, vegetable broth, chili powder, cumin, smoked paprika, salt, and pepper. Bring the mixture to a boil, then reduce the heat to low, cover, and simmer for about 25-30 minutes, or until the quinoa is cooked and the chili has thickened to your desired consistency.
For extra flavor, consider adding toppings such as avocado, lime wedges, or hot sauce to enhance your chili experience. To improve the spices, allow the chili to sit for a while—it often tastes even better the next day as the flavors continue to develop.
Additionally, don't hesitate to experiment with other vegetables or beans; zucchini, corn, or kidney beans can be great additions. Store leftovers in an airtight container in the fridge for up to a week or freeze portions for future meals.
Lentil and Walnut Bolognese
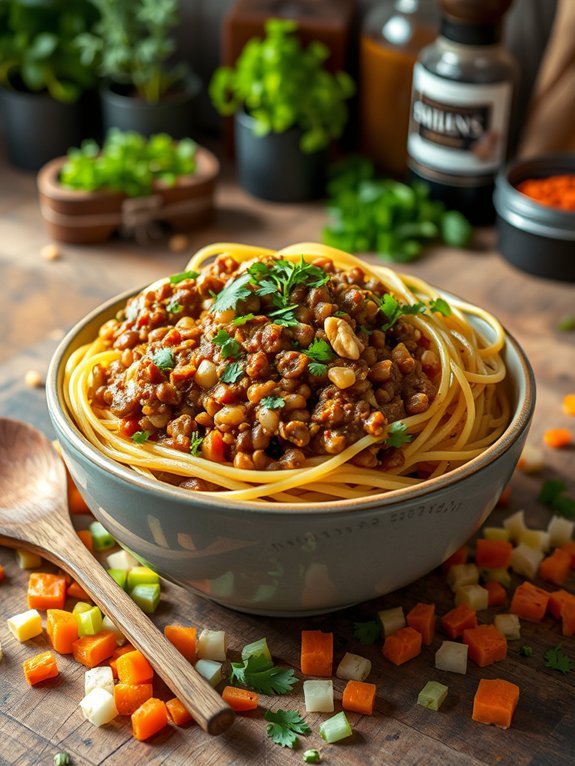
Lentil and Walnut Bolognese is a hearty and flavorful vegan alternative to traditional meat-based Bolognese sauces. Packed with protein from lentils and walnuts, this dish not only satisfies your hunger but also nourishes your body with plant-based nutrients. The combination of savory ingredients and herbs creates a rich depth of flavor that will leave you craving more, whether served over pasta, on a baked potato, or as a filling for stuffed peppers.
This recipe is perfect for busy weeknights or meal prep, as it can be made in advance and stored in the refrigerator or freezer for later. With simple ingredients and minimal preparation time, you can easily whip up this comforting dish to delight both vegan and non-vegan eaters alike. Gather your ingredients and get ready to experience a deliciously satisfying meal that proves plant-based dining can be both nutritious and delectable.
Ingredients:
- 1 cup green or brown lentils, rinsed
- 1 cup walnuts, finely chopped
- 1 medium onion, diced
- 2 cloves garlic, minced
- 2 medium carrots, diced
- 1 celery stalk, diced
- 1 can (14 oz) crushed tomatoes
- 2 tablespoons tomato paste
- 1 teaspoon dried oregano
- 1 teaspoon dried basil
- 1 teaspoon smoked paprika
- Salt and pepper, to taste
- 2 tablespoons olive oil
- Fresh parsley, chopped (for garnish)
In a large pot, heat the olive oil over medium heat and sauté the onions, carrots, and celery until softened, about 5-7 minutes.
Add the garlic and cook for an additional minute, then stir in the lentils, walnuts, crushed tomatoes, tomato paste, oregano, basil, smoked paprika, salt, and pepper.
Pour in 3 cups of water, bring the mixture to a boil, then reduce the heat and simmer for about 30-35 minutes, or until the lentils are tender and the sauce has thickened, stirring occasionally.
For best results, allow the Lentil and Walnut Bolognese to sit for a few minutes after cooking to let the flavors meld together.
You can adjust the seasoning and spices according to your taste, adding more herbs or a splash of balsamic vinegar for an added tang.
This dish pairs beautifully with whole grain pasta, zucchini noodles, or even as a filling for savory crepes or stuffed vegetables.
Don't hesitate to experiment with additional veggies or spices, creating a unique twist that suits your personal palate!
Almond Butter Energy Bites

Almond Butter Energy Bites are a delicious and nutritious snack that offer a perfect balance of protein, healthy fats, and natural sweetness.
These little morsels are easy to prepare and make for a great on-the-go energy boost, whether you're heading to the gym, work, or just need a quick pick-me-up. Packed with almond butter, oats, and a variety of optional add-ins, these bites aren't only vegan but can also be tailored to suit your taste preferences.
Making these energy bites requires minimal effort and utilizes simple ingredients that are easily accessible. They're perfect for meal prepping, as they can be stored in the refrigerator for up to a week, allowing you to have a healthy snack ready whenever you need it.
Plus, they're versatile, meaning you can experiment with different flavors and add-ins to keep things interesting while still sticking to your high-protein, vegan lifestyle.
Ingredients:
- 1 cup almond butter
- 1 cup rolled oats
- 1/3 cup maple syrup
- 1/4 cup chia seeds
- 1/2 cup dark chocolate chips (dairy-free)
- 1/2 tsp vanilla extract
- Pinch of salt
In a large mixing bowl, combine the almond butter, rolled oats, maple syrup, chia seeds, dark chocolate chips, vanilla extract, and salt. Stir thoroughly until all ingredients are well incorporated.
Once mixed, use your hands or a tablespoon to form the mixture into small balls, about 1 inch in diameter. Place the formed energy bites on a baking sheet lined with parchment paper and refrigerate for at least 30 minutes to firm up.
When making Almond Butter Energy Bites, feel free to get creative with the ingredients! You can substitute almond butter with your favorite nut or seed butter, add in dried fruits like cranberries or raisins, or even incorporate spices such as cinnamon for an extra flavor boost.
Additionally, if you prefer a firmer texture, you can chill the mixture longer before rolling it into bites.
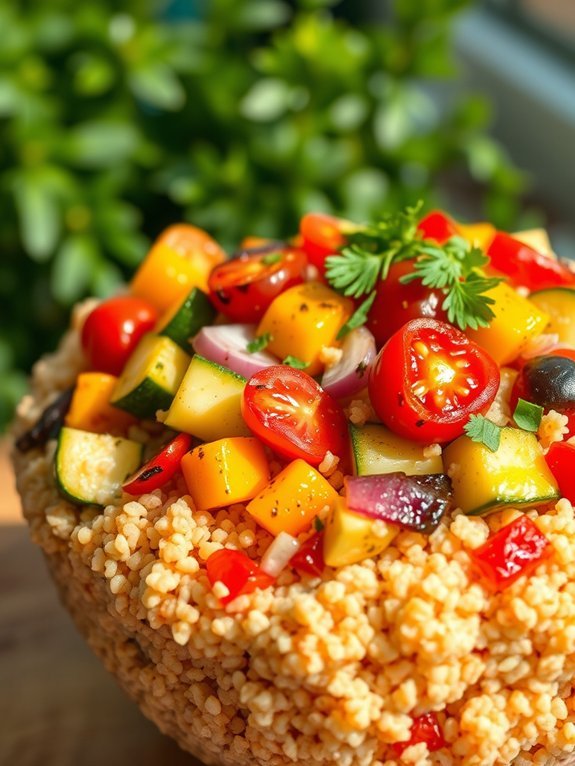
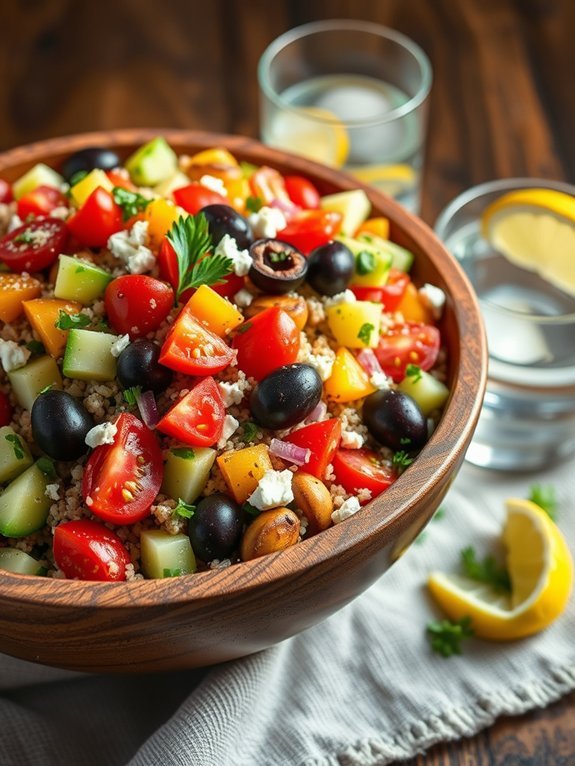
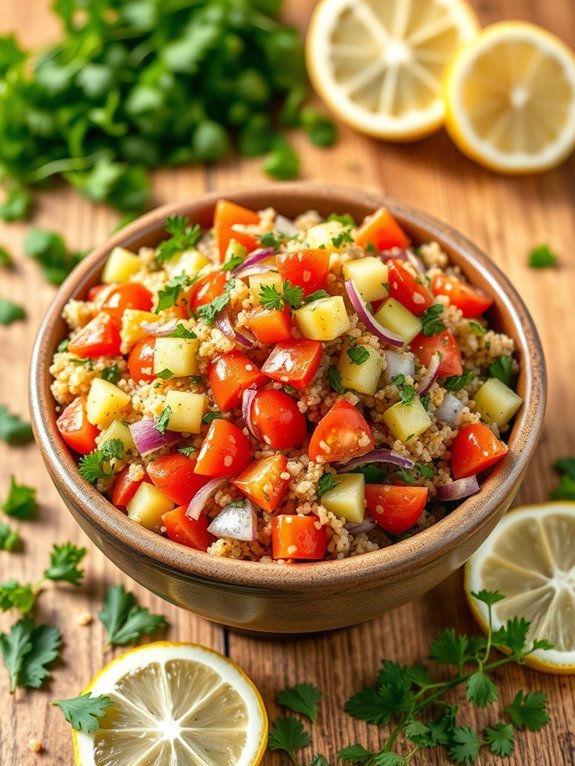
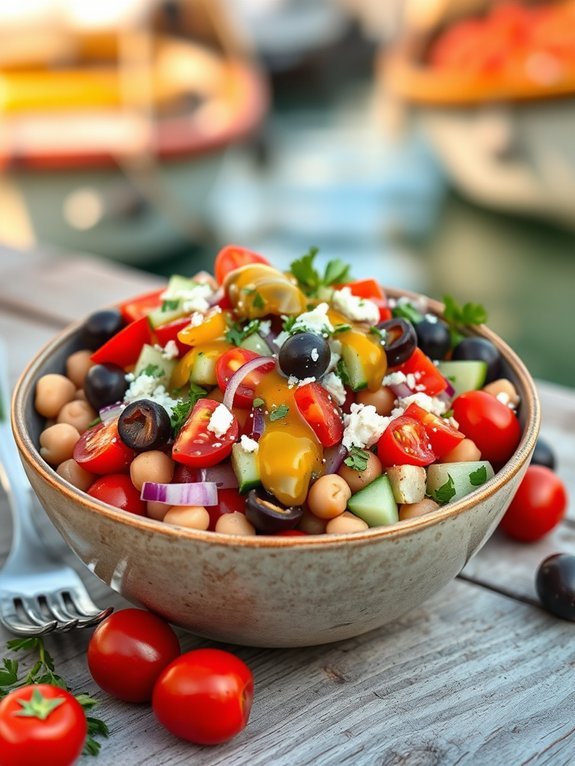
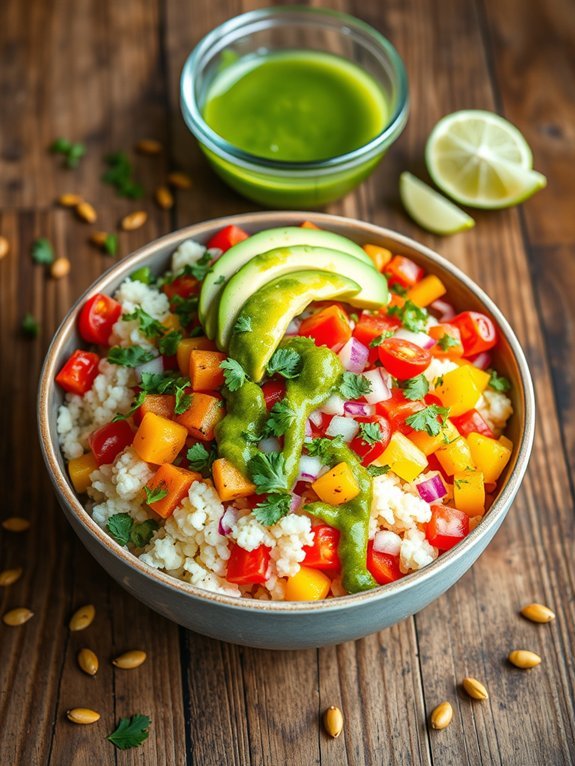
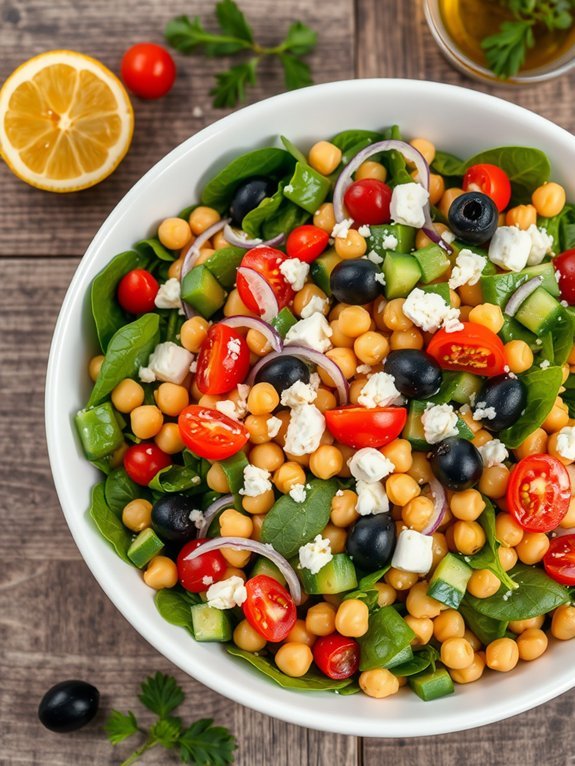
Mediterranean Chickpea and Couscous Salad
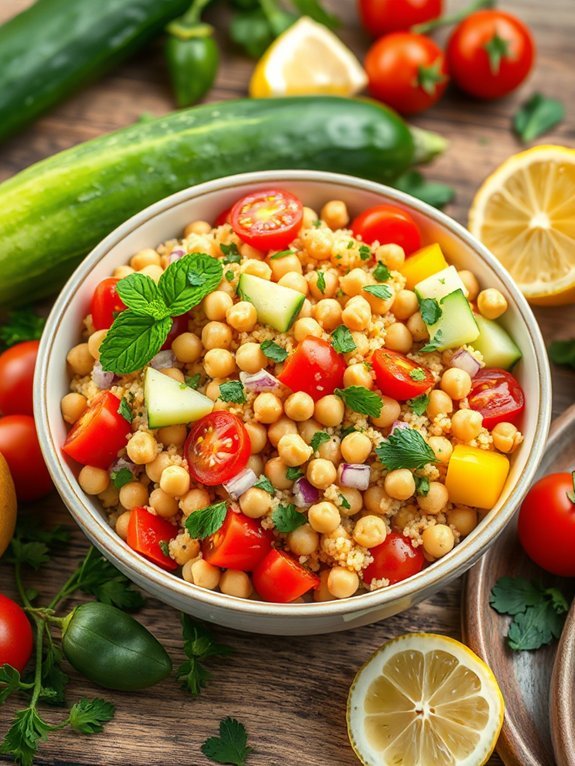
The Mediterranean Chickpea and Couscous Salad is a vibrant, protein-rich dish that's perfect for a hearty lunch or as a side for dinner. Loaded with fresh vegetables and chickpeas, this salad not only packs a nutritional punch but also bursts with flavor from herbs and spices.
The addition of couscous provides a delightful texture that complements the crispness of the vegetables while ensuring you feel satisfied and nourished. This recipe is versatile and easy to adapt, allowing you to incorporate any seasonal veggies you have on hand.
A drizzle of lemon juice and olive oil enhances the flavors, making it a revitalizing choice for any occasion. Enjoy it cold or at room temperature, and feel free to make a big batch so you can savor the leftovers for days to come!
Ingredients:
- 1 cup whole wheat couscous
- 1 can (15 oz) chickpeas, rinsed and drained
- 1 cucumber, diced
- 1 red bell pepper, diced
- 1 cup cherry tomatoes, halved
- ¼ red onion, finely chopped
- ¼ cup fresh parsley, chopped
- ¼ cup fresh mint, chopped
- 3 tablespoons olive oil
- 2 tablespoons lemon juice
- Salt and pepper to taste
In a large mixing bowl, combine the couscous with 1 cup of boiling water, cover, and let it sit for about 5 minutes until the water is absorbed, then fluff with a fork.
Add the chickpeas, cucumber, red bell pepper, cherry tomatoes, red onion, parsley, and mint to the bowl. In a small bowl, whisk together the olive oil, lemon juice, salt, and pepper, then pour the dressing over the salad ingredients. Toss everything well to combine, adjusting seasoning as needed.
For the best flavor, let the salad sit for at least 30 minutes before serving to allow the ingredients to meld together. You can also customize the salad by adding ingredients like olives or avocado for an extra layer of flavor and nutrition.
Additionally, this dish can be stored in the refrigerator for a couple of days, making it a great meal prep option.
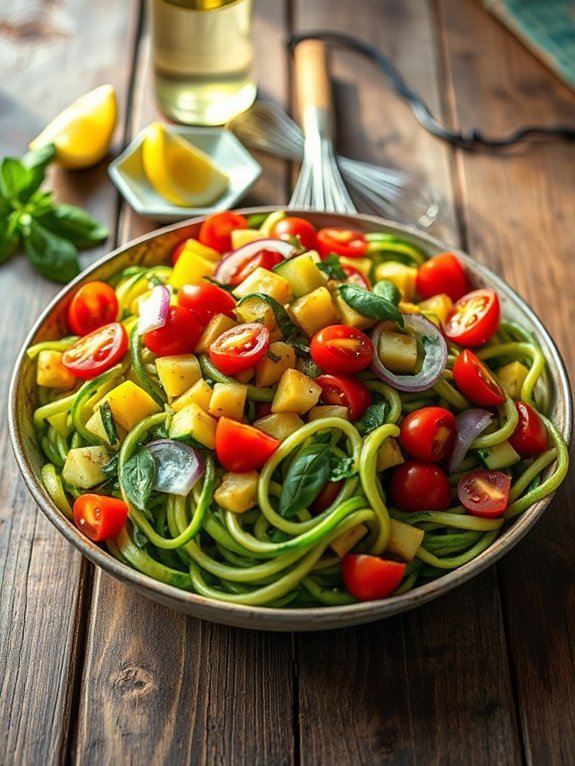
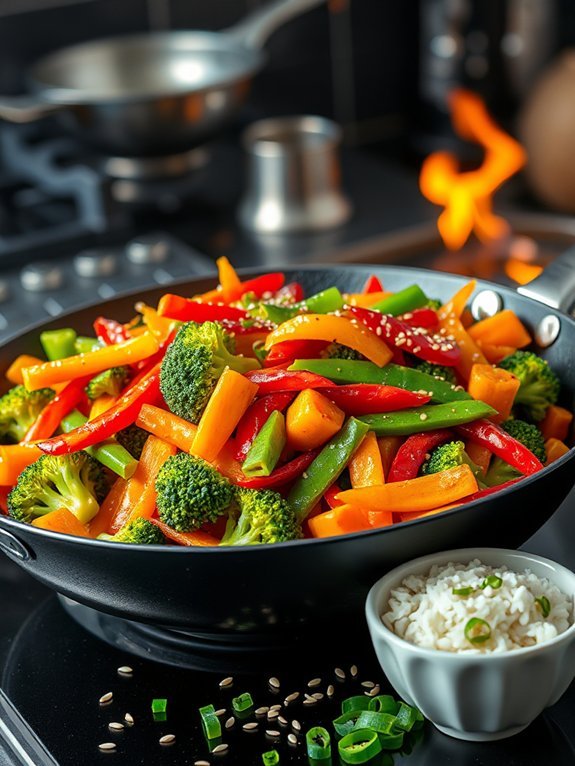
Cashew and Vegetable Stir-Fry

Cashew and Vegetable Stir-Fry is a delightful and nutritious dish that perfectly showcases the versatility of plant-based ingredients. This recipe is ideal for a quick weeknight dinner or a satisfying meal prep option for lunch. Packed with a variety of colorful vegetables and the rich, creamy texture of cashews, this stir-fry not only provides a boost of protein but also a myriad of vitamins and minerals, making it a wholesome choice for anyone following a vegan diet.
Steps to prepare this stir-fry are straightforward and can be modified based on your personal preferences or seasonal vegetable availability. With a harmonious blend of savory and slightly sweet flavors, it exemplifies how wholesome ingredients can come together to create a delectable dish. This recipe caters to both skillful cooks and kitchen novices alike, making it a perfect go-to for anyone looking to enjoy a hearty, plant-based meal.
- 1 cup raw cashews, soaked for at least 2 hours
- 2 tablespoons olive oil
- 1 bell pepper, sliced
- 1 cup broccoli florets
- 1 carrot, thinly sliced
- 1 zucchini, sliced
- 3 cloves garlic, minced
- 2 tablespoons soy sauce or tamari
- 1 teaspoon ginger, grated
- Salt and pepper to taste
- Sesame seeds and green onions for garnish (optional)
In a large skillet or wok, heat the olive oil over medium-high heat. Add the minced garlic and grated ginger, sautéing for about 30 seconds until fragrant. Then, add the sliced vegetables (bell pepper, broccoli, carrot, and zucchini) to the skillet and stir-fry for 5-7 minutes until they're vibrant and tender-crisp.
Once the vegetables are cooked, add the soaked and drained cashews along with the soy sauce or tamari, tossing everything together for another 2-3 minutes. Season with salt and pepper to taste, then remove from heat. Serve hot, garnished with sesame seeds and chopped green onions if desired.
When preparing Cashew and Vegetable Stir-Fry, feel free to get creative with the vegetables you use; seasonal produce can bring fresh flavors. For an extra protein boost, consider adding tofu or tempeh. Additionally, soaking cashews not only enhances their flavor but also guarantees they blend better with the stir-fry.
To save time, you can prep your vegetables ahead of time or use pre-cut options available at many grocery stores. Adjust the soy sauce to your taste preference, and don't hesitate to experiment with different herbs and spices to elevate the dish further!