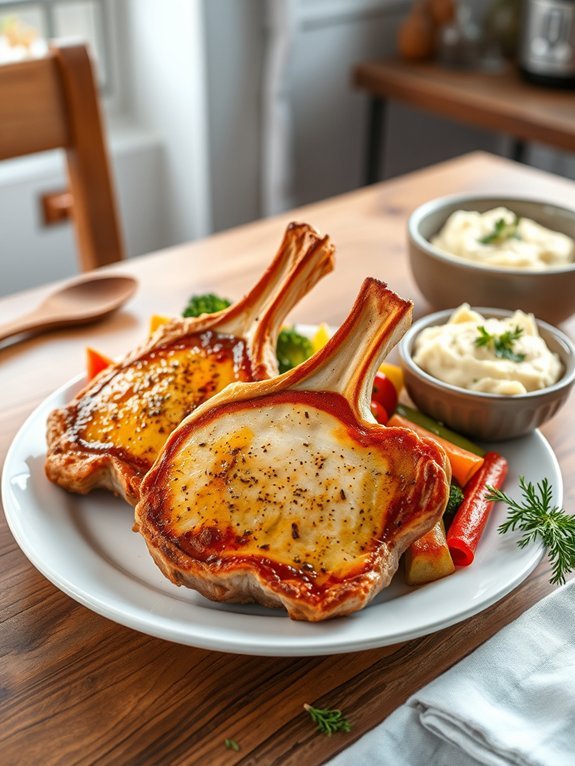
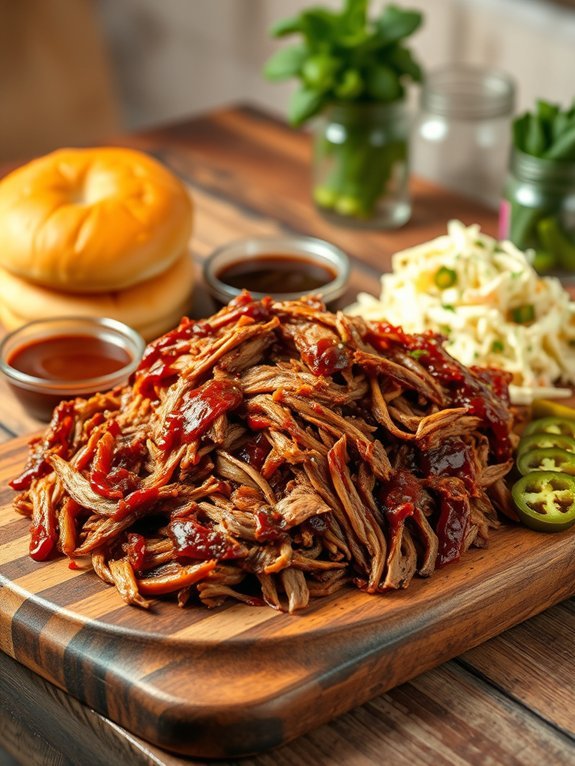
Ground beef is a fantastic choice for budget-friendly dinners, offering flavor and versatility. You can whip up classic beef tacos, cheesy beef casserole, or hearty spaghetti Bolognese with ease. Try beef and bean chili for a warming meal, or enjoy stuffed bell peppers for a colorful presentation. One-pan beef and rice keeps cleanup simple, while shepherd's pie is perfect for comforting evenings. Each dish is easy to customize, and you'll discover even more scrumptious options ahead.
Classic Beef Tacos

Classic beef tacos are a beloved staple in many households, offering a quick yet satisfying way to enjoy the flavors of Mexico. This dish isn't only easy to prepare but also allows for a variety of personal touches based on your preferred toppings and spice levels.
With seasoned ground beef enveloped in crunchy taco shells and accompanied by fresh vegetables and zesty condiments, it creates a vibrant meal that's perfect for family dinners, gatherings, or even Taco Tuesday.
Incorporating authentic flavors is key to making delicious tacos. Using a blend of spices helps to enhance the natural flavor of the beef, while pickled or fresh veggies add both texture and freshness.
Whether you prefer to keep it classic with traditional toppings like lettuce and cheese or venture into new territory with salsas and avocado, these classic beef tacos can be customized to fit any palate.
- 1 pound ground beef
- 1 small onion, diced
- 2 cloves garlic, minced
- 1 tablespoon chili powder
- 1 teaspoon cumin
- 1/2 teaspoon paprika
- Salt and pepper to taste
- 8 taco shells
- Lettuce, shredded
- Tomato, diced
- Cheese, shredded (cheddar or Mexican blend)
- Sour cream
- Salsa
In a large skillet over medium heat, sauté the diced onion until translucent. Add the minced garlic and cook for another minute before adding the ground beef.
Cook the beef, breaking it apart with a spatula, until browned. Drain any excess fat. Stir in the chili powder, cumin, paprika, salt, and pepper, mixing thoroughly.
Reduce the heat to low and let it simmer for a few minutes to allow the spices to meld together. Meanwhile, warm the taco shells in the oven according to the package instructions.
For the best flavor and fresh components, prepare some of your toppings in advance. You can chop vegetables like onions, tomatoes, and lettuce ahead of time and store them separately in airtight containers.
Additionally, allowing the seasoned beef to sit for a minute off the heat will enhance its flavor. Don't hesitate to experiment with different sauces or toppings to find your perfect taco combination!
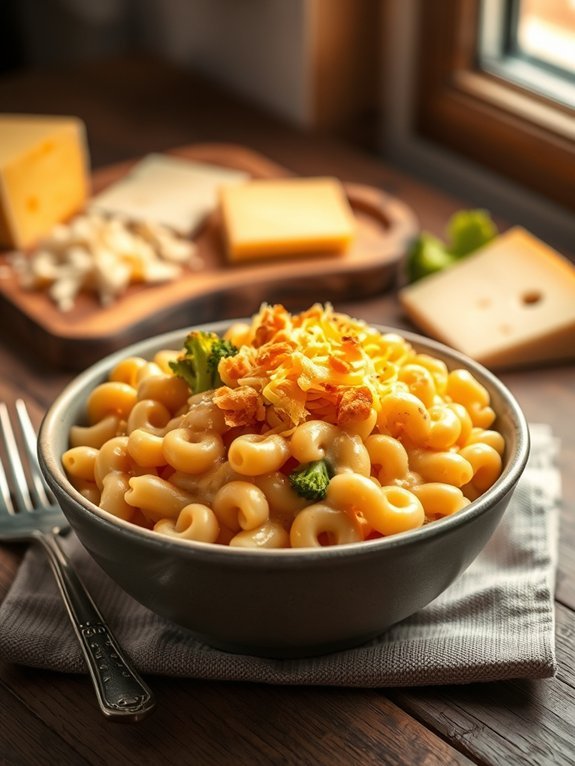
Cheesy Beef Casserole
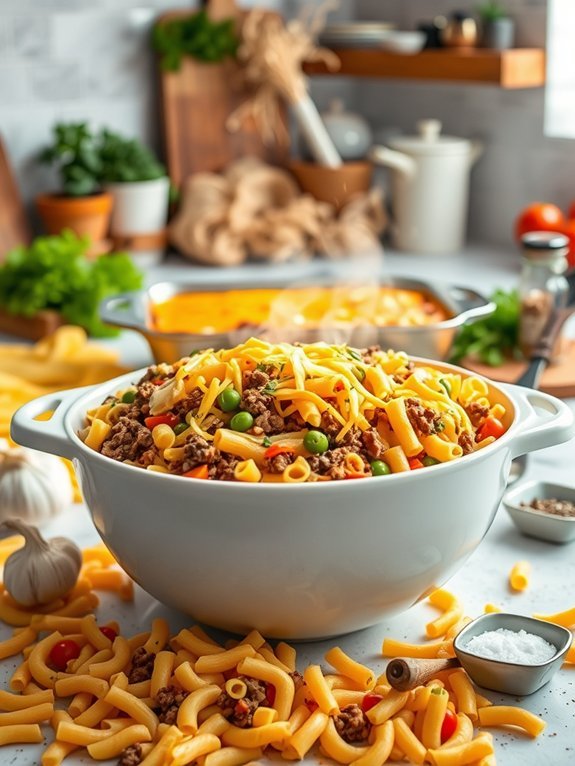
Cheesy beef casserole is a comforting and hearty dish that brings together the robust flavors of ground beef and the gooey goodness of cheese. This dish isn't only a family favorite but also a convenient one-pot meal that's perfect for busy weeknights or potluck gatherings.
With a savory blend of beef, pasta, and vegetables, all topped with a rich layer of melted cheese, it's sure to satisfy even the hungriest of appetites. You can customize the casserole to suit your tastes, adding different vegetables or spices to enhance the flavor profile.
It's simple enough for novice cooks to master while still being impressive enough for seasoned chefs. Whether you're looking for a crowd-pleaser or a warm and cozy dinner at home, this cheesy beef casserole delivers all the comfort of home-cooked goodness in every bite.
- 1 pound ground beef
- 1 cup uncooked pasta (elbow macaroni or rotini work well)
- 1 can (15 oz) diced tomatoes, drained
- 1 cup frozen mixed vegetables (peas, carrots, corn)
- 1 cup shredded cheddar cheese
- 1 cup shredded mozzarella cheese
- 1 small onion, chopped
- 2 cloves garlic, minced
- 1 teaspoon Italian seasoning
- Salt and pepper to taste
- 2 cups beef broth
In a large skillet over medium heat, cook the ground beef, onion, and garlic until the beef is browned and the onion is tender, approximately 5-7 minutes. Drain excess fat and stir in the diced tomatoes, mixed vegetables, Italian seasoning, and beef broth.
Bring the mixture to a boil before adding the uncooked pasta. Cover and reduce heat, allowing it to simmer for about 10-12 minutes or until the pasta is al dente. Preheat the oven to 350°F (175°C) and transfer the mixture to a baking dish.
Top with cheddar and mozzarella cheese, and bake for about 15-20 minutes until the cheese is bubbly and golden brown. For added flavor, consider stirring in different spices or adding a dash of Worcestershire sauce to the beef mixture.
You can also substitute the ground beef with other proteins like ground turkey or chicken, or use whole grain pasta for a healthier twist. Leftover casserole can be stored in the fridge for up to 4 days, and it reheats well in the microwave or oven, making it perfect for meal prep and leftovers.
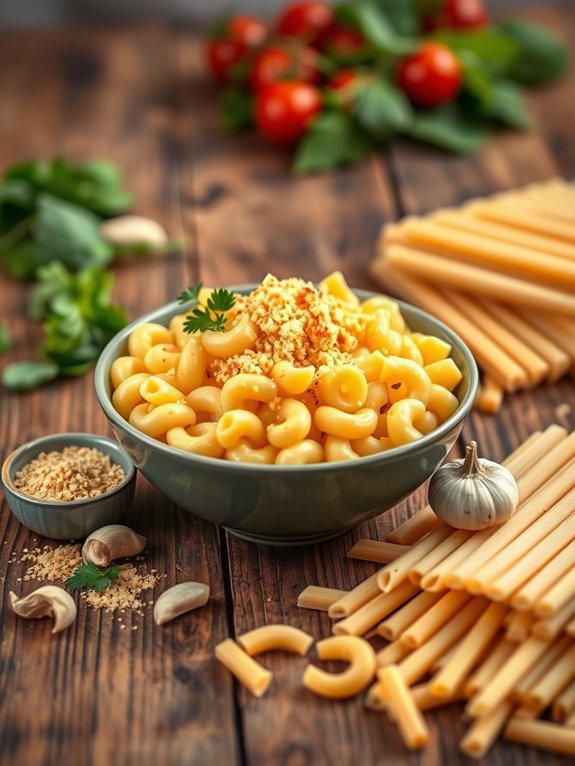
Spaghetti Bolognese
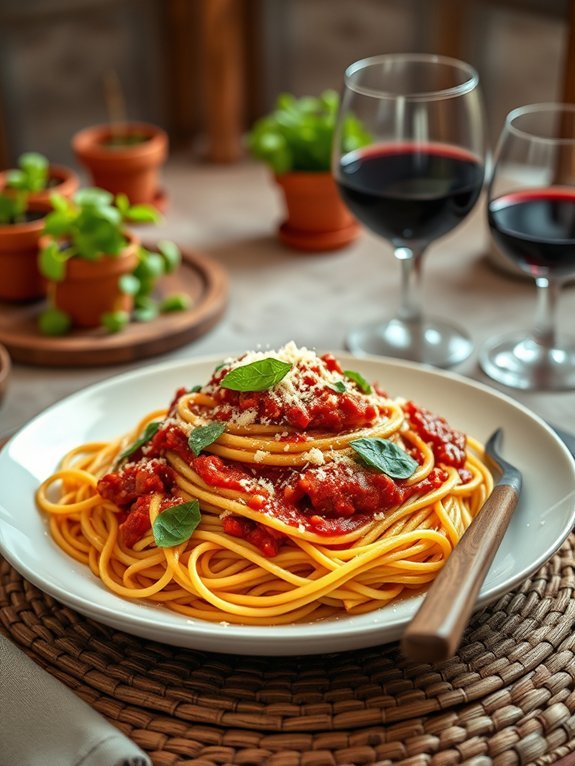
Spaghetti Bolognese is a classic Italian dish that combines the hearty flavors of ground beef with a rich, slow-cooked tomato sauce. Originating from the city of Bologna, this comforting meal has become a favorite around the world, thanks to its rich flavors and satisfying texture.
Traditionally served over spaghetti, the sauce can also be paired with other types of pasta, making it a versatile option for any dinner table.
The beauty of Spaghetti Bolognese lies in its simplicity and the ability to customize it based on your taste preferences. Whether you prefer a smoother sauce or one with chunky vegetables, adjusting the ingredients can yield delicious results.
Paired with a sprinkle of Parmesan cheese and fresh basil, this dish elevates any ordinary weeknight dinner into a special feast.
Ingredients:
- 400g (14 oz) spaghetti
- 500g (1 lb) ground beef
- 1 tablespoon olive oil
- 1 onion, chopped
- 2 cloves garlic, minced
- 1 carrot, diced
- 1 celery stalk, diced
- 400g (14 oz) canned tomatoes (crushed or diced)
- 2 tablespoons tomato paste
- 1 teaspoon dried oregano
- 1 teaspoon dried basil
- Salt and pepper to taste
- Fresh basil leaves, for garnish
- Grated Parmesan cheese, for serving
In a large pot, bring water to a boil and cook the spaghetti according to package instructions until al dente.
Meanwhile, in a separate large skillet, heat the olive oil over medium heat. Add chopped onion, minced garlic, diced carrot, and celery, and sauté until softened.
Add the ground beef and cook until browned. Stir in the canned tomatoes, tomato paste, dried oregano, and dried basil.
Simmer the sauce for about 20-30 minutes, letting the flavors meld together, and season with salt and pepper.
Once the spaghetti is cooked, drain it and combine it with the sauce. Serve hot, garnished with fresh basil leaves and grated Parmesan cheese.
For an extra flavor boost, consider adding a splash of red wine to the sauce while it simmers, giving it a deeper richness.
You can also incorporate other vegetables like bell peppers or mushrooms for added texture and taste.
If you're planning to make this dish ahead of time, the sauce freezes beautifully, making it a convenient option for busy weeknights.
Enjoy experimenting with this timeless recipe to make it your own!
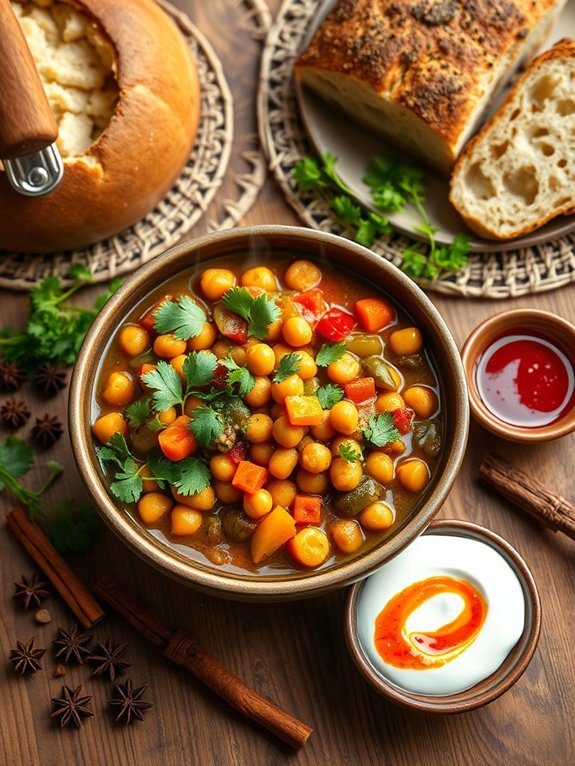
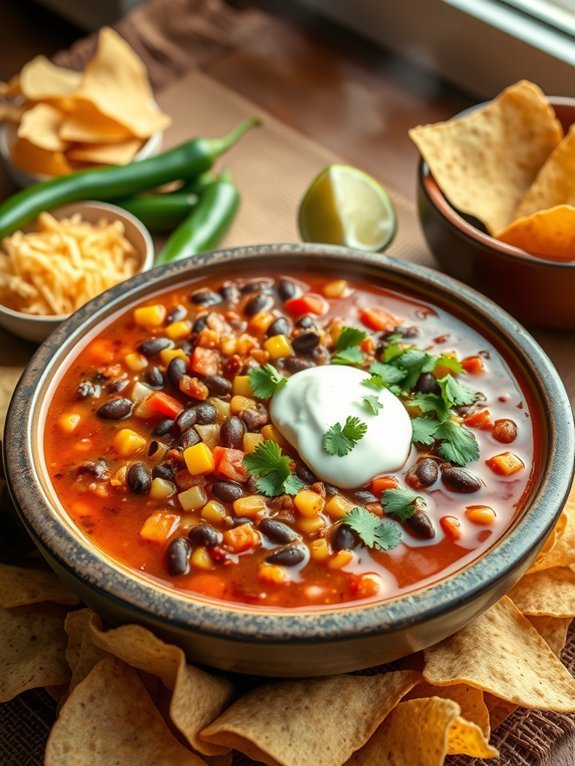
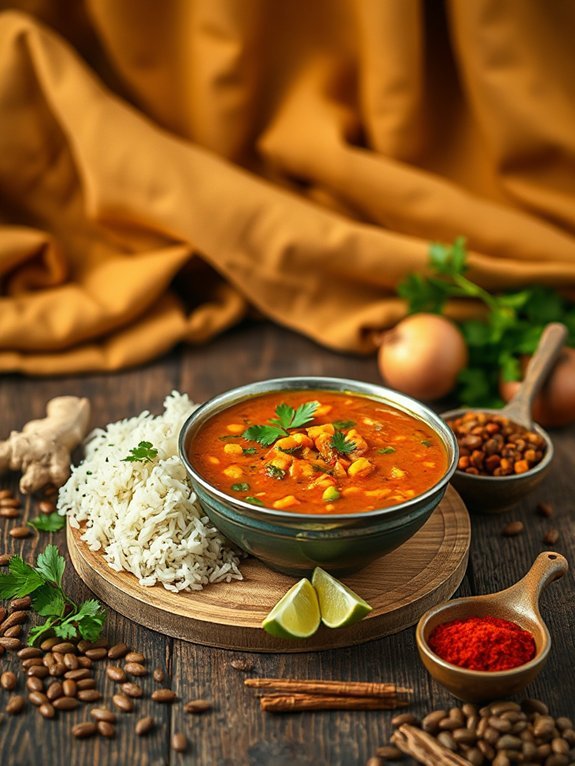
Beef and Bean Chili
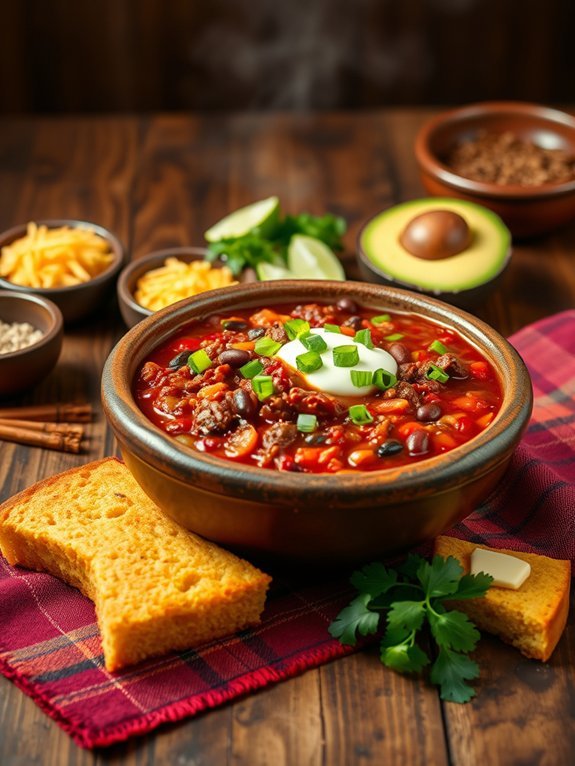
Beef and Bean Chili is a hearty dish that brings warmth and comfort, perfect for chilly evenings or gathering with friends. Combining ground beef with a medley of beans, tomatoes, and spices, this flavorful chili isn't only easy to make but also packed with protein and fiber. It can be served on its own, over rice, or with a side of cornbread, making it a versatile choice for any meal.
This dish also allows for personalization, as you can easily adjust the spice levels or incorporate your favorite vegetables. Whether you enjoy a mild flavor or crave a spicy kick, Beef and Bean Chili can be tailored to your taste. It's a fantastic recipe for meal prepping or feeding a crowd, and it often tastes even better the next day after the flavors have had time to meld.
Ingredients:
- 1 pound ground beef
- 1 medium onion, chopped
- 2 cloves garlic, minced
- 1 can (15 oz) kidney beans, drained and rinsed
- 1 can (15 oz) black beans, drained and rinsed
- 1 can (28 oz) diced tomatoes
- 2 tablespoons chili powder
- 1 teaspoon cumin
- 1 teaspoon smoked paprika
- Salt and pepper, to taste
- 2 cups beef broth
- Optional toppings: shredded cheese, sour cream, chopped green onions
In a large pot or Dutch oven, brown the ground beef over medium heat until fully cooked. Drain any excess fat, then add the chopped onion and garlic, sautéing until softened. Stir in the kidney beans, black beans, diced tomatoes, chili powder, cumin, smoked paprika, salt, pepper, and beef broth.
Bring the mixture to a simmer, then reduce the heat and let it cook uncovered for about 30 minutes, stirring occasionally, until the chili thickens and the flavors blend together.
When preparing Beef and Bean Chili, consider letting it simmer longer for a richer flavor, as the taste often improves with time. You can also experiment with different beans or add extra vegetables like bell peppers or corn for added texture.
If you're looking to make the dish vegetarian, you can substitute the ground beef with lentils or more beans. Additionally, serving it with various toppings allows everyone to customize their chili to their liking.
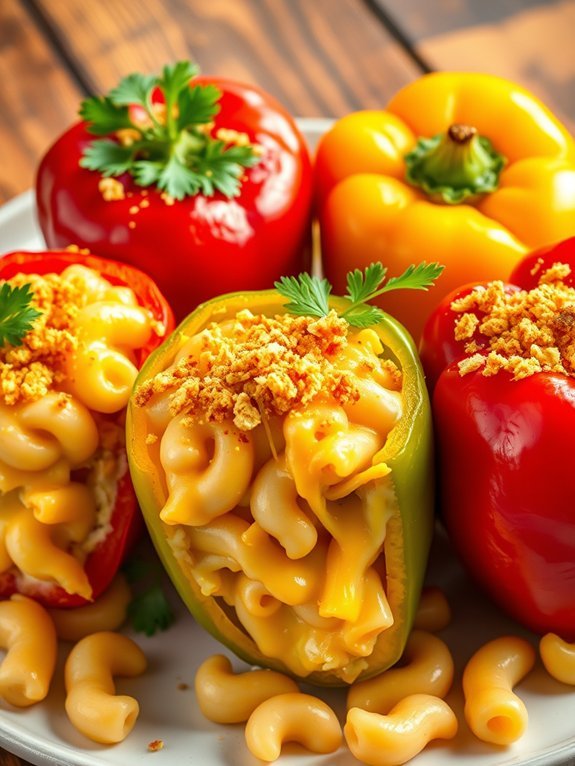
Stuffed Bell Peppers
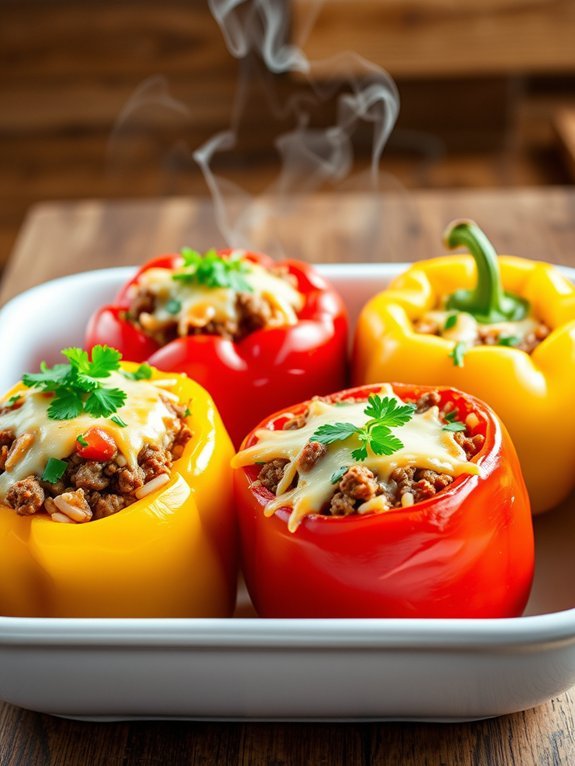
Stuffed bell peppers are a delightful and nutritious meal option that combines the bold flavors of ground beef and spices with the fresh crispiness of bell peppers. Often served as a main dish, this recipe isn't only easy to prepare but also a fantastic way to incorporate vegetables into your meal. The vibrant colors of the bell peppers can brighten up your dinner table and make for a visually appealing presentation.
The beauty of stuffed bell peppers lies in their versatility. You can customize the filling to suit your taste, whether you want to add rice, quinoa, or even beans for extra texture and flavor. This dish is perfect for a family dinner, making it both satisfying and fun for everyone.
Plus, they can be made ahead of time and reheated, making it an excellent choice for busy weeknights or meal prepping for the week.
- 4 large bell peppers (any color)
- 1 pound ground beef
- 1 cup cooked rice
- 1 small onion, diced
- 2 cloves garlic, minced
- 1 can (15 oz) diced tomatoes, drained
- 1 teaspoon chili powder
- 1 teaspoon paprika
- Salt and pepper to taste
- 1 cup shredded cheese (cheddar or mozzarella)
- Fresh parsley for garnish (optional)
Preheat your oven to 375°F (190°C). Begin by slicing the tops off each bell pepper and removing the seeds and membranes. In a skillet over medium heat, cook the ground beef with the diced onion and minced garlic until the meat is browned and fully cooked.
Drain any excess fat, then stir in the cooked rice, drained diced tomatoes, chili powder, paprika, salt, and pepper. Once everything is well combined, fill each bell pepper with the beef mixture and place them upright in a baking dish.
Sprinkle shredded cheese on top of each filled pepper, then cover the dish with foil and bake for 25 minutes. Remove the foil and bake for an additional 10 minutes, or until the cheese is bubbly and golden.
When making stuffed bell peppers, consider pre-cooking the peppers slightly before filling them. This can help guarantee that they're tender throughout by the time they finish baking.
Additionally, feel free to get creative with the filling: add in vegetables like corn or zucchini, try different spices to match your taste preferences, or experiment with various types of cheese. Leftovers can be stored in the refrigerator for several days and make for a fantastic lunch option!
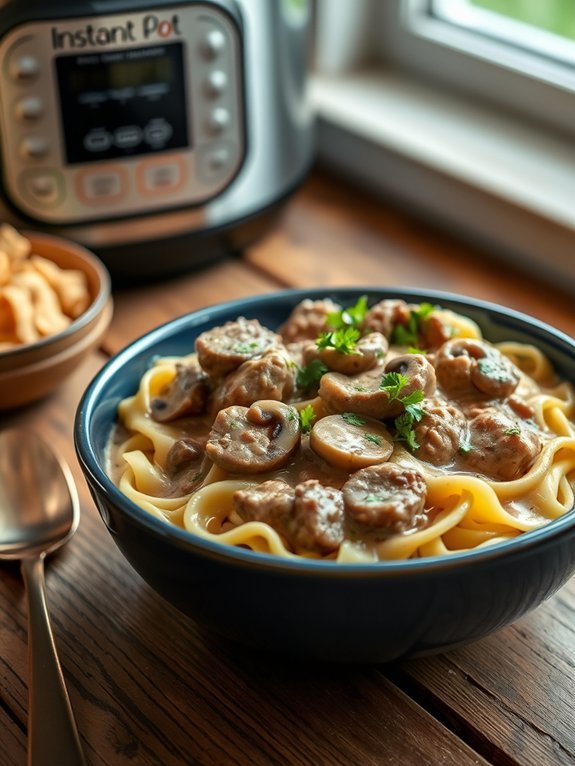
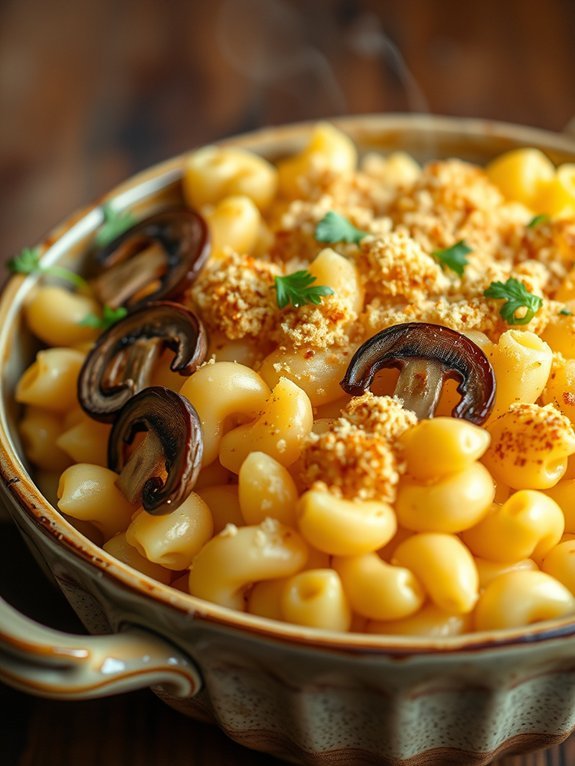
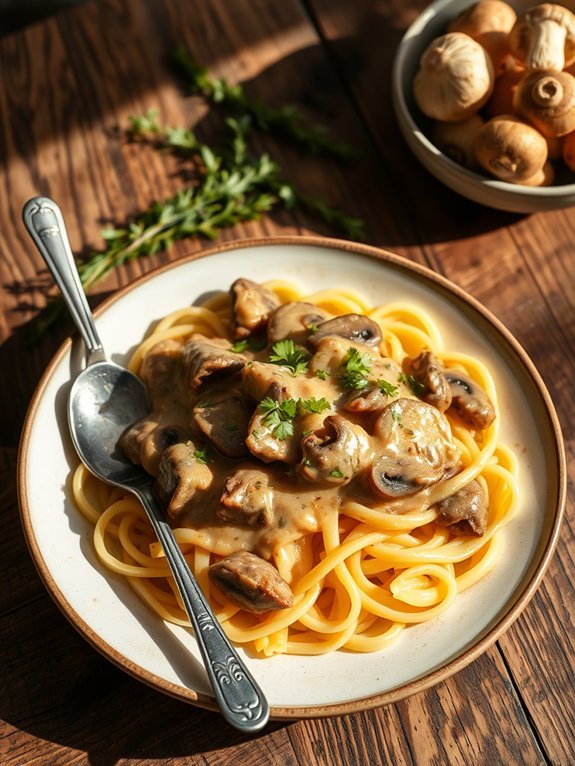
Ground Beef Stroganoff

Ground Beef Stroganoff is a classic comfort dish that combines the savory flavors of tender beef, creamy sauce, and hearty mushrooms. This dish, originating from Russia, has been embraced by many cultures, making it a popular choice for family dinners. It isn't only quick to prepare but also delicious, comforting, and can be served over various bases, such as egg noodles, rice, or mashed potatoes.
This recipe showcases the rich flavors of ground beef combined with a creamy, tangy sauce that complements the umami taste of mushrooms. It's an ideal meal for busy weekdays, as it can be prepared in under 30 minutes. With simple ingredients and straightforward steps, you'll have a satisfying dish on the table in no time.
Ingredients:
- 1 pound ground beef
- 1 medium onion, chopped
- 2 cloves garlic, minced
- 8 ounces mushrooms, sliced
- 1 cup beef broth
- 1 cup sour cream
- 2 tablespoons all-purpose flour
- 2 tablespoons Worcestershire sauce
- Salt and pepper to taste
- Egg noodles or rice for serving
- Fresh parsley, chopped (for garnish)
In a large skillet, brown the ground beef over medium-high heat until fully cooked, breaking it apart with a spatula. Drain excess fat if necessary, then add the chopped onion, garlic, and sliced mushrooms. Sauté until the onion is translucent and the mushrooms have released their moisture.
In a small bowl, combine the beef broth, sour cream, flour, and Worcestershire sauce, then stir this mixture into the skillet. Cook for an additional 5-7 minutes, allowing the sauce to thicken slightly. Serve over cooked egg noodles or rice and garnish with fresh parsley.
When making Beef Stroganoff, consider using high-quality beef broth for a richer flavor. You can experiment with the type of mushrooms used—cremini, shiitake, or button mushrooms all work well.
Additionally, for a bit of added depth, try incorporating a splash of white wine into the mixture before adding the broth. Remember to adjust seasoning to taste, and feel free to add cooked vegetables like peas or bell peppers for extra nutrition and color.
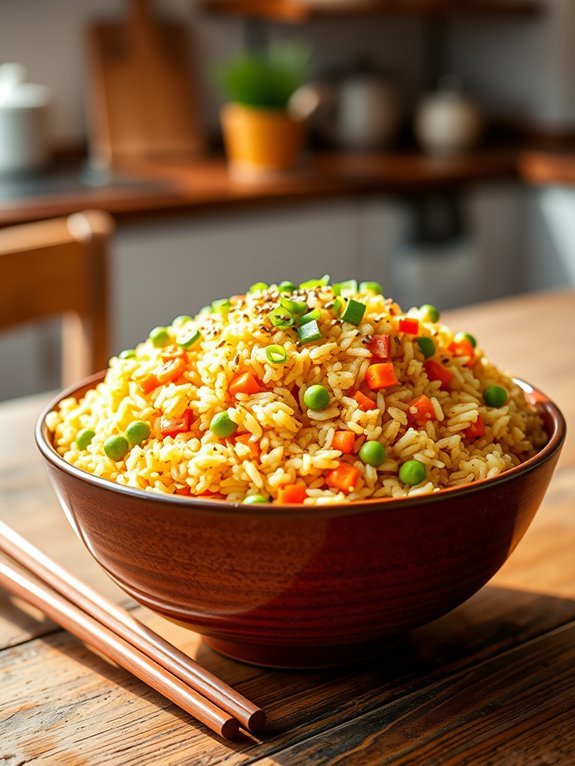
One-Pan Beef and Rice
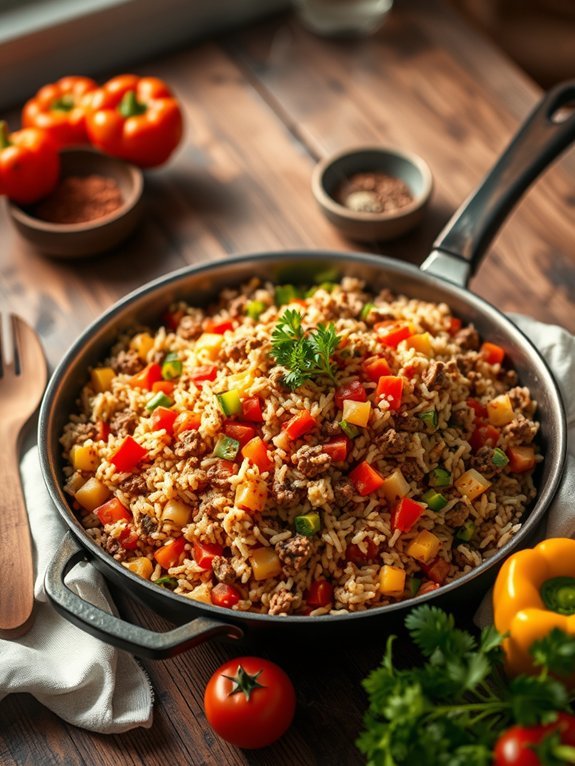
One-Pan Beef and Rice is a hearty, delicious dish perfect for a weeknight dinner. The beauty of this recipe lies in its simplicity and the one-pan method, which minimizes cleanup while still packing in tons of flavor. With tender ground beef, fluffy rice, and a mix of vibrant vegetables, this dish can be a comforting meal that pleases the whole family.
This recipe is versatile, allowing you to customize it based on your preference for spices, vegetables, or even additional protein. Plus, it comes together quickly, making it a fantastic option for busy nights. Serve it with a sprinkle of fresh herbs or a side of your favorite salad for a complete meal.
Ingredients:
- 1 pound ground beef
- 1 cup long-grain rice
- 1 onion, diced
- 2 cloves garlic, minced
- 1 bell pepper, diced
- 1 can (14.5 ounces) diced tomatoes, undrained
- 2 cups beef broth
- 1 teaspoon paprika
- 1 teaspoon cumin
- Salt and pepper to taste
- Olive oil for cooking
- Fresh parsley or cilantro for garnish (optional)
In a large skillet or pan, heat a drizzle of olive oil over medium heat. Add the diced onion and bell pepper and sauté until softened, about 3-4 minutes. Stir in the minced garlic and ground beef, breaking it up as it cooks until browned.
Once the beef is cooked through, drain any excess fat if necessary. Add the rice, diced tomatoes, beef broth, paprika, cumin, salt, and pepper, and bring to a simmer. Cover and cook for about 20 minutes, or until the rice is tender and the liquid has been absorbed.
For best results, let the dish sit covered for a few minutes after cooking to allow the flavors to meld. You can also add a splash of soy sauce or Worcestershire sauce for an extra depth of flavor.
Feel free to swap in your favorite vegetables or use brown rice for a healthier option, adjusting cooking times as necessary. Keep an eye on the liquid levels to confirm the rice cooks evenly and doesn't dry out.
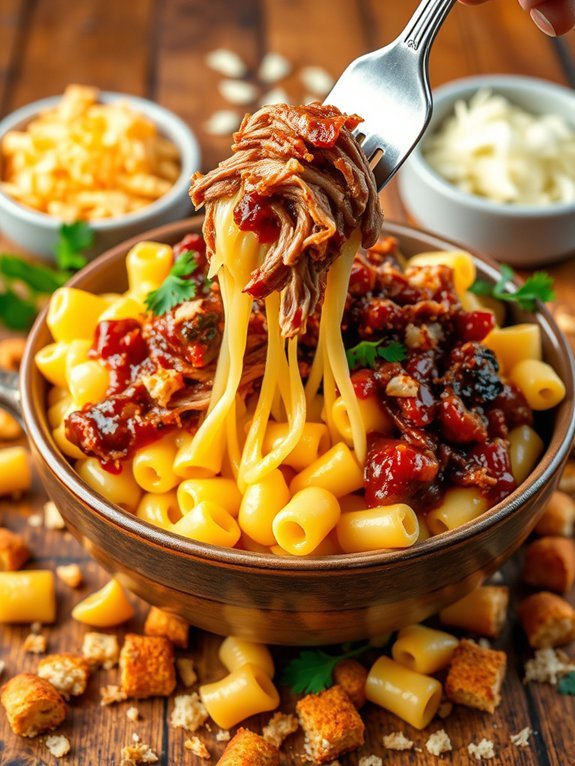
Beef Enchiladas
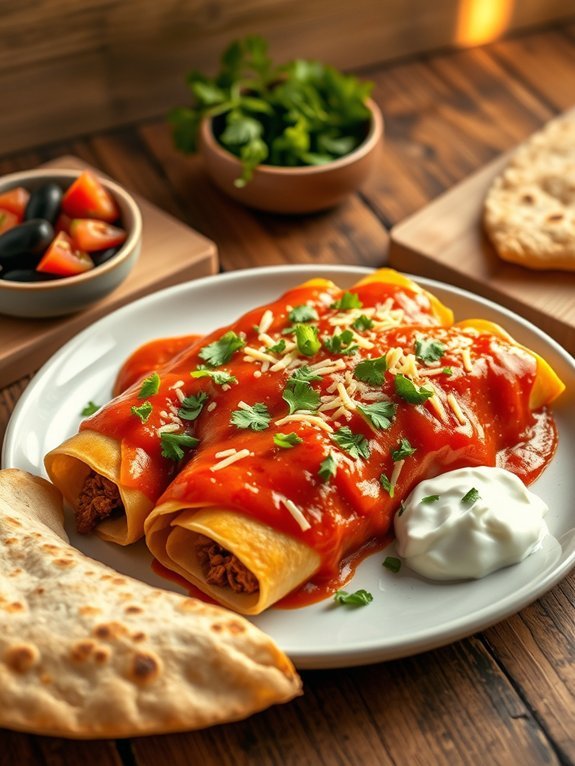
Beef enchiladas are a delicious and comforting dish that showcase the rich flavors of seasoned ground beef, wrapped in soft tortillas and topped with a zesty sauce and melted cheese. This traditional Mexican meal is perfect for family dinners or casual gatherings with friends. The combination of flavors—from the savory meat filling to the spicy and tangy enchilada sauce—makes for a satisfying and hearty meal that everyone will love.
Making beef enchiladas is easier than you might think and can be tailored to suit your taste preferences. Whether you prefer spicy or mild, you can adjust the ingredients and sauce to create the perfect dish. It's an excellent way to use up leftovers or to prepare a dish in advance and freeze for later.
Once baked, the enchiladas not only look stunning but also fill your kitchen with enticing aromas that will have your guests excitedly awaiting dinner.
Ingredients:
- 1 pound ground beef
- 1 small onion, chopped
- 2 cloves garlic, minced
- 1 teaspoon ground cumin
- 1 teaspoon chili powder
- 1 cup shredded cheese (cheddar or Mexican blend)
- 1 can (10 oz) enchilada sauce
- 8 small flour or corn tortillas
- Salt and pepper, to taste
- Optional toppings: sour cream, diced tomatoes, sliced olives, chopped cilantro
In a large skillet, brown the ground beef over medium heat until fully cooked; drain excess fat if necessary. Add the chopped onion and minced garlic to the skillet and sauté until the onion is translucent.
Stir in cumin, chili powder, salt, and pepper, mixing well. Remove from heat and combine half of the cheese with the beef mixture.
To assemble, pour a third of the enchilada sauce into the bottom of a baking dish. Spoon the beef mixture into each tortilla, roll them up, and place them seam-side down in the dish.
Pour the remaining enchilada sauce over the tortillas and top with the rest of the cheese. Bake in a preheated oven at 350°F (175°C) for about 20 minutes or until the cheese is melted and bubbly.
For the best flavor, allow the enchiladas to sit for a few minutes before serving; this helps the flavors meld together. You can also customize the filling with black beans, corn, or different types of cheese for added variety.
If you're looking to save time, prepare the beef mixture and sauce ahead of time, so you can quickly assemble and bake the enchiladas when you're ready to eat. Enjoy your delicious creation!
Shepherd's Pie
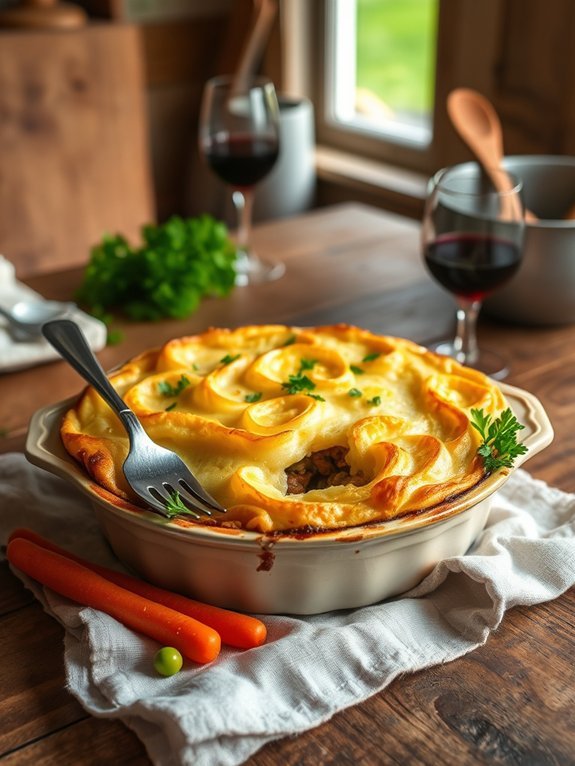
Shepherd's Pie is a classic comfort food that originated in the United Kingdom and is beloved by many for its hearty ingredients and rich flavors. This dish is traditionally made with ground lamb, but ground beef has become a popular alternative, making it accessible to various palates. The combination of savory meat, vegetables, and creamy mashed potatoes creates a satisfying meal that's perfect for family dinners or gatherings.
Preparing Shepherd's Pie involves layering flavorful ground beef with vegetables, often seasoned with herbs, and topping it off with a smooth layer of mashed potatoes. This blend not only provides delicious flavors but also presents a beautiful contrast in texture. Baking it until the top is golden brown adds an irresistible charm to the dish that will have everyone coming back for seconds.
Ingredients:
- 1 pound ground beef
- 1 onion, diced
- 2 carrots, diced
- 2 cloves garlic, minced
- 1 cup frozen peas
- 2 tablespoons tomato paste
- 1 teaspoon Worcestershire sauce
- 1 cup beef broth
- 4 cups mashed potatoes (prepared with butter and milk)
- Salt and pepper to taste
- 2 tablespoons olive oil
- Fresh parsley for garnish (optional)
In a large skillet, heat olive oil over medium heat. Add the diced onions and carrots, cooking until softened, approximately 5 minutes. Add the minced garlic and ground beef, breaking up the meat as it cooks.
Once browned, stir in the tomato paste, Worcestershire sauce, beef broth, and frozen peas. Season with salt and pepper, then let the mixture simmer for about 10 minutes until the sauce thickens slightly.
Transfer the meat mixture to a baking dish and spoon the creamy mashed potatoes over the top, smoothing them out evenly. Bake in a preheated oven at 400°F (200°C) for about 25-30 minutes or until the top is golden brown.
For an added layer of flavor, consider mixing in a splash of red wine when simmering the beef mixture. Additionally, topping the mashed potatoes with a sprinkle of cheese before baking can provide a delightful crust.
Don't hesitate to experiment with different vegetables like corn or green beans, or swap out seasonings based on your preference. Using leftover mashed potatoes not only saves time but also enhances the richness of the dish, making it even more delicious.
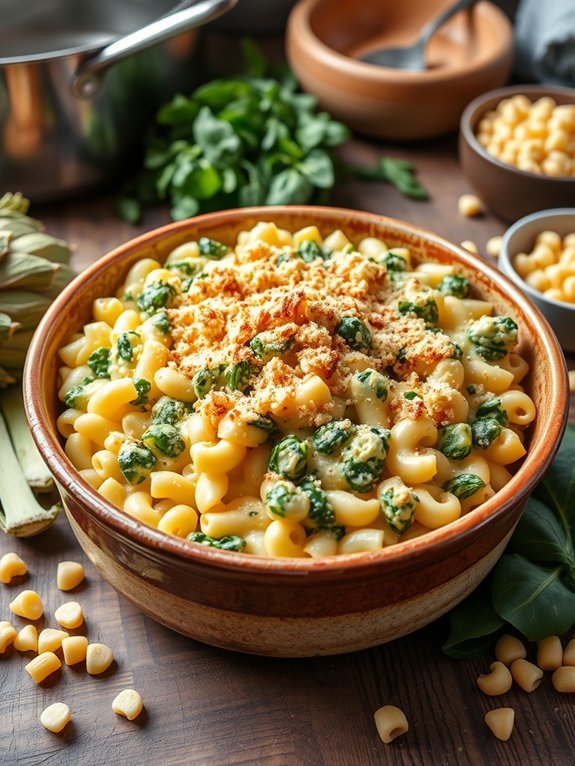
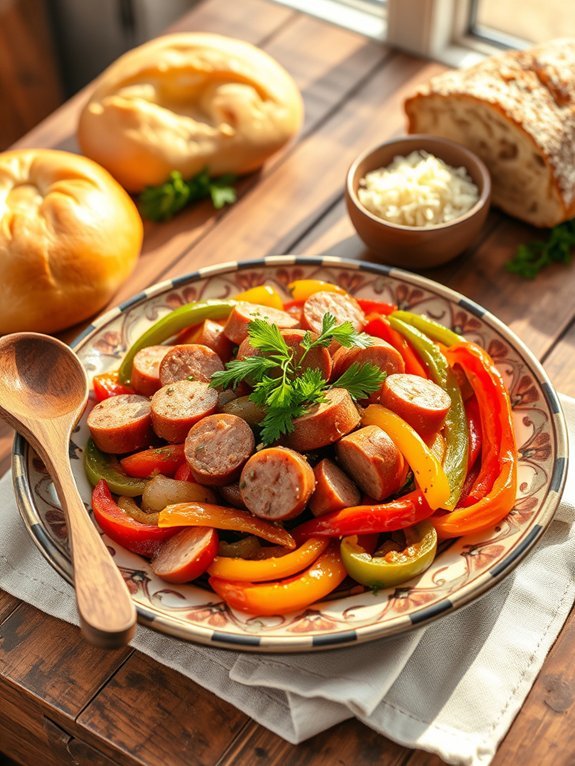
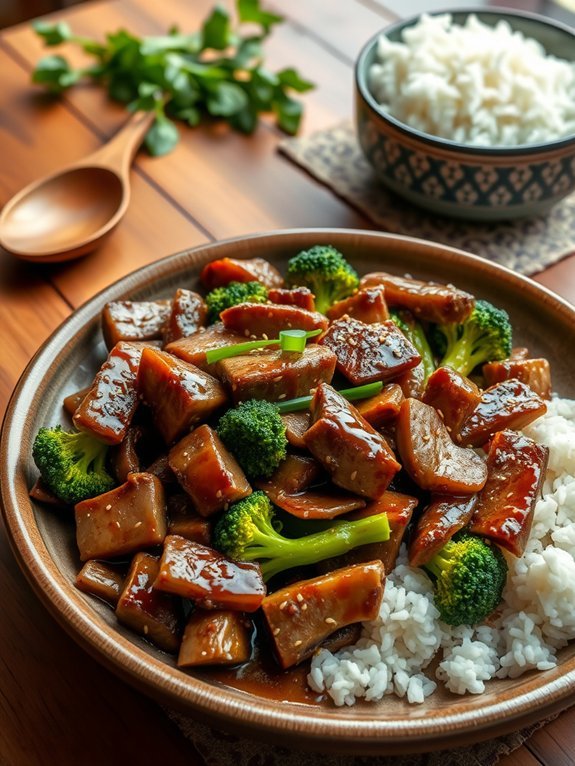
Beef and Vegetable Stir-Fry
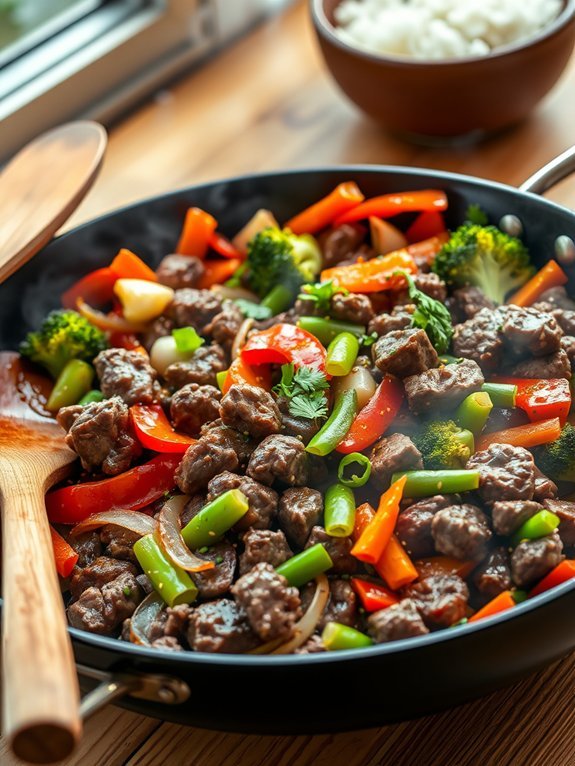
Ground beef and vegetable stir-fry is a quick and versatile dish that makes for a satisfying meal any day of the week. Combining the rich, savory flavor of ground beef with colorful and crunchy vegetables, this recipe isn't only delicious but also packed with nutrients.
It's perfect for busy weeknights when you need something hearty yet simple to throw together. By using a variety of vegetables, you can customize the dish to suit your preferences or whatever you have on hand.
The wonderful thing about a stir-fry is its speed; you can have a meal ready in under 30 minutes! This recipe will show you how to create a flavorful sauce that pairs beautifully with the beef and vegetables.
Serving this stir-fry over rice or noodles will help to soak up the delicious sauce, making every bite a tasty experience. So, gather your ingredients and get ready for a wholesome dinner that the whole family will enjoy.
- 1 pound ground beef
- 2 cups mixed vegetables (bell peppers, broccoli, carrots, snap peas)
- 1 onion, sliced
- 3 cloves garlic, minced
- 2 tablespoons soy sauce
- 1 tablespoon oyster sauce (optional)
- 1 tablespoon cornstarch
- 1 cup beef broth or water
- 2 tablespoons vegetable oil
- Salt and pepper to taste
- Cooked rice or noodles for serving
In a large skillet or wok, heat the vegetable oil over medium-high heat. Add the ground beef and cook until browned, breaking it apart with a spatula.
Once the beef is nearly cooked through, add the sliced onion and minced garlic, stirring until the onion becomes translucent. Next, toss in the mixed vegetables and cook for another 3-4 minutes until they're tender but still crisp.
In a small bowl, mix the soy sauce, oyster sauce (if using), cornstarch, and beef broth; pour this mixture into the skillet and stir until the sauce thickens. Season with salt and pepper to taste, and serve immediately over rice or noodles.
When preparing this dish, feel free to experiment with different vegetables based on what's in season or what you have available. Fresh options like zucchini, bok choy, or mushrooms can all add unique flavors and textures.
Also, consider cooking the vegetables separately for a minute or two before adding them to the beef to retain their brightness and crunch. Finally, if you like your stir-fry spicy, feel free to add some red pepper flakes or a dash of sriracha for an extra kick!